
The HomeKit pairing code, the little label with a string of eight random numbers that comes with compatible smart home accessories, is incredibly important. This tiny code is unique to each accessory, and as such, is one of the only ways that the device can be added to a HomeKit home, for security purposes. So what happens when you lose a HomeKit code?
Well, depending on the accessory, losing a HomeKit code can prevent it from being used with the Home app and Siri, and in some cases, you may lose the ability to use the accessory entirely. Don't give up hope, though! Many accessories come with extra codes scattered around, and some even provide alternative pairing methods. Here are some tips to help you track those backup codes down, what you can do if you simply cannot find one, and how to prevent it from happening again!
Know what to look for
HomeKit pairing codes, while still relying on a series of eight digits, have evolved in appearance over the years. Depending on your accessories, you may see one of four types of code labels on-device or on packaging materials. Older codes come in a rectangular form with no visual indicators other than the associated numbers. The most common HomeKit code label has a home icon, numbers, and a QR code in a vertical format. On these codes, you can scan either the numbers or the QR code for pairing purposes.

One of the more recent HomeKit code types includes a picture of a home, along with the code numbers, and a wireless symbol. Codes that have the wireless symbol indicate that the accessory has an NFC radio on-board, which allows it to pass pairing information directly to your phone. Finally, the latest HomeKit code uses a more compact label, which only includes the house icon, and the eight-digit code, which unfortunately cannot be scanned by the Home app.
Look everywhere!
Because the HomeKit pairing code is essential to the pairing process, accessory manufacturers often provide plenty of back up codes in a lot of different places. Areas can include on the actual accessory itself, on the packaging that it came in, manuals, pamphlets, inside an app, or even on an on-device screen.
On-device labels

In most cases, a pairing code will be printed directly on the accessory's labels, or will have its own dedicated label. These labels are usually located on the back of smart plugs, on the sides of light bulbs, or on the bottom of larger fixtures like lamps.
Even if you don't see the code at first glance, take a good look at some of the fine print or at the physical characteristics of the accessory. Codes can sometimes be found on regulatory style labels, as well as underneath removable sleeves or sections of the device. For light switches, we have seen some accessories come with tiny pull out trays that have the code label, or codes hidden underneath the faceplate.
On-device markings may refer to the code in different manners as well. Some examples include phrases like Setup Code without referring to HomeKit at all or putting all of the numbers together without the familiar hyphens in-between.
Packaging
Another location where back up codes can be found is on the packaging that the accessory came in. Common locations for HomeKit codes include on the back of the box, on one of the inner flaps, and underneath removable cardboard or plastic trays.
Manuals and pamphlets

HomeKit accessories are generally effortless to set up, with most instances involving nothing more than a scan of the pairing code. Because of this, manuals often go unused, and unfortunately, sometimes even tossed away, which also means that potential back up codes are lost.
If you have your manuals, places to check include the back of the first page, on the very last page, or in dedicated HomeKit sections. Some manufacturers like to devote a special note in the manual stating the importance of keeping the code, and have the label attached within the text.
The same goes for any pamphlets included within the box. Some manufacturers have a separate guide or card for the HomeKit code, so when in doubt, check everything in the box.
Alternate pairing methods
As important as the physical HomeKit code is, there are some HomeKit accessories that may not come with them at all. In some situations, the HomeKit code may be generated and displayed on an on-device screen, or within the manufacturer's app. There are also some accessories that can pair using NFC, and even with a scan of a QR code that doesn't resemble a HomeKit label.
On-screen codes
Some HomeKit accessories do not have a physical code and instead display their codes via a built-in screen. This method is commonly found on accessories like HomeKit thermostats, and HomeKit air quality monitors. In particular, we have seen this method used on the ecobee line of smart thermostats.
When connecting one of these devices, the HomeKit code will be shown either during the setup process on-screen, or in a settings menu after the initial connection. Since these devices have screens, the code generated can be scanned just like a standard label, making pairing quick and easy.
Software codes and authentication

Just like with on-screen HomeKit codes, some accessories rely on software authentication methods or app-generated codes. These codes can only be found within the manufacturer's app, which is excellent for ensuring that you always have a way to add the accessory back if needed, but can be a little confusing for those that are used to having a code.
For software authentication, accessories that have gained the ability to work with HomeKit after they were originally manufactured will have an in-app experience that automatically adds it to the Home app. Examples of this include the Eero line of Wi-Fi mesh routers, and Belkin's Wemo Mini Smart Plug, each of which do not actually provide a code directly to the user.
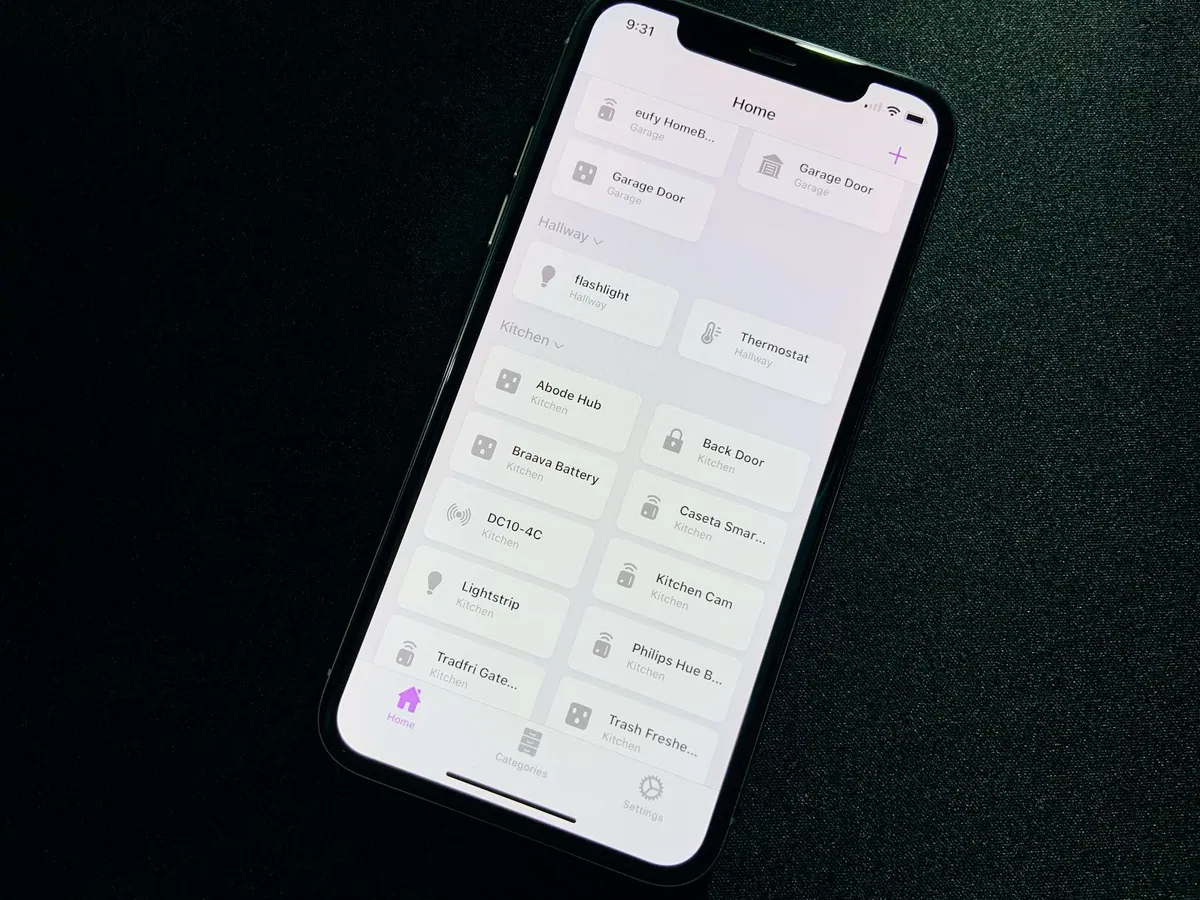
Other accessories that use software authentication will simply provide a HomeKit code via an image or dedicated area within the app. We have seen this method with the Abode iota Security Kit, which requires set up first via Abode's app, then adding it to HomeKit later.
NFC pairing

If you simply cannot find your code on-device and don't have your original packaging, there are still a couple of things that you can check. While the number of devices is limited, some of the latest HomeKit accessories incorporate NFC radios that can aid in the pairing process. This means that the accessory can automatically broadcast its pairing information to the Home app, bypassing the manual entry or code scanning altogether.
To check to see if your accessory supports NFC, fire-up the Home app and begin the pairing process just like you normally would. Then when the camera scanning screen appears, move your iPhone as close to the HomeKit accessory as you possibly can. If that doesn't work, trying tapping the two together and be sure to look around for any visual indicators on-device. Sometimes an accessory will have a dedicated area that you need to put your iPhone near. If the accessory has NFC, the Home app will automatically proceed to the next step.
Again, while NFC is convenient, it hasn't been deployed on many accessories as of yet. We have seen it in action on in-wall outlets like the ConnectSense In-Wall Outlet, positioned between the two receptacles, and inside of door locks, so be sure to check everywhere.
QR codes

The last method that we have seen used are QR codes that are not in the same style as traditional HomeKit codes. Some accessories that were not certified as HomeKit compatible at release but have intentions of adding it later have used nondescript QR codes as a way to add them to the Home app.
A recent example of this was the eufy Indoor Cam 2K and Indoor Cam Pan 2K, which gained HomeKit functionality about a month or so after they launched. Once a HomeKit update became available, users could go through the eufy Security app, or they could scan the QR code to add it. If you see a QR code on your device, try giving it a scan in the Home app, or with the Camera app, it may do the trick.
If all else fails
Many HomeKit accessories also support alternative smart home ecosystems, like Amazon's Alexa, or the Google Assistant and their own apps. So if you ever come across a case where you cannot track down your HomeKit code, you may still be able to use the accessory outside of the Home app.
Use the app!

With the exception of a few accessories that only rely on an app for delivering firmware updates, or use the stock Home app for pairing, most HomeKit accessories have their own app available in the App Store. These apps typically offer all of the same controls that you get through the Home app, just in a different format that you may be used to.
These apps can also provide access to more advanced settings that are not available through the Home app, so you may even get to see some features that you have been missing out on. Yes, using the accessory without HomeKit means that you cannot use it in your sweet movie time scene, or with your morning automations that start the day, but it is better than nothing.
Alternative ecosystems

Some accessories have their own automation services available in the accompanying app that allow you to create scenes and automations with other devices from the same brand. Some accessories also use the popular cross-platform automation service, IFTTT, which is compatible with tons of different devices, HomeKit included, and offers tons of advanced actions like blinking lights when you get an email.
For voice controls, many accessories work with Amazon's Alexa and the Google Assistant. With the cheaper price tags, and inclusion of these voice assistants in just about everything these days, chances are, you might already have one in your home. Summoning Alexa or the Google Assistant may take some time to get used to, however, the actual commands are usually pretty similar to what you may already be using with Siri.
Siri and Shortcuts
Speaking of Siri, a lot of accessories now include support for Shortcuts, which means that you may be able to use Apple's virtual assistant for commands. Look for the Works with Siri phrase or label on the packaging, within an accessory description from a retailer, or even by browsing lists like our guide to the best Siri Shortcut gadgets. If it says Siri or Shortcuts, then you are golden.
Shortcuts compatible accessories will not show up in the Home app, but voice controls follow the same Hey Siri phrasing, and you can use custom phrases to make them almost identical. Accessories that support Shortcuts also work with personal automations, which are created using the Shortcuts app and the Home app. These automations can incorporate HomeKit accessories and scenes, too, so you can slide in the accessory right along with your other HomeKit accessories and have them come to life with a single command.
Prevent it from happening again!
Since the HomeKit pairing code is absolutely crucial, we strongly recommend keeping all of your original packaging for your accessories. This includes the box, associated manuals, and even the plastic or cardboard that holds the accessory in place, as they can often hide back up codes. However, this may not always be the most ideal, so thankfully, there are alternative ways to keep a backup.
The old school method
If space is at a premium and you simply cannot have boxes lying around, then jot your HomeKit codes down in a notebook or notepad. If you use this method, be sure to keep them in a memorable place and store them in a well-protected area like a safe, in a file cabinet with other essential documents, or a plastic storage box.
Take a picture
One of the best ways to keep a back up of your codes is with your iPhone's camera. Simply snapping a picture of the code on your accessory after unboxing is a great way to store the code as it ensures you know exactly which device a code is for. This method is also great for adding the accessory back to the Home app in the future, as you can simply scan the code in the picture instead of trying to get a perfect angle on that hard-to-reach device.
Of course, this will create some digital clutter. If you want to keep things nice and organized, then try making a separate album for your gear, or saving the images as files to the Files app.
Home Notes

While it may not seem like an obvious place, the Home app has a dedicated Home Notes section that works great for code storage. This option is available in the Home Settings portion of the app, and is essentially just a giant text box that you can use to your heart's content. One word of caution, though, if you share your HomeKit home with others, they will be able to view and edit the Home Note.
Notes app
Another digital option is to use the Notes app. Creating a basic note is quite simple, requiring nothing more than typing a name for the accessory and the code itself. If you want to get fancy with it, you can add in Notes formatting options like tables and even a picture as an additional back up. Since the Notes app syncs automatically to all of your devices, it will also be available no matter if you are on the Mac, iPad, or iPhone.
Third-party apps

Our final digital storage solution is to use a third-party app from the App Store. Our favorites include the HomePass for HomeKit app, which is tailored for HomeKit in particular, and 1Password, the popular password storage app.
Within the HomePass for HomeKit app, you can scan codes with your phone's camera, and it will automatically import it to your database just like pairing a HomeKit accessory. Once added, you can create Shortcuts that can read your code aloud via Siri on-demand, and it can display a QR version of the code on the Apple Watch. This single-purpose app also automatically backs up your codes to iCloud, and it can be even be set to generate a PDF copy for every change that you make.
In 1Password, you can add your HomeKit codes as a generic text entry, or use fancier options to keep them organized. With 1Password, your codes will be automatically saved via iCloud in your vault, so you will always have a way to access them.
Lost your HomeKit code?
Have you lost a HomeKit pairing code? Have a fool-proof method for code storage that we missed? Let us know in the comments below!


