How to organize your Mac's desktop for maximum productivity
Get organized.
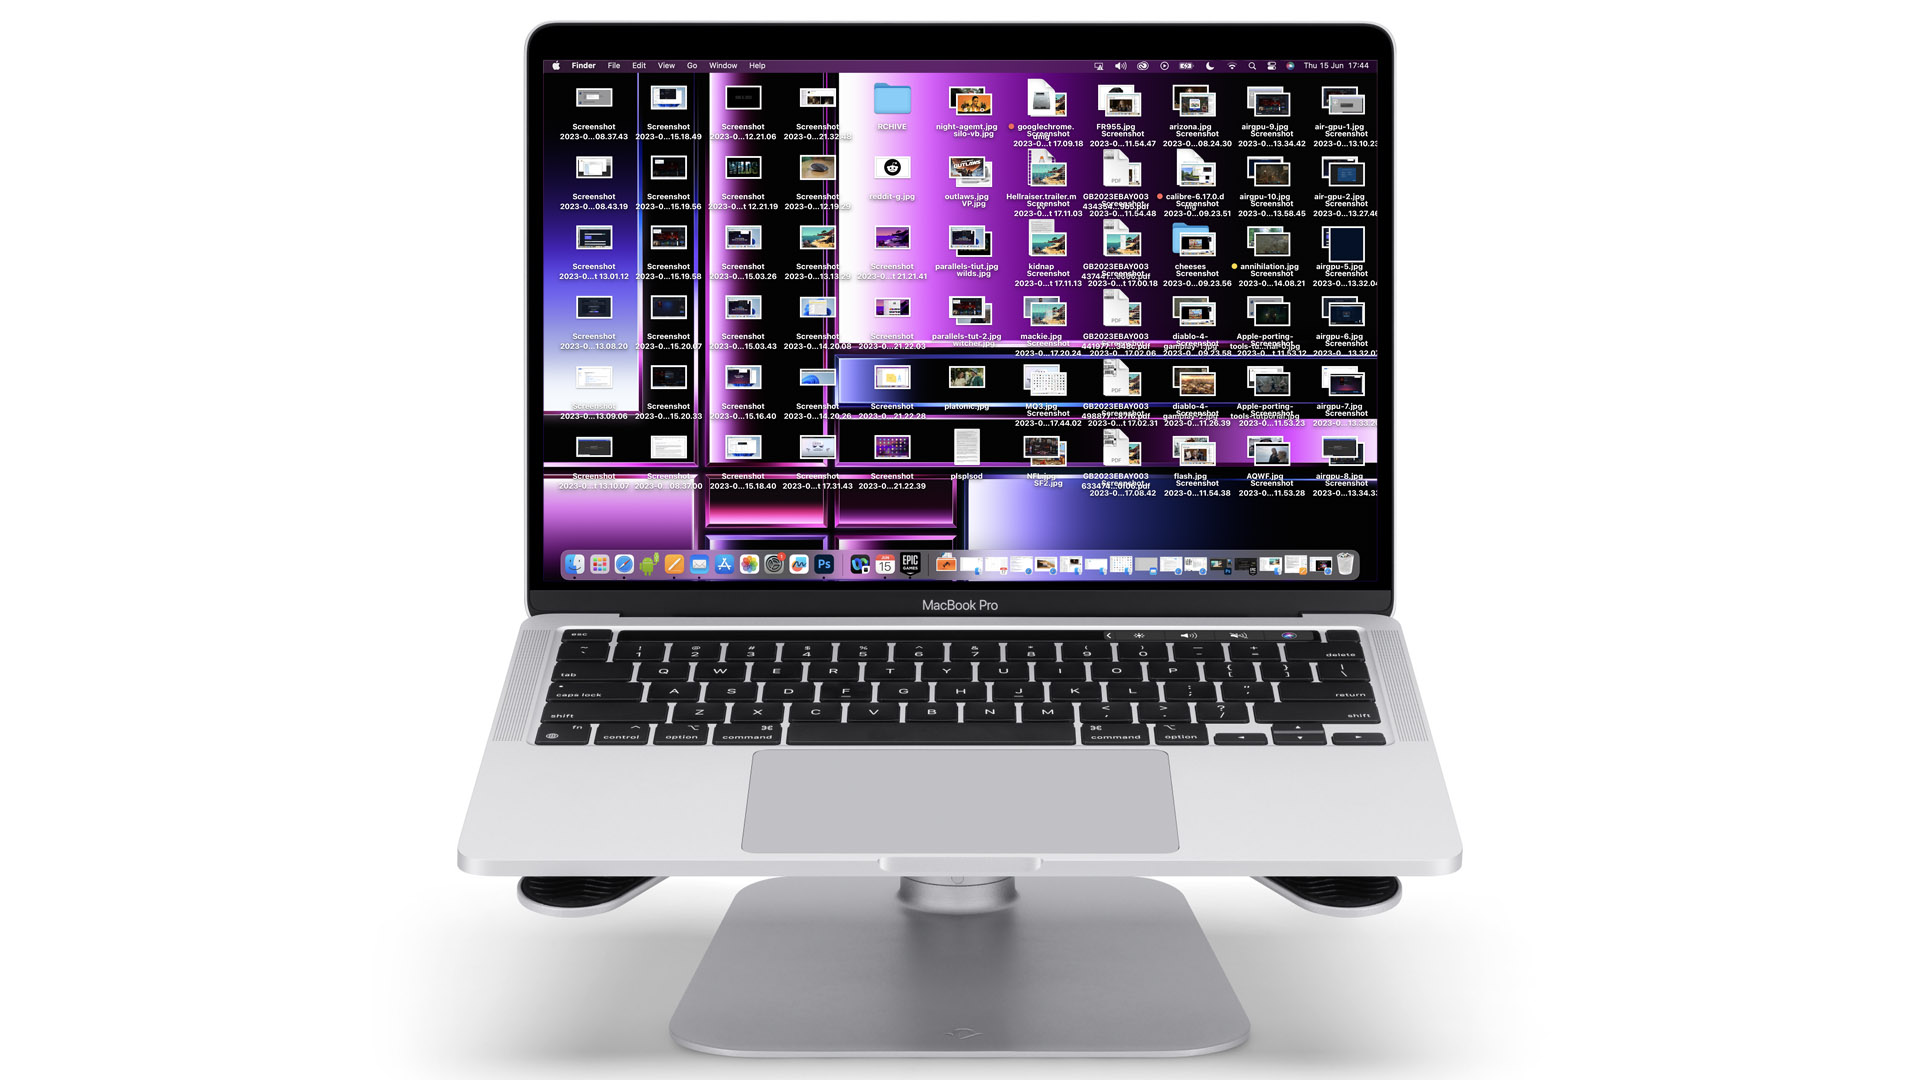
It’s easy to let your Mac desktop become a trash pile. Y’know, the computing equivalent of one of those TV shows about hoarders who live in a mire of old, useless, and largely unwanted stuff.
I know because that’s what my MacBook desktop looks like 90% of the time. It stays relatively clean for a few days after I upgrade my hardware or simply offload the desktop’s contents onto an external HDD to free up SSD space. In 48 hours, the trash pile returns, and the disorder is restored.
The best Mac is an organized one so learning the ropes in how to take control of your desktop is the first step to mastering your computer.
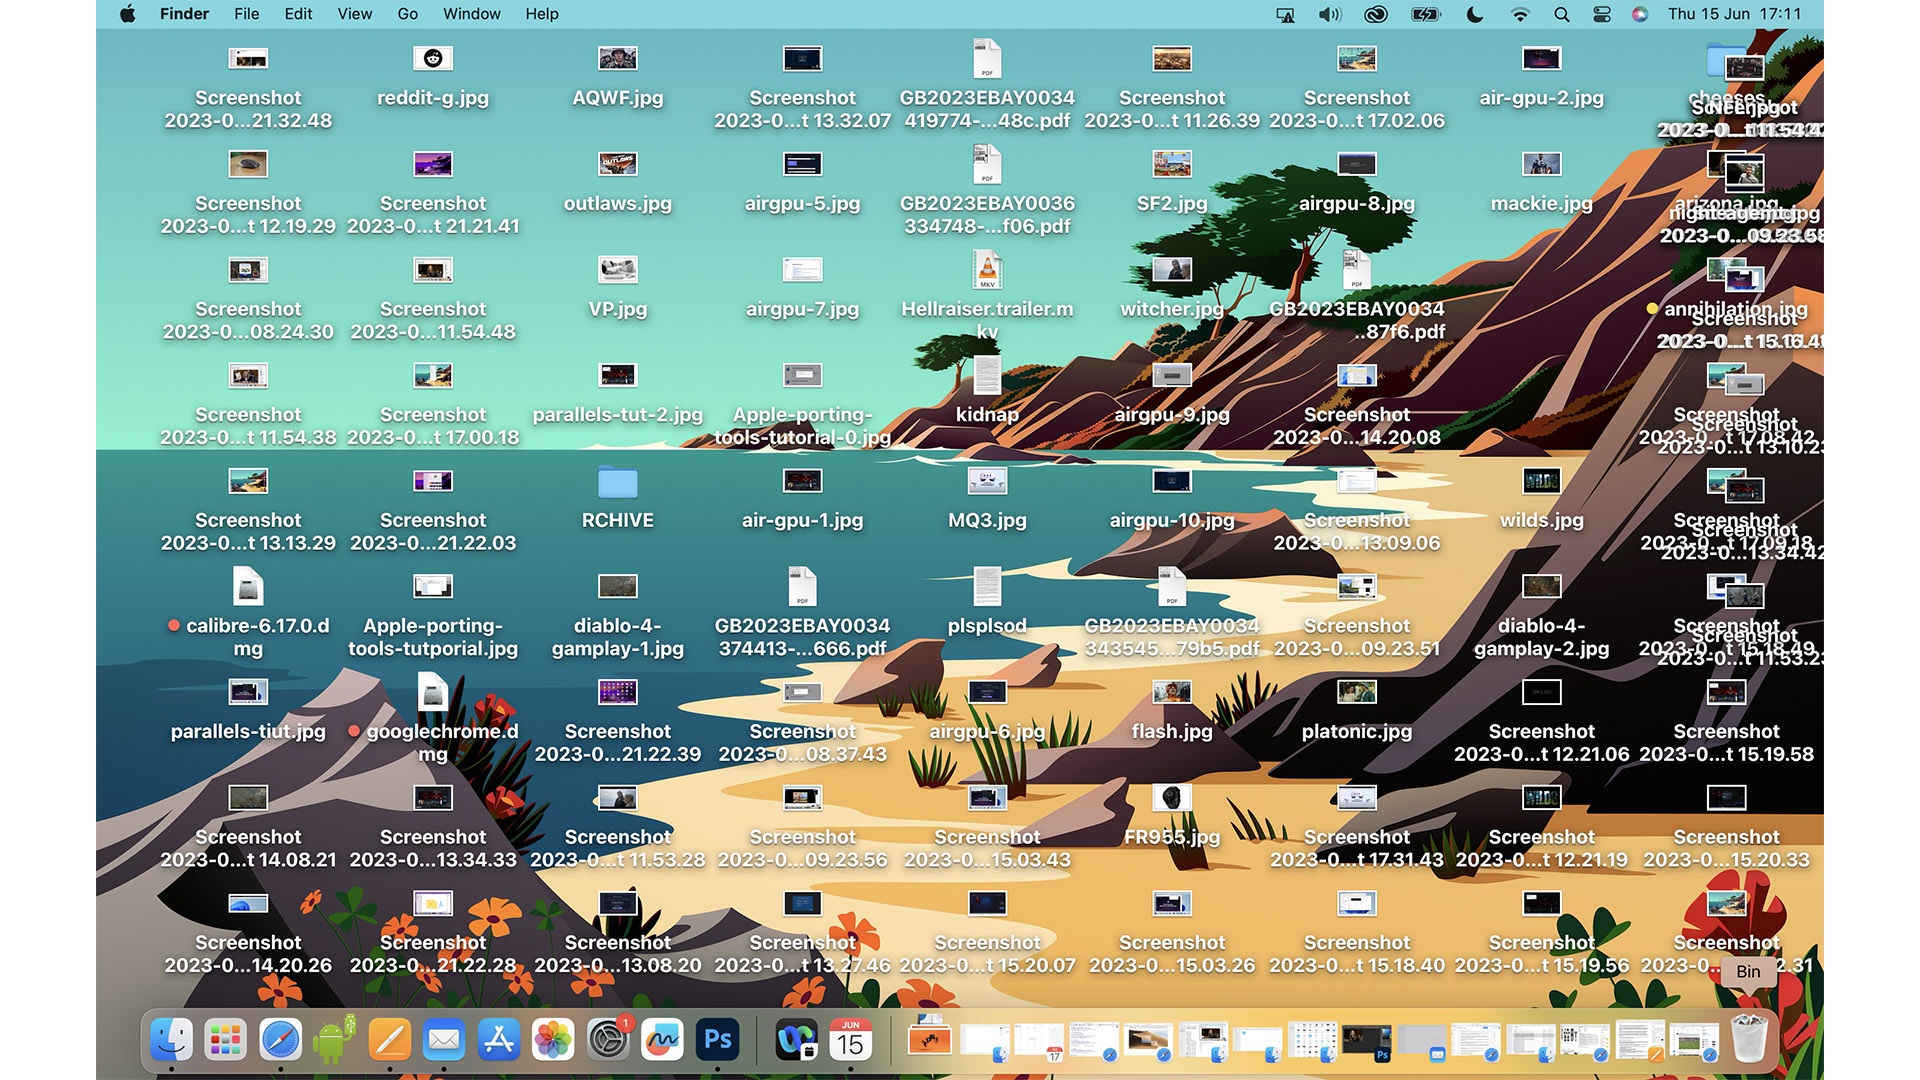
There’s a better way to go about organizing your MacBook desktop, though, particularly if you actually want to use it rather than just forever obscuring it with 47 app windows.
Pro tip: to make this an effective way to work, you need to know the quick desktop access gestures. You can press Command and F3 (aka Mission Control) or Fn and F11 to reveal the desktop. Or place your thumb and three fingers on your touchpad fairly close together and then move them apart.
OK, now you’re a desktop pro. Let’s deal with the mounds of trash on there. There are a few ways to go about this, so let’s deal with them in order.
Method 1: Folders and clean up on aisle 1
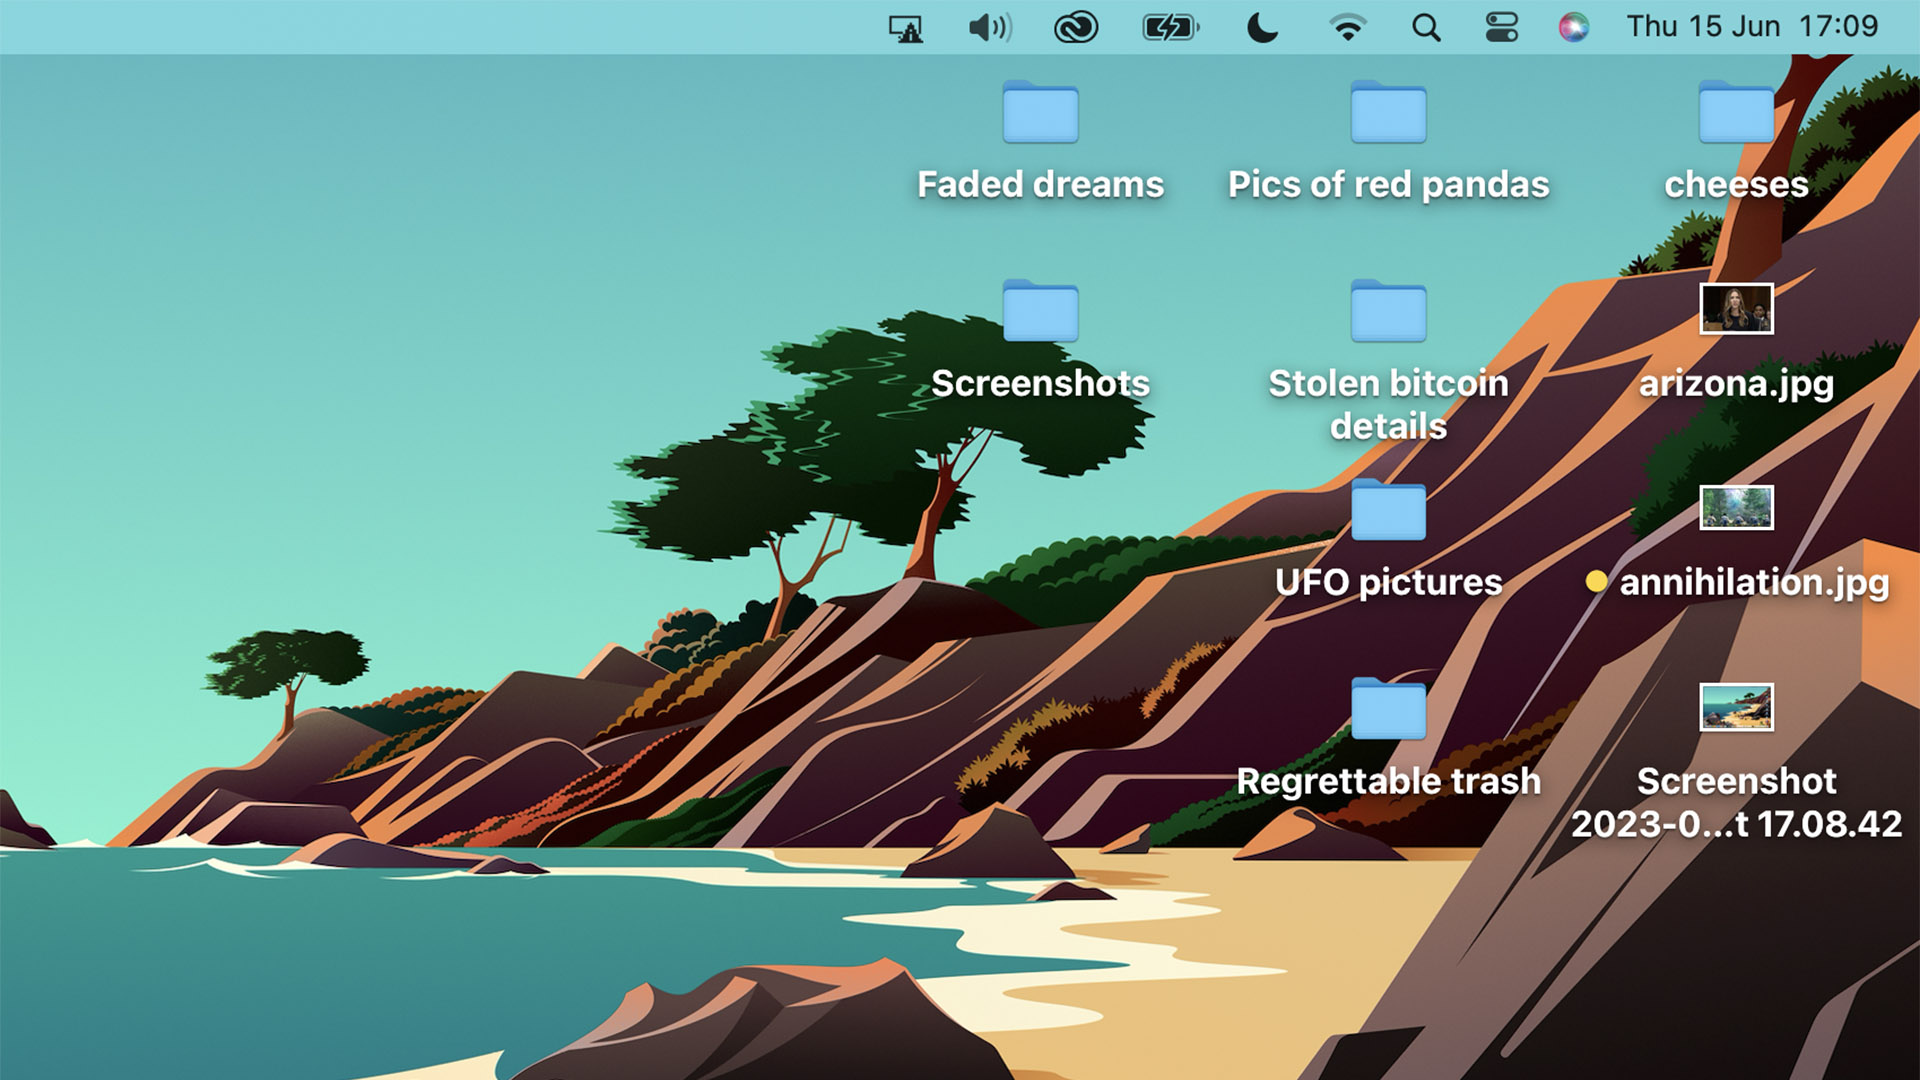
Folders are the simplest and perhaps most effective manual form of organization. You might use them for archiving stuff from different months or taking the standard approach and having a folder for documents, one for pictures and another for videos.
Master your iPhone in minutes
iMore offers spot-on advice and guidance from our team of experts, with decades of Apple device experience to lean on. Learn more with iMore!
Here are the basic commands you need:
- Use a two-finger touchpad press or the right mouse button to click on an empty area on your desktop to bring up the desktop menu
- Select New Folder
- Type in whatever you want that folder to be called
- Click and drag over files to dump them in that folder
- Repeat… as many times as you like
- Right-click or double-finger tap on the desktop again and select Clean Up
- You should see a list of ways to order your desktop icons. In this case the most useful options are likely by name, by date modified or date created.
There’s one other option in this menu to take note of, too — Sort By. If you select anything but “none” here, you won’t be able to manually move your icons and folders as they are sorted automatically. Clean Up organizes your desktop as a one-off, Sort By is a semi-permanent solution.
Method 2: Explaining Tags
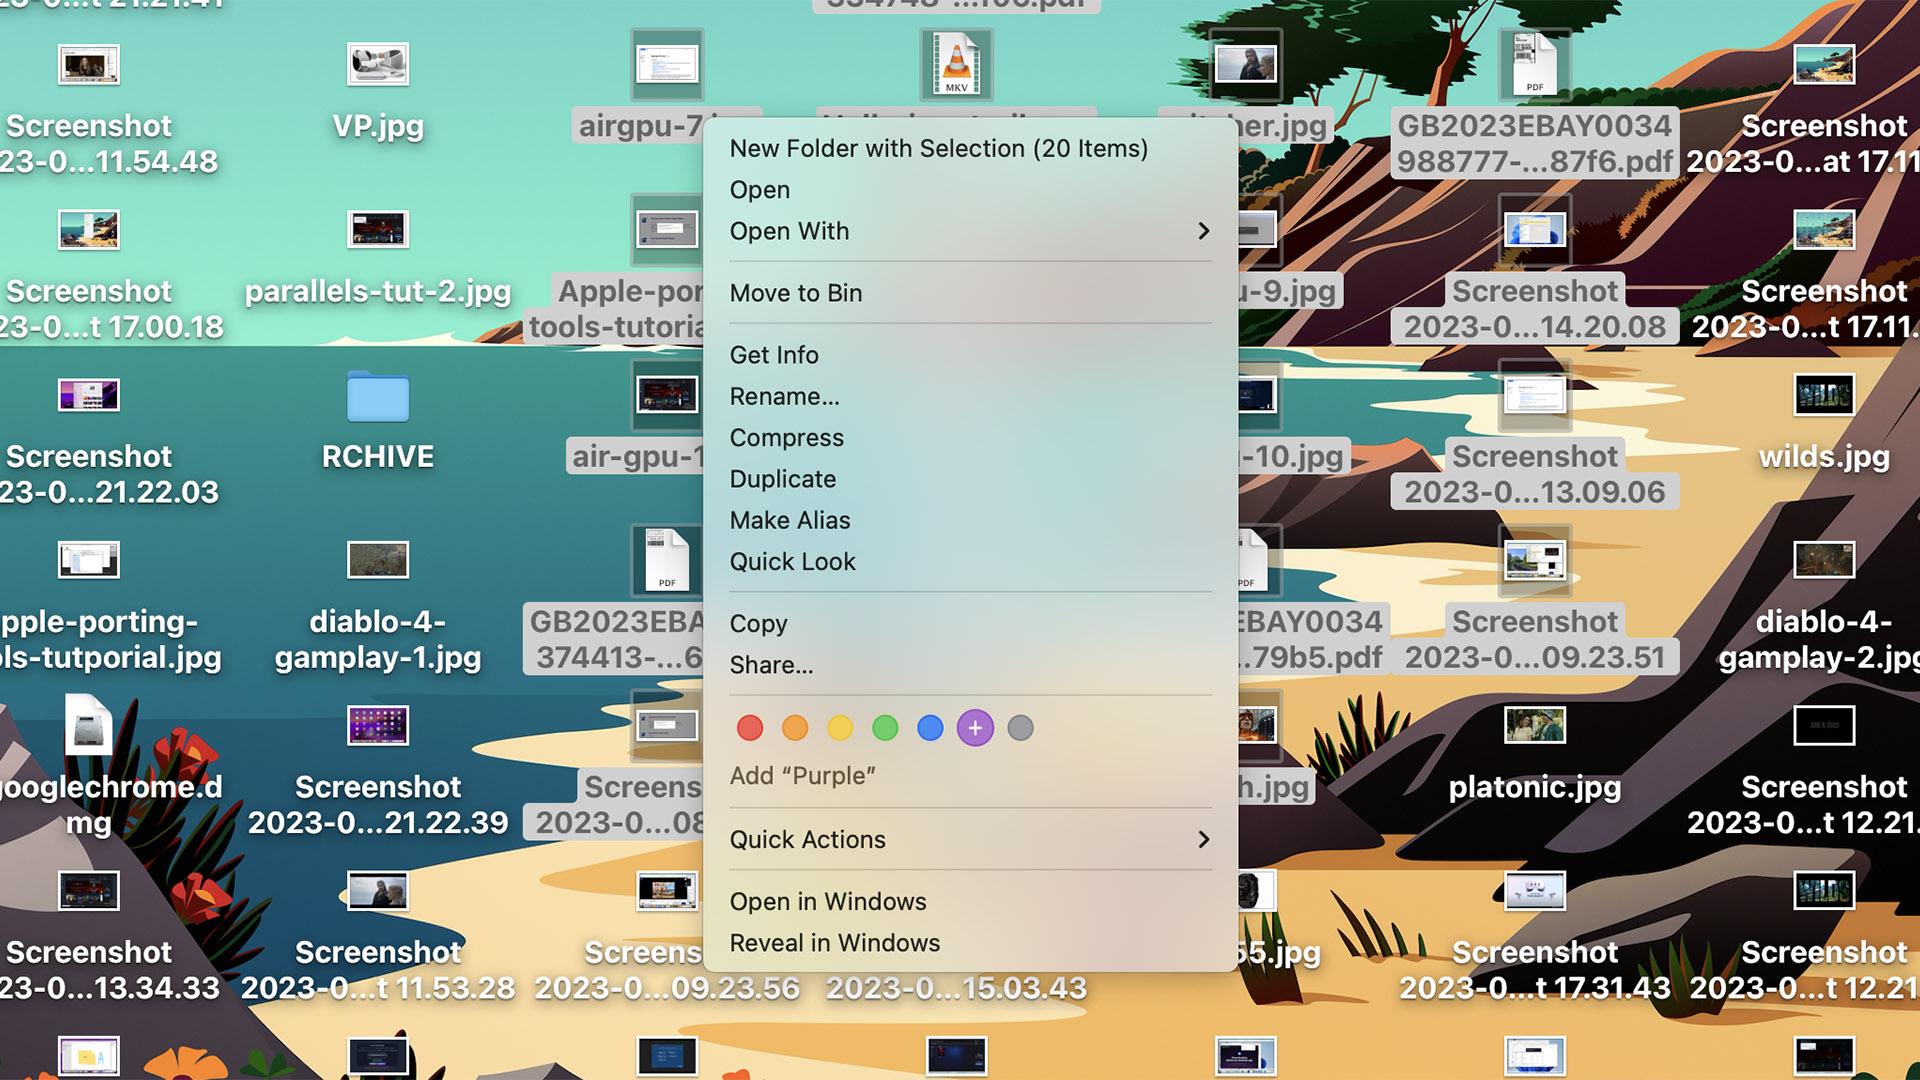
Enjoy using highlighters or color pens to color-code your handwritten notes? You should not miss out on Tags. This is where you attribute a color to a file or a folder to flag it up for future reference.
By default, you can use a handful of different colors and mentally keep track of what, say, a “blue” tagged folder means to you. Or you can also give tag categories a name as well. One obvious use case for this is for files with thematic importance, such as “Christmas” or “wedding,” if you have planning documents ahead of such an event.
Here’s how to use them:
- Right-click or two-finger tap either a single file or a bunch you have already selected
- In the pop-up menu, you should see a row of little colored circles. Select one to apply that tag
- Alternatively, select Tags… to get the option to type in a specific name for a group of Tags
- To get the clearest view of your tagged files, open up Finder
- In the left column, you will see a Tags section. Tap one of the entries to see the files and folders you’ve labeled with that color
Method 3: Stacks
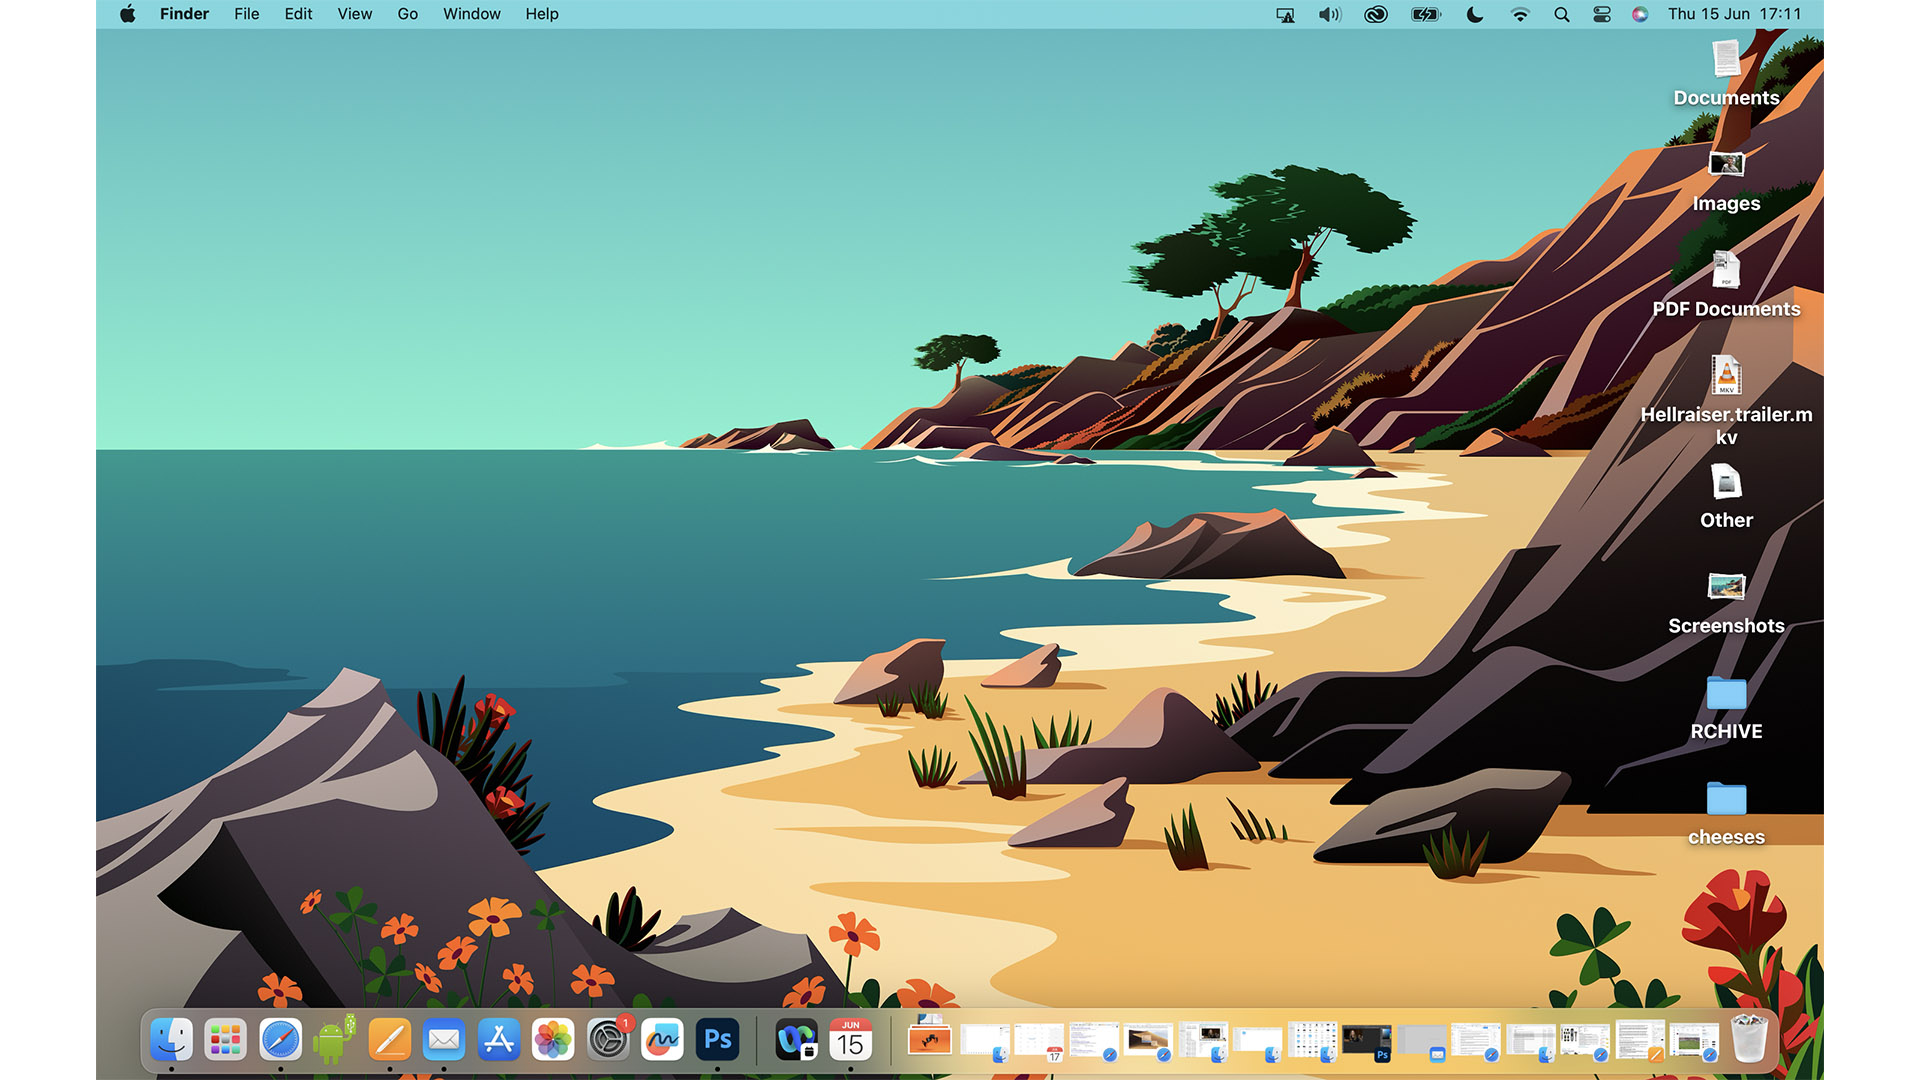
MacOS also offers a more advanced, and our favorite, method of desktop organization. It’s called Stacks. You can think of these as automatic folders, compressing those dozens or hundreds (eek) of files down into categories.
Stacks let you remain lazy while staying organized. Or at least organized-looking. Here’s how to use Stacks:
- Right click or tap the touchpad with two fingers on an empty bit of desktop to bring up the menu
- Select Use Stacks
- Re-open that desktop menu and hover the cursor over Group Stacks By to choose how your stacks are arranged. We recommend ordering via Kind when using stacks
- Just click on a Stack icon to open up its contents, and click again to close it down again
You don’t have any control over what your Stacks are called because if you want that kind of control, folders will suit your needs. Categories available in Stacks include PDF Documents, Screenshots, Images, Documents, Movies, and more.
Method 4: Customizing how your Desktop looks
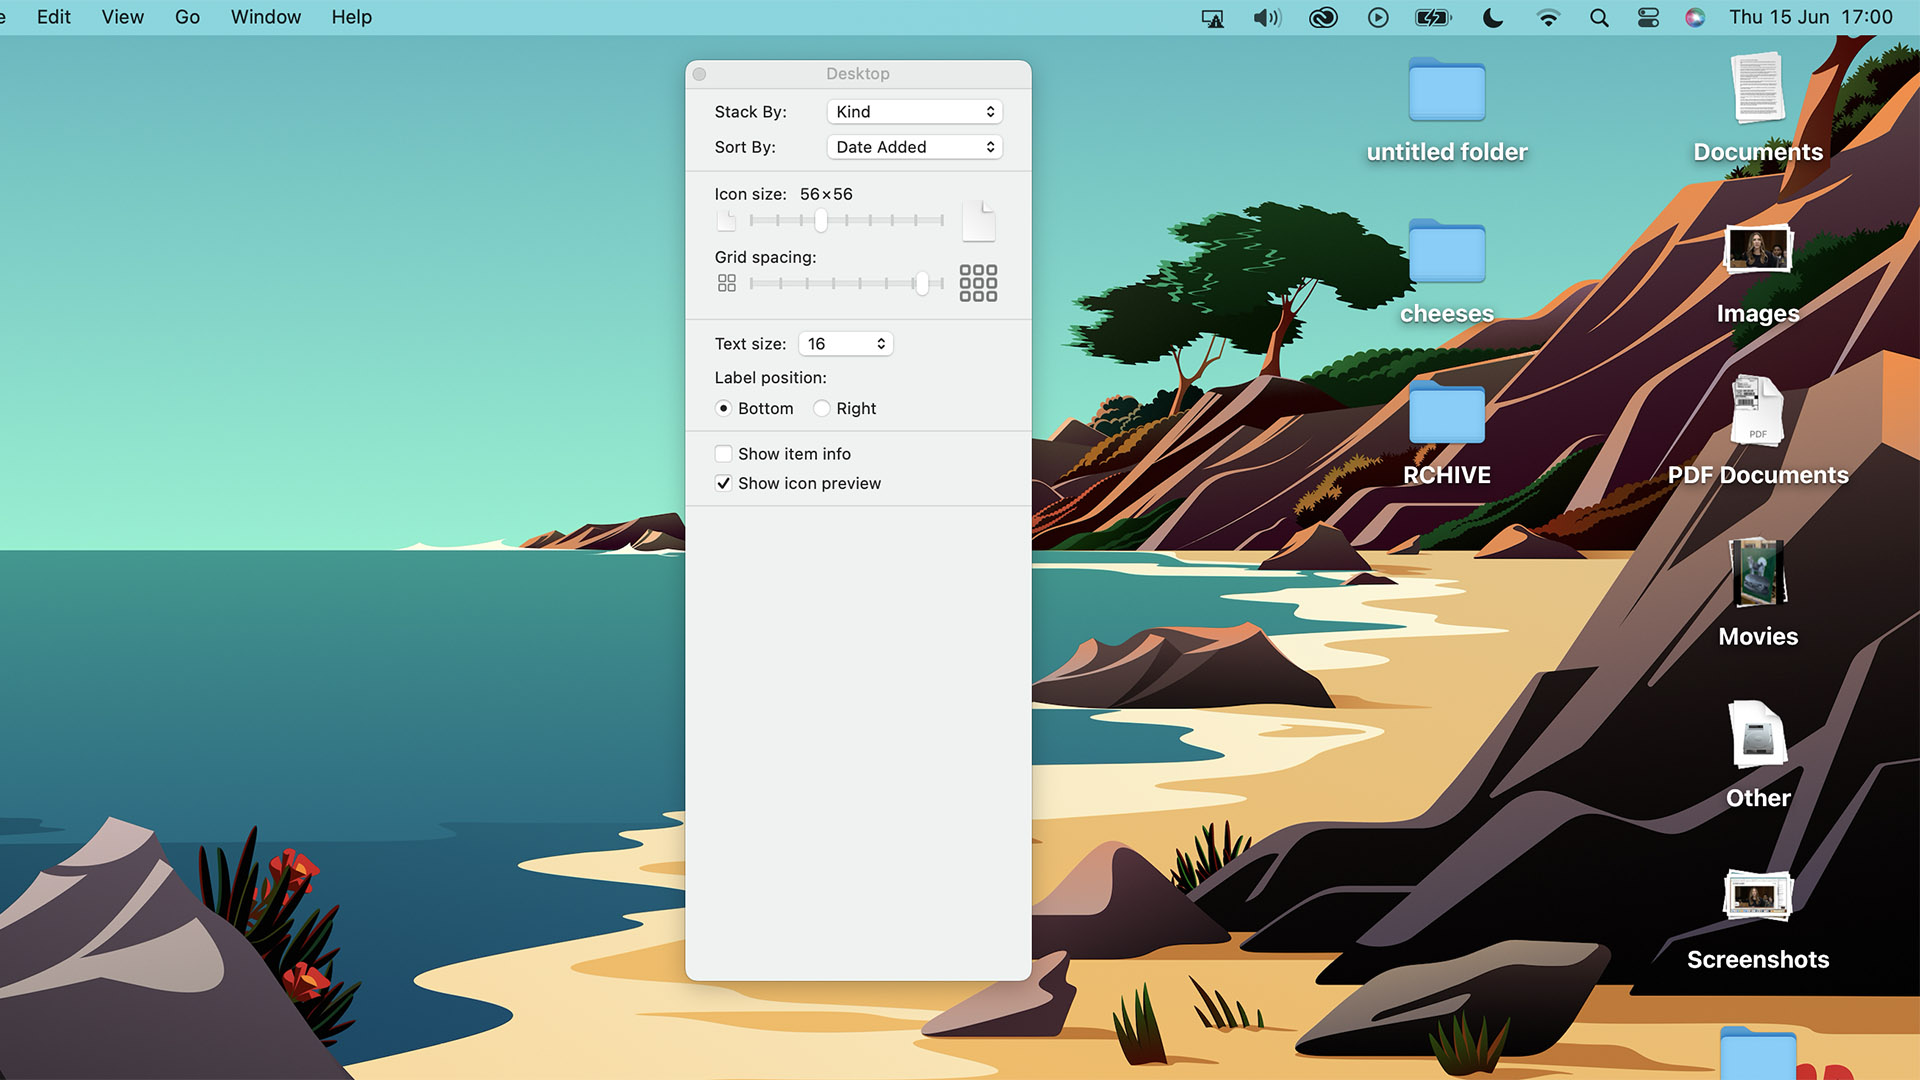
There’s another, more fundamental, form of control over your Desktop. It’s one that can be used in concert with the options above. It involves altering the spacing of icons, how large they are, and whether title text appears below an icon (the default) or to the right.
You should trust your eyes with these alterations. Have a play around and see what works. Here’s how you access these settings:
- Right click or two-finger press the touchpad on an empty patch of desktop
- In the pop-up menu, select Show View Options
- Play with the two sliders to alter icon size and spacing
- Try altering the text size in the drop-down
- Switch the Label Position setting from Bottom to Right — it has the most dramatic effect on the look of the desktop
What is the best method of organizing your desktop?
Apple offers multiple ways to tidy a macOS desktop, and they suit different personalities. Having spent some time playing around for the last few weeks, I think Stacks are for me.
My desktop is resigned to being treated like a trash heap, because I do most of my limited organization in the Documents folder instead. Join me, all you unrepentant and unfixable schlubs. We’ll have a relatively clean desktop with zero effort in no time.
For the folks who like proper, thoughtful organization — perhaps the people who actually empty their email inboxes — manual folders are the way to go. Tags are simply the next step, if you truly luxuriate in keeping your computer in good shape.
Whichever team you identify with more, I do recommend having a quick play with the basic layout options for a few minutes. While Apple’s defaults are, as usual, eminently tasteful, these visual tweaks can have a surprisingly impactful effect on the personality of your Mac.

Andrew is a freelance contributor who has written about tech and entertainment since 2008, and covered the rise of the iPhone first-hand. Today he writes about audio, fitness tech, computing and TV/film, as well as mobile tech. Publications in his back catalogue include WIRED, Ars Technica, TechRadar, T3, Stuff, What HiFi and Forbes, among others.
