Four new features Finder needs in macOS 15 (and the apps you can use to get them now)
Go further with Finder, using these great third-party apps.
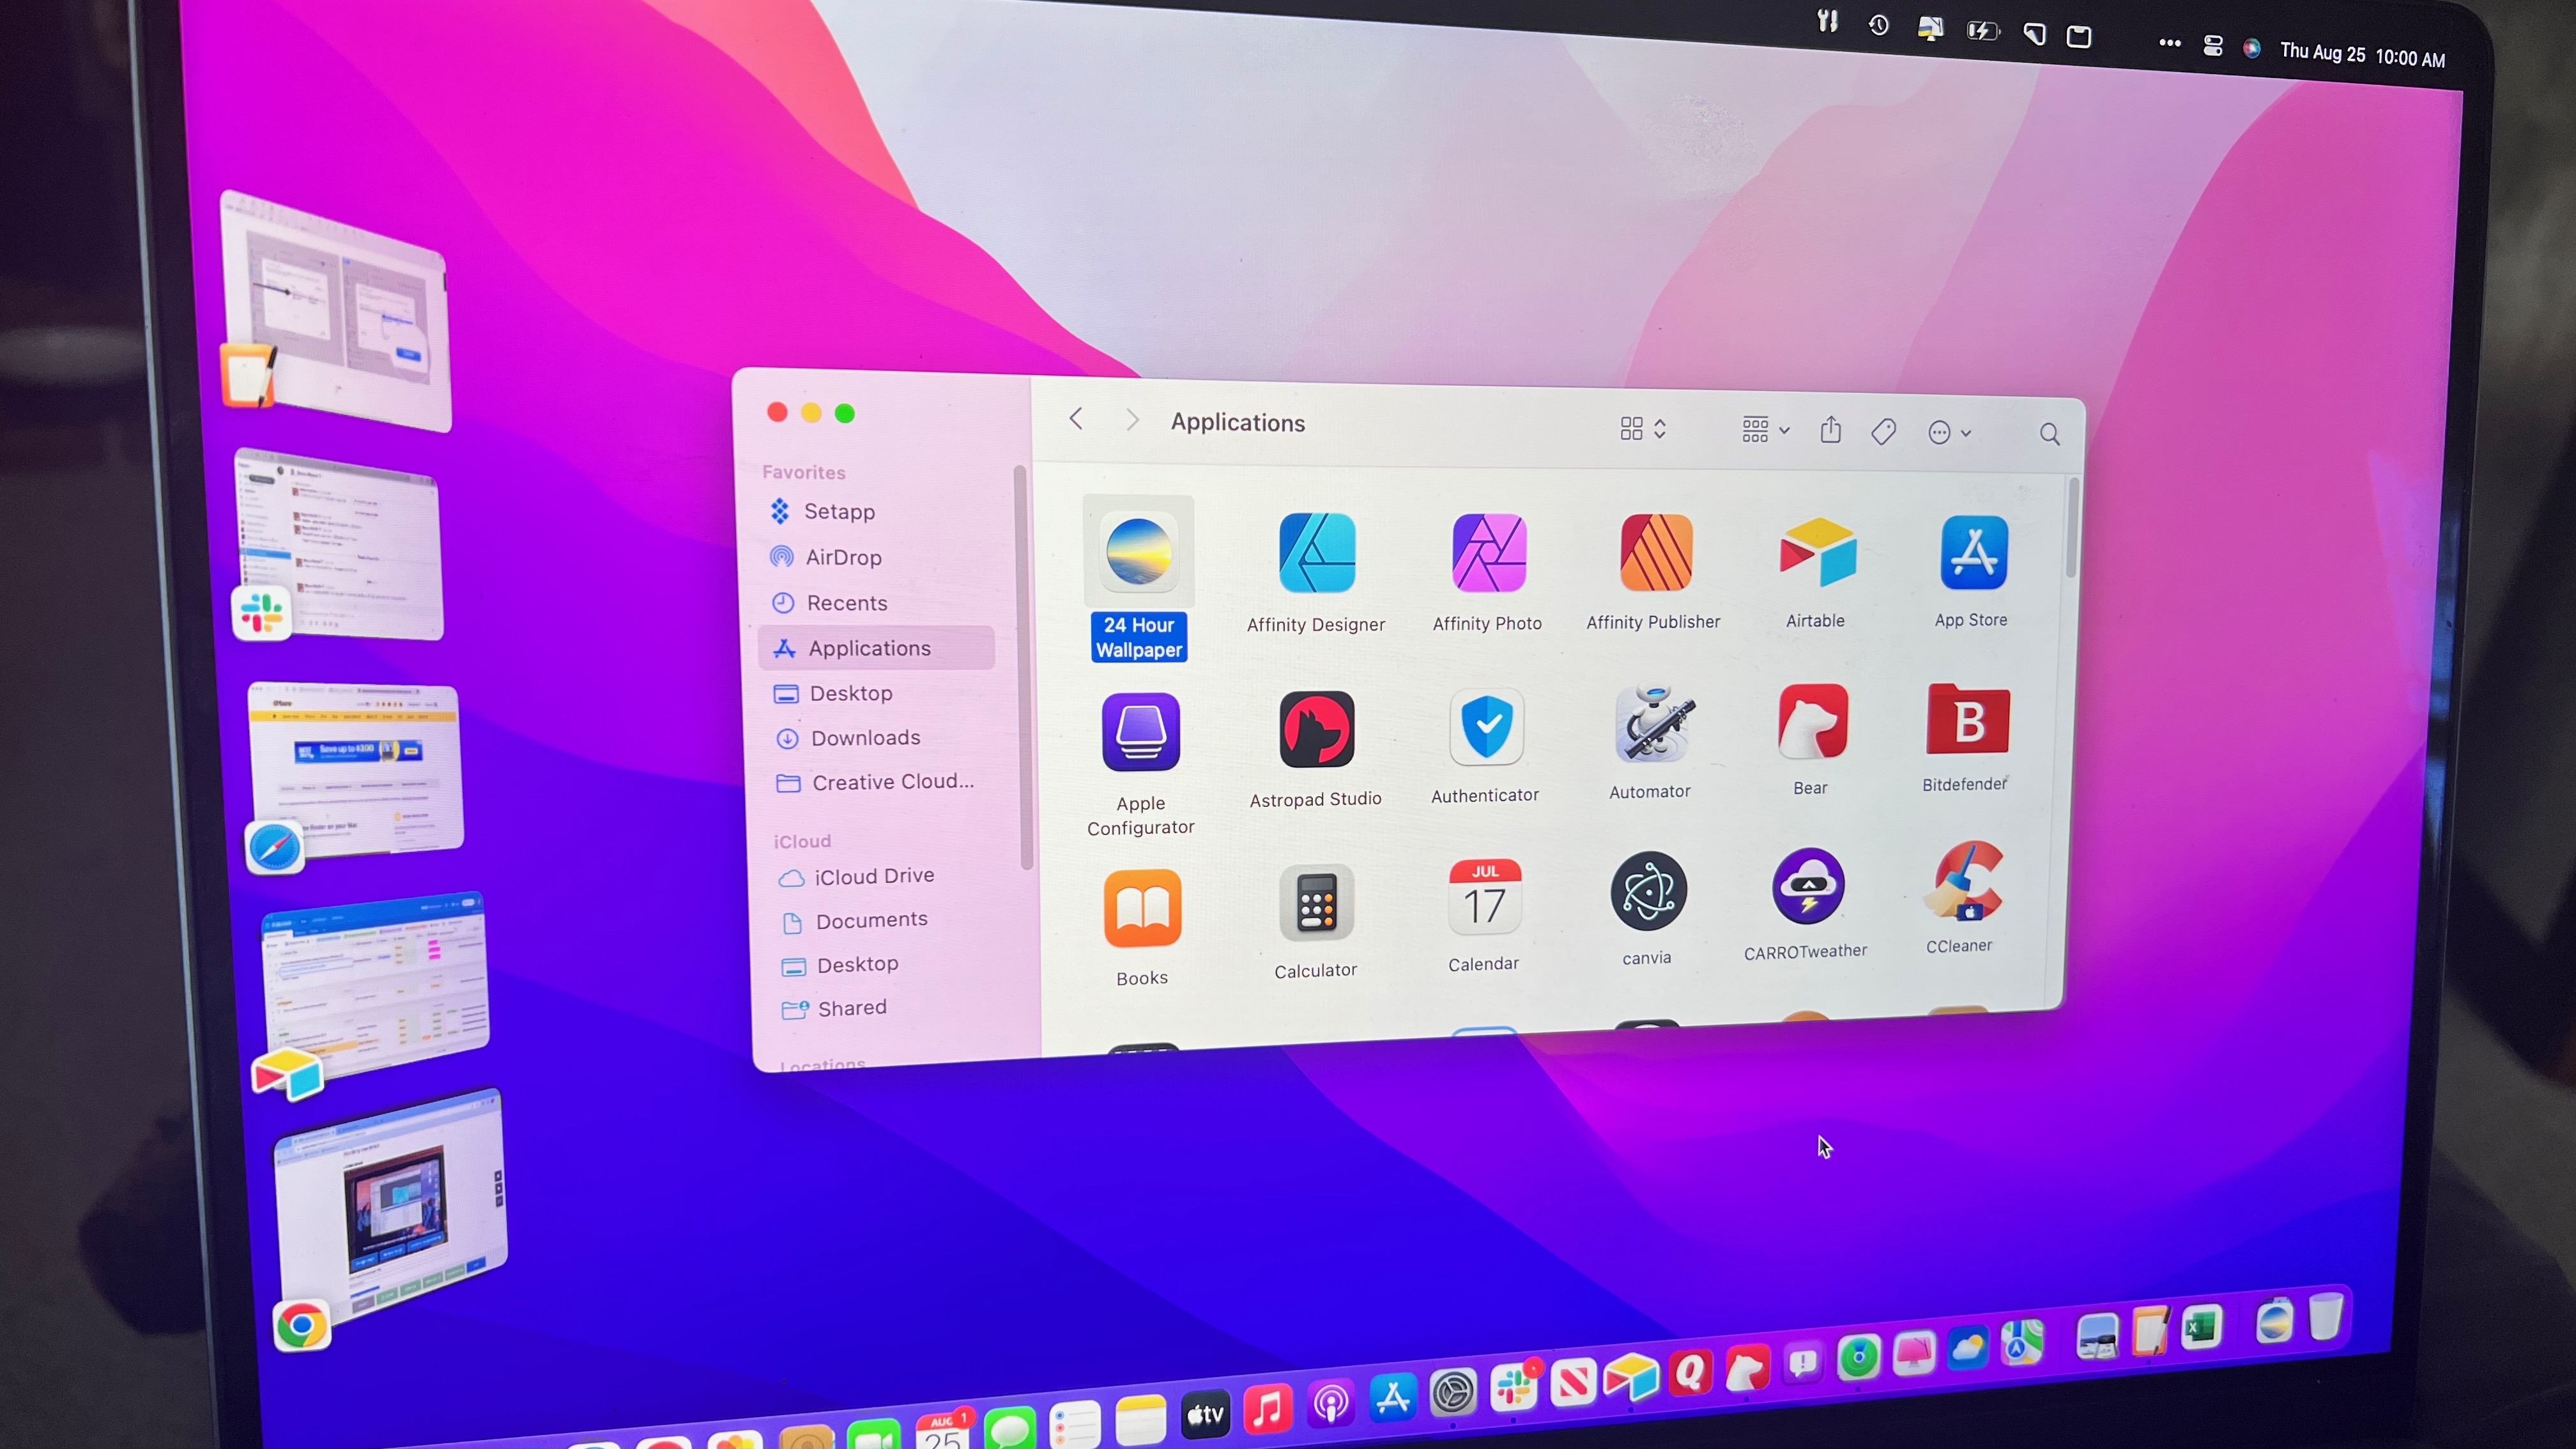
Finder is the bedrock on which macOS is built, and it has some great features. You can view Finder windows as icons, lists, in columns, and more. There’s the Launchpad for launching apps, Mission Control for taking command of your Desktop, and newer features like Desktop Widgets and Stage Manager too.
But there are some features for which Finder in the upcoming macOS 15 update is crying out. Things we’d all find useful when using our desktop or notebook Mac, but which simply aren’t there. With our help, you can download and install four great third-party apps that give you exciting features that really should be included in Finder when the next macOS is revealed at WWDC on June 10.
More space for Menulets
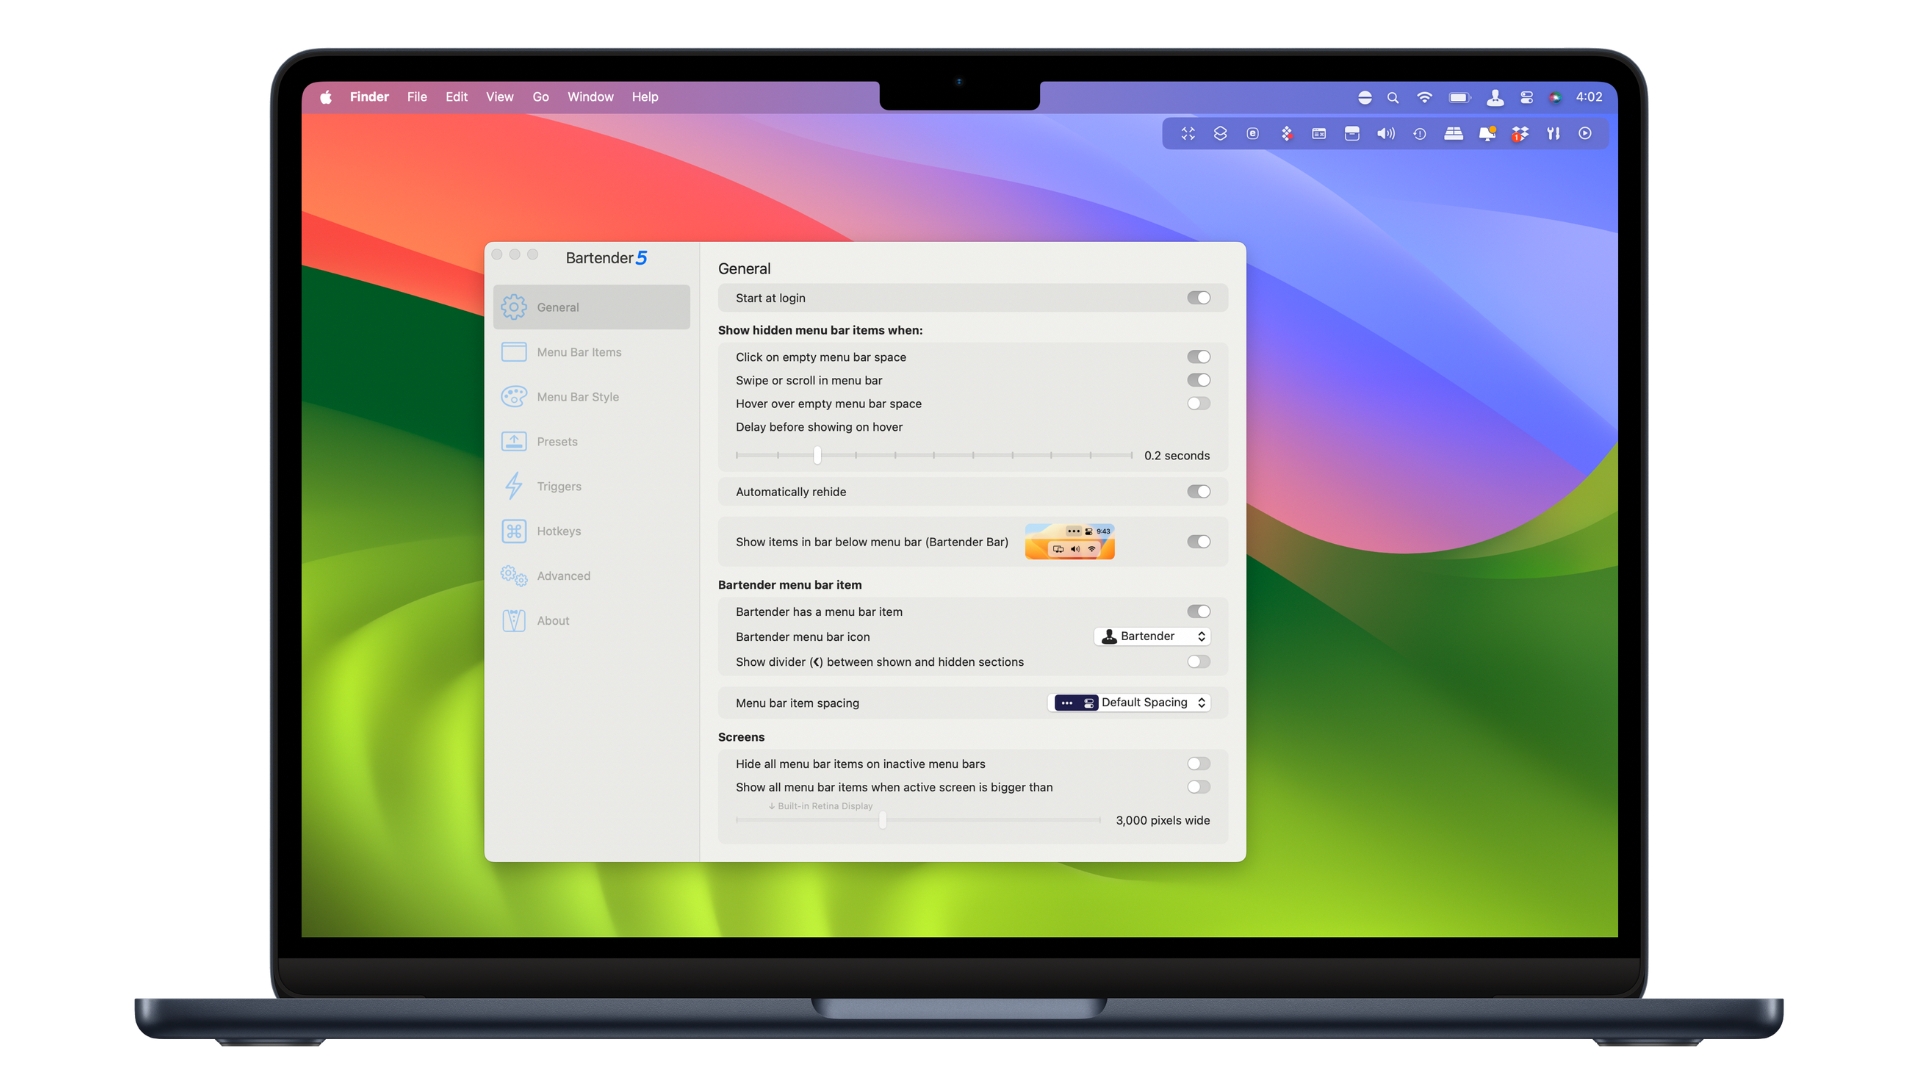
Are you frustrated by not having enough room in your Desktop’s menu bar for all your app and feature icons? This isn’t often a problem with a 24-inch iMac or a similarly-sized monitor, but if you use a current M3 MacBook Air, with its space-hogging notch around the camera, you’re likely to run out of space. That’s where BarTender comes in.
Bartender 5 lets you take control of your menu bar, the strip above the desktop on your Mac’s main screen, cramming in more Menulets (as the menu bar icons are known) than would otherwise be possible. This is achieved through a BarTender icon in the menu bar. Click it for a sub-menu showing the other available icons. It’s highly configurable; you can choose whether a Menulet sits in the main menu bar or the hidden menu bar, and you can even stylize the bar itself too.
How to use Bartender
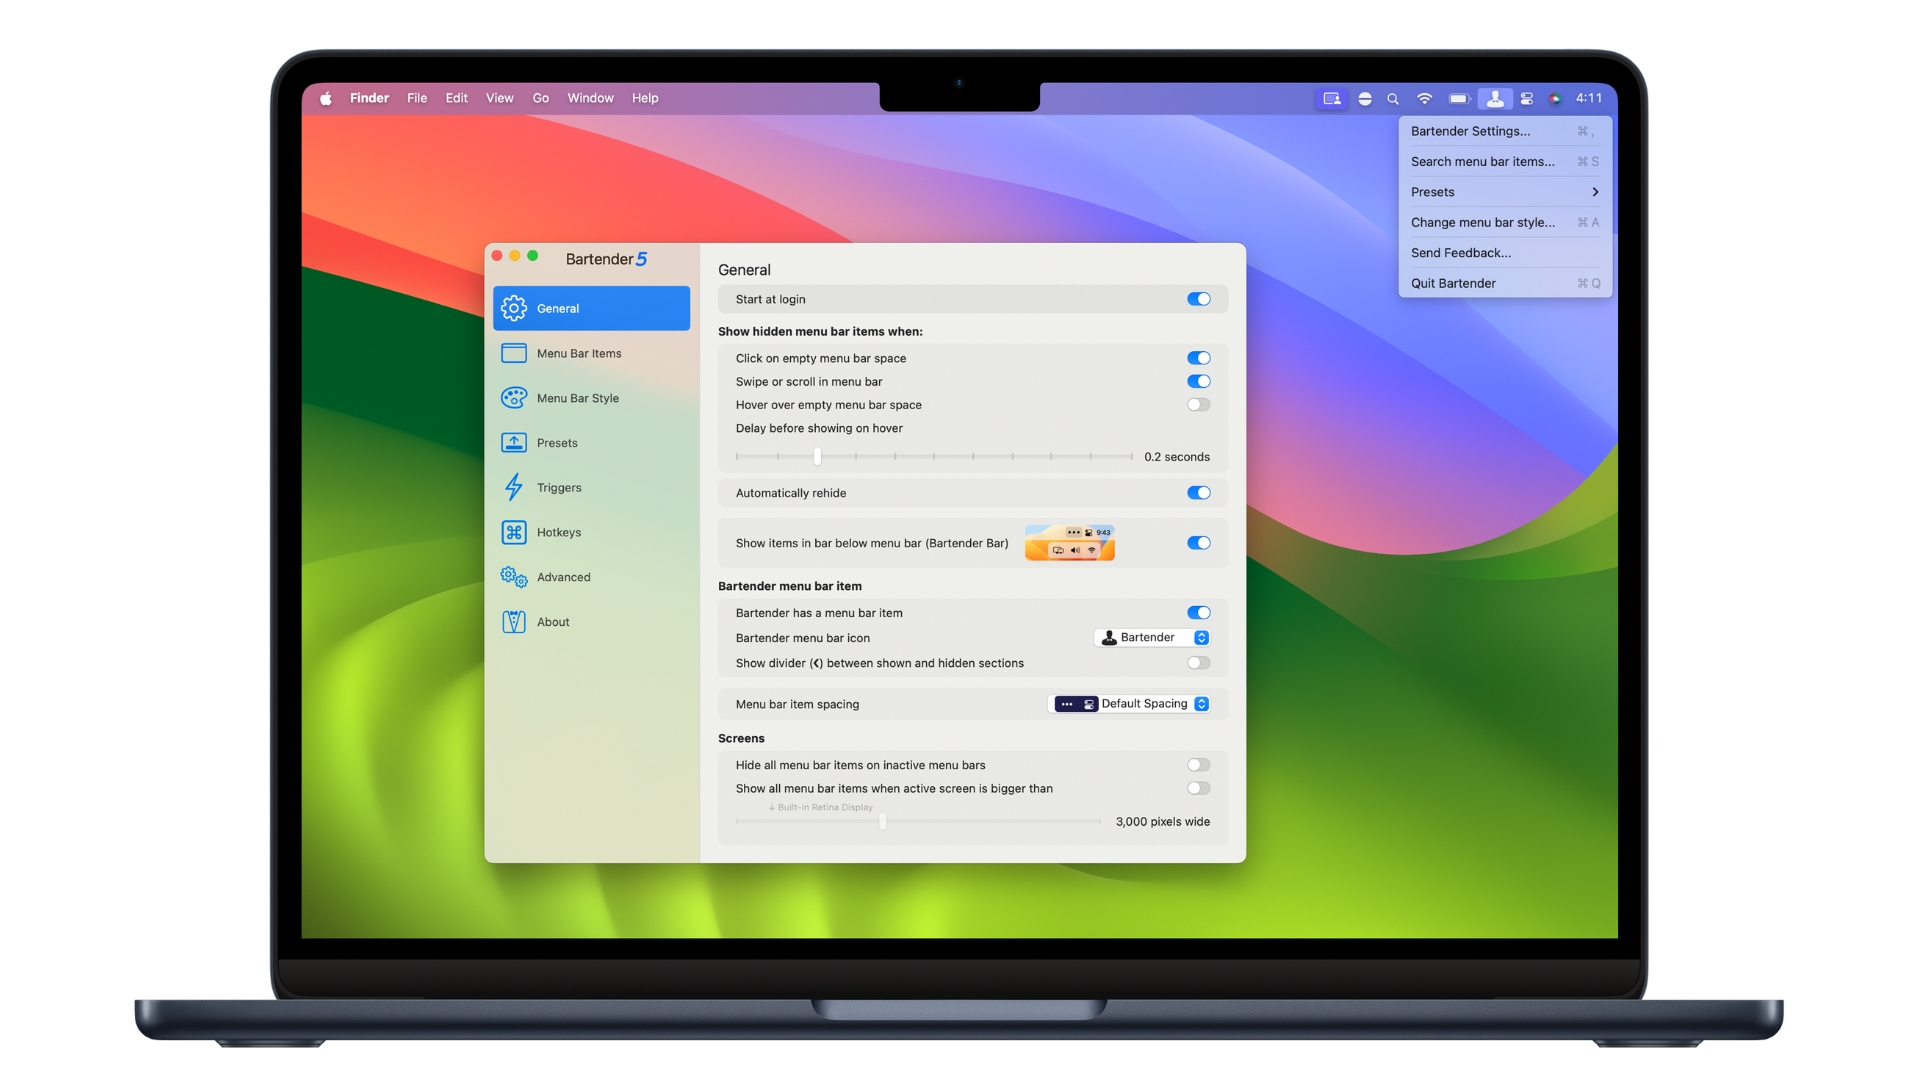
Click on the BarTender icon to see the currently hidden Menulets. Right-click on it for a menu that gives access to its Settings, among other things. You can search your Menulets here; great if you’ve forgotten what it looks like.
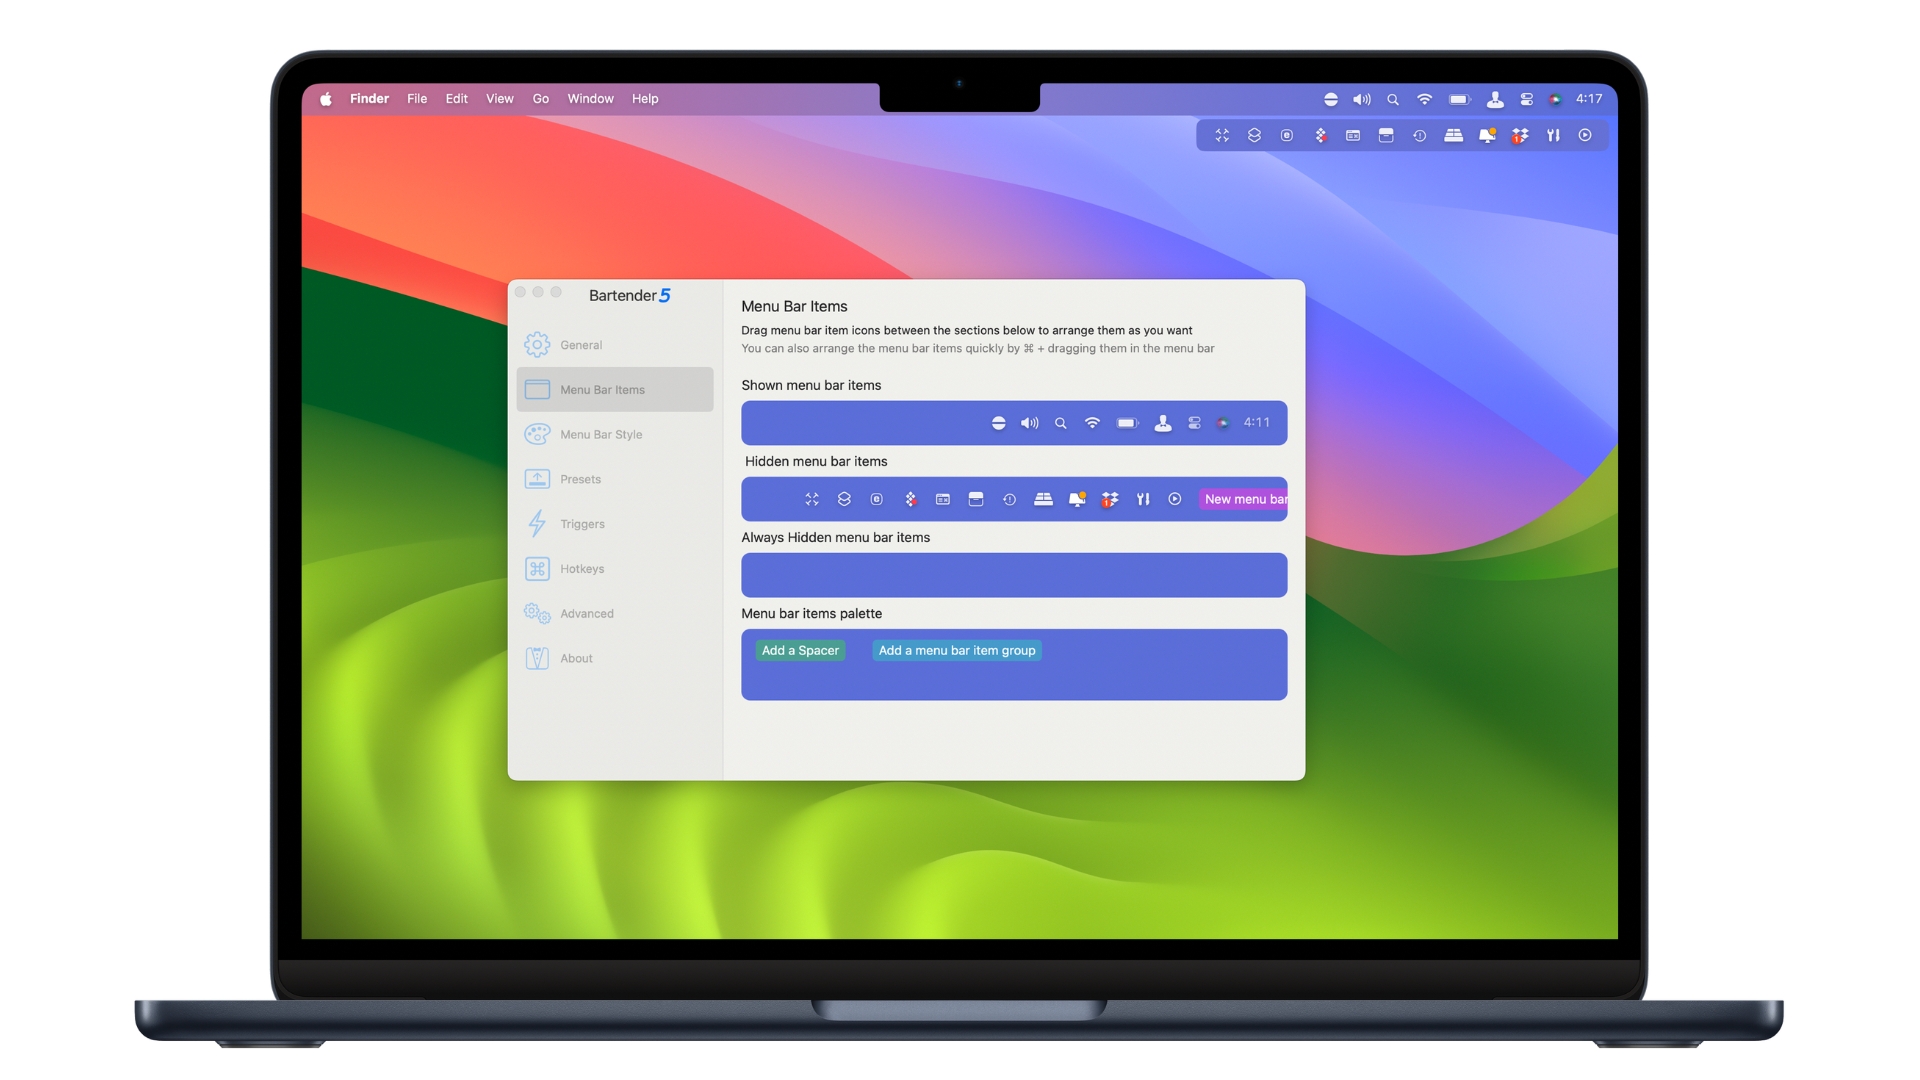
In BarTender’s Settings, you can choose which Menulets are always visible, which are hidden until you click the BarTender icon and, if there are Menulets you never need, you can add them to the Always Hidden list.
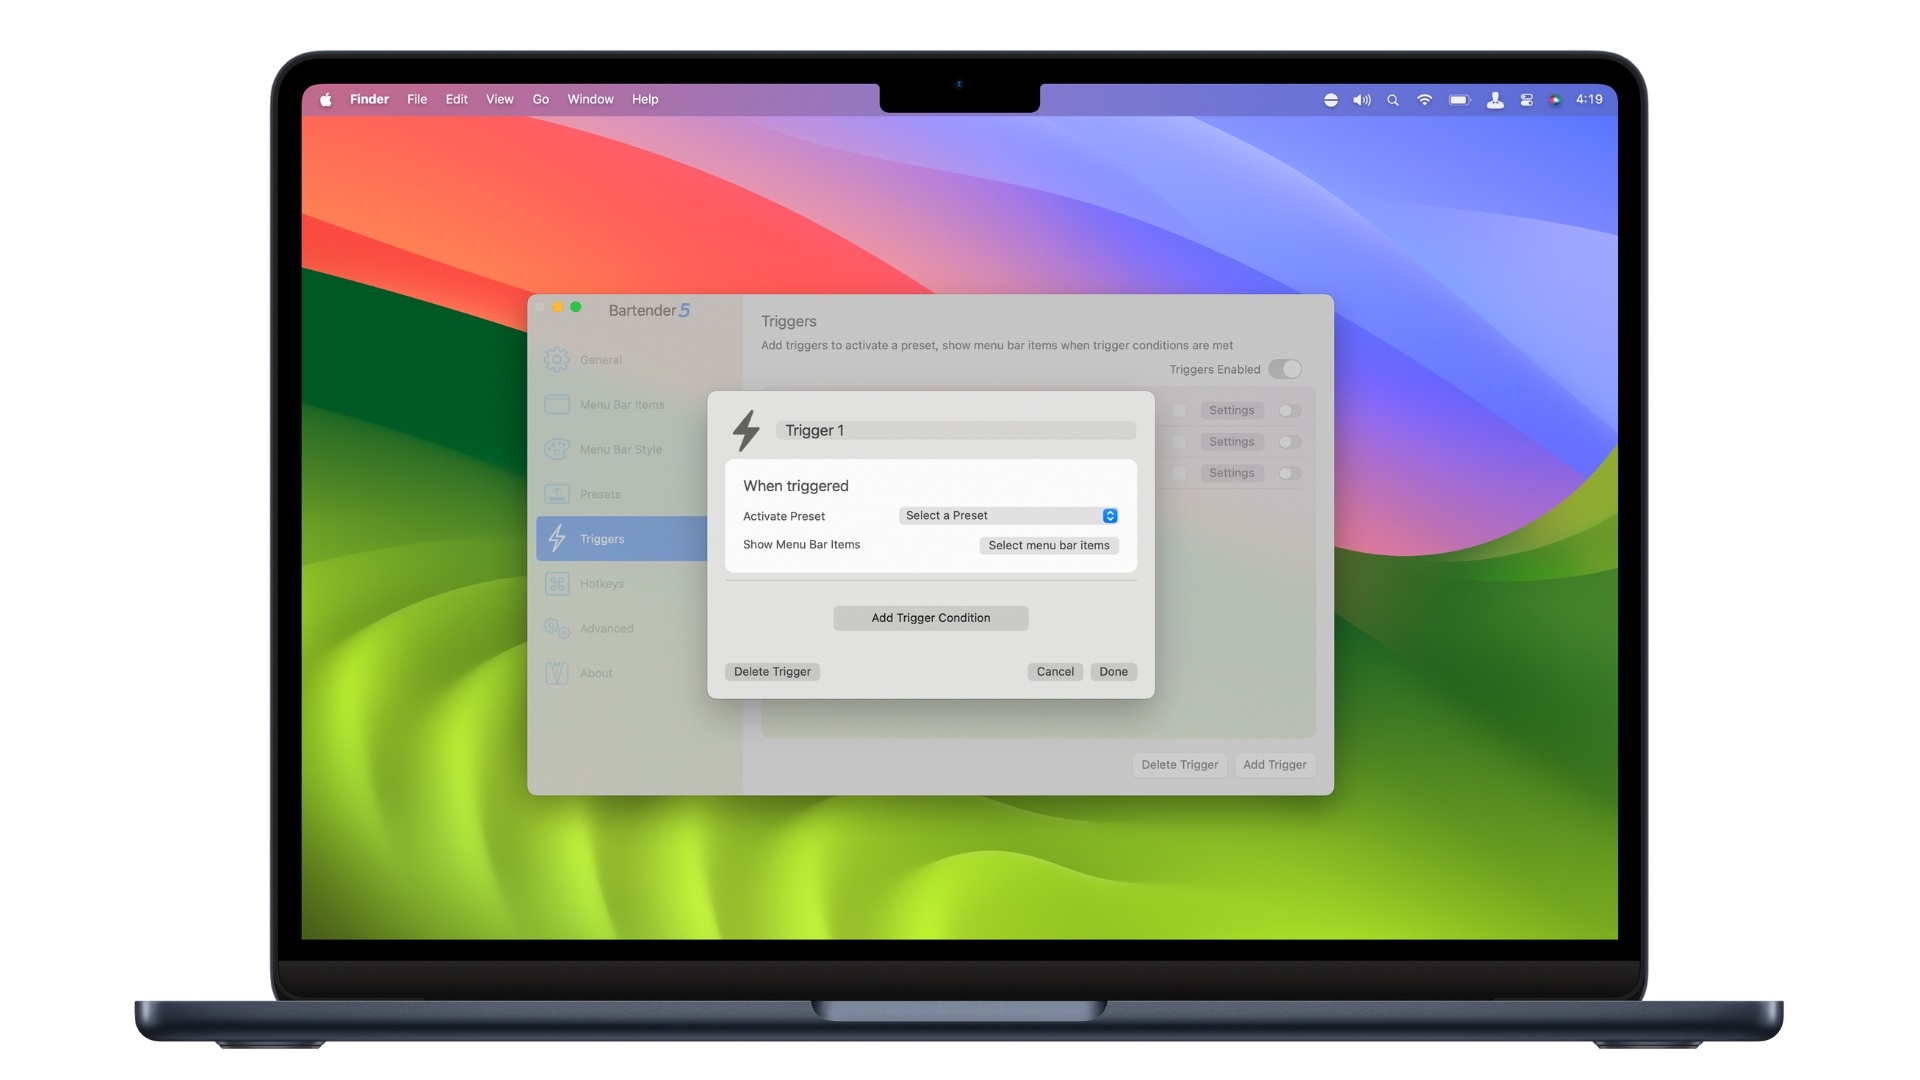
You can even set up ‘Triggers’, which display a set of menu bar items when certain conditions are met such as when on battery power or charging, when connected to or disconnected from WiFi and more. Make your own too.
Master your iPhone in minutes
iMore offers spot-on advice and guidance from our team of experts, with decades of Apple device experience to lean on. Learn more with iMore!
Off-Screen Shelf Space
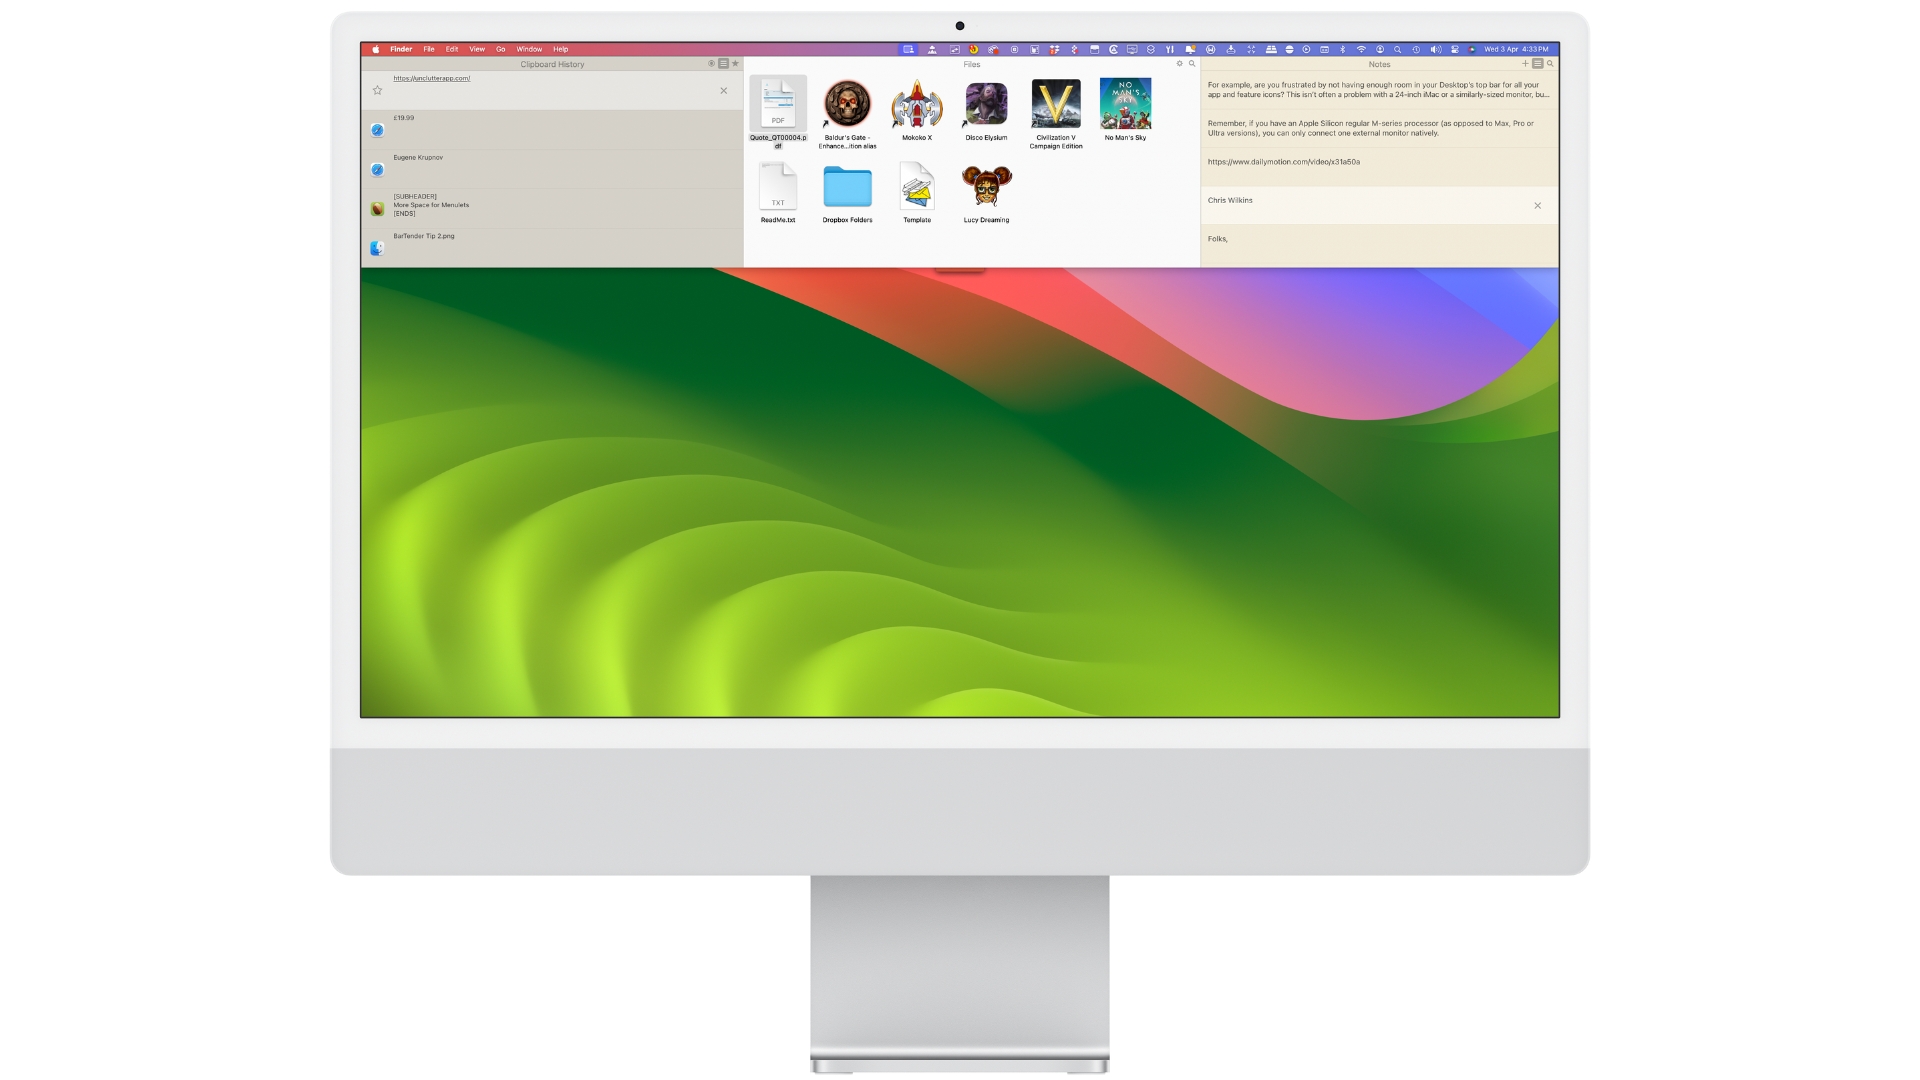
However big your screen, your desk space is limited. It soon gets cluttered with files, folders and other such icons. Wouldn’t it be great if you could store some off your Desktop, on an off-screen shelf that appeared when summoned but disappeared when you want to get on with something? Unclutter might be just what you’re looking for.
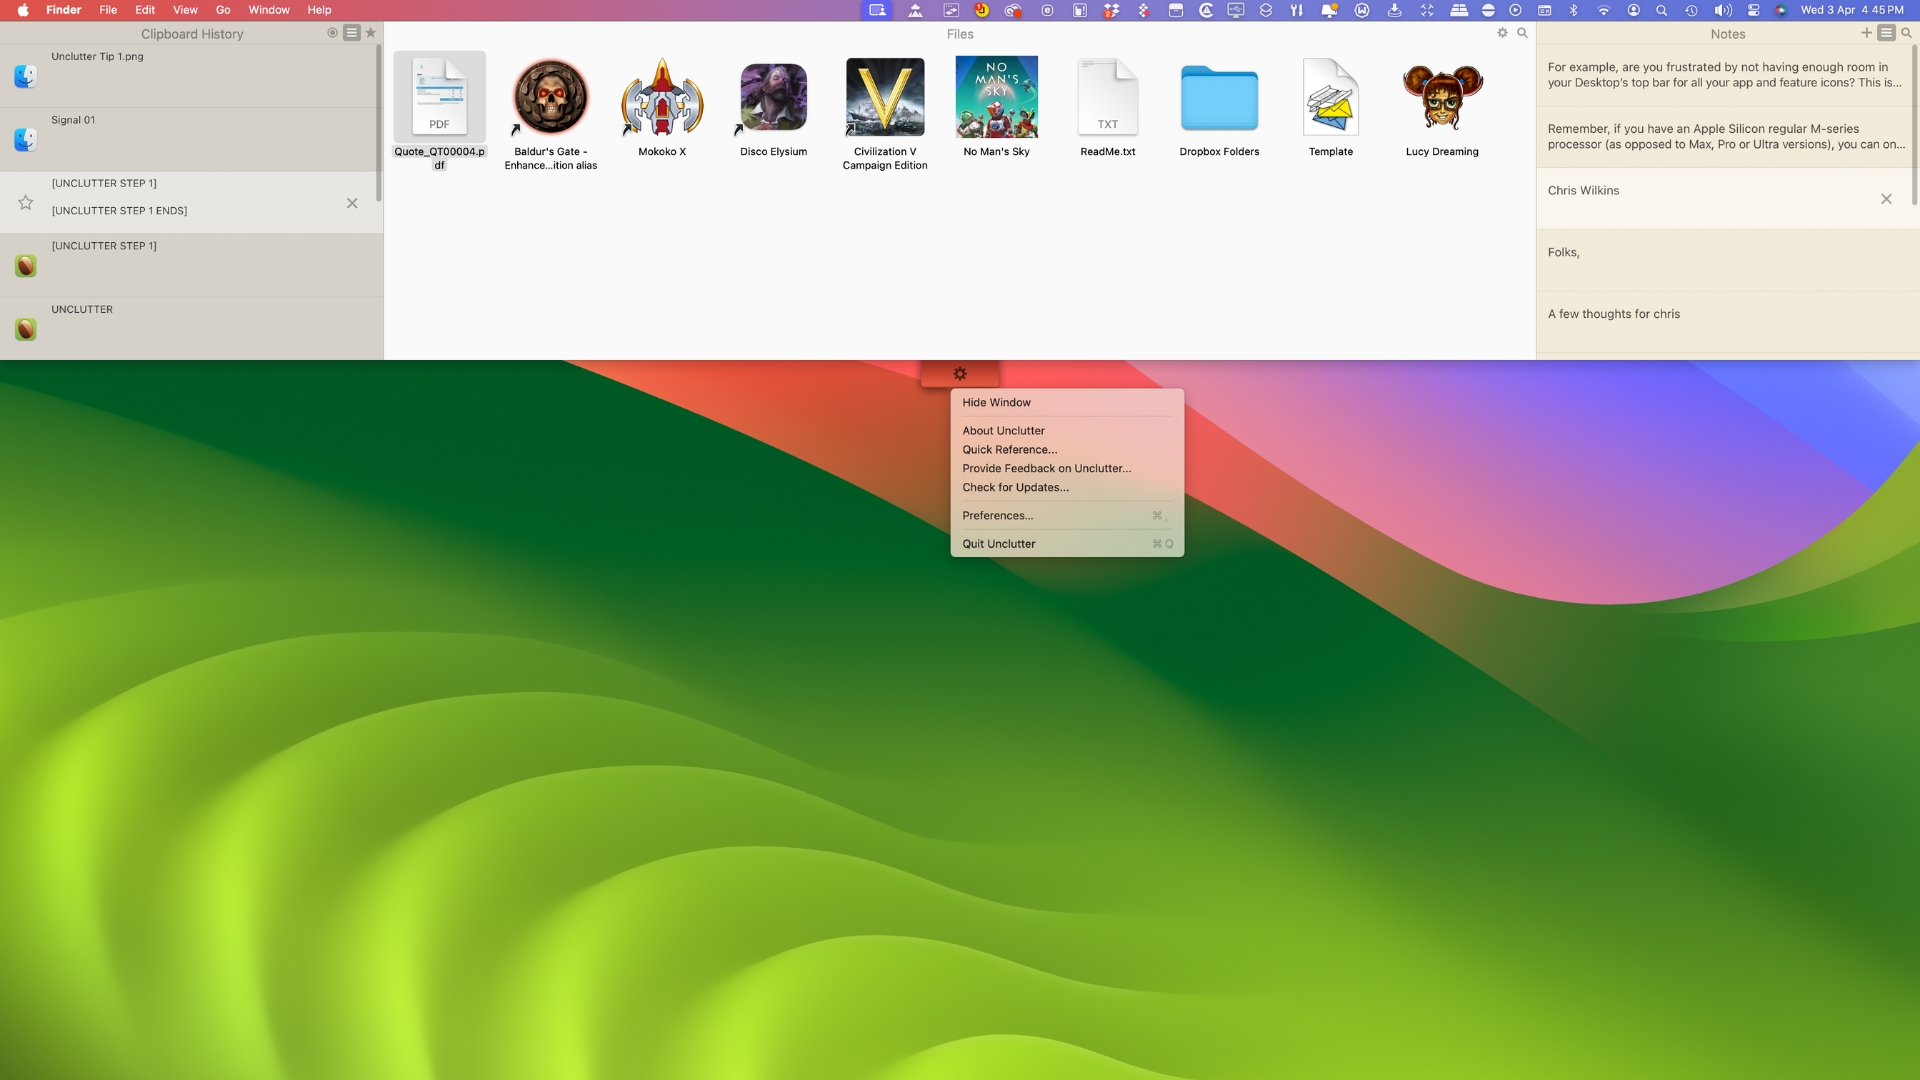
Unclutter lets you keep selected icons on such a shelf, which is revealed when you drag your pointer to the top of the screen and do a two-fingered swipe down. You can keep apps, data, and folders there, and also aliases in case you don’t want to move an item out of its current location. Clicking on an icon in Unclutter opens or launches its app, just as if it were on your Desktop, and you can use Quick Look on Unclutter icons too.
As well as being a great shelf for icons, Unclutter stores your last ten clipboard copy-and-pastes too. Click on one of them to restore it to your clipboard. You can even edit and favorite items in this Clipboard History. It also has a great Notes section, where you can make and save a short note without having to open your Notes App. Unclutter Notes can be searched, listed, and deleted.
How to use Unclutter
Open Unclutter by moving your pointer to the top of the screen and swiping down with two fingers. It also has a Menulet you can use to show and hide the Unclutter window, open the Preferences and more.
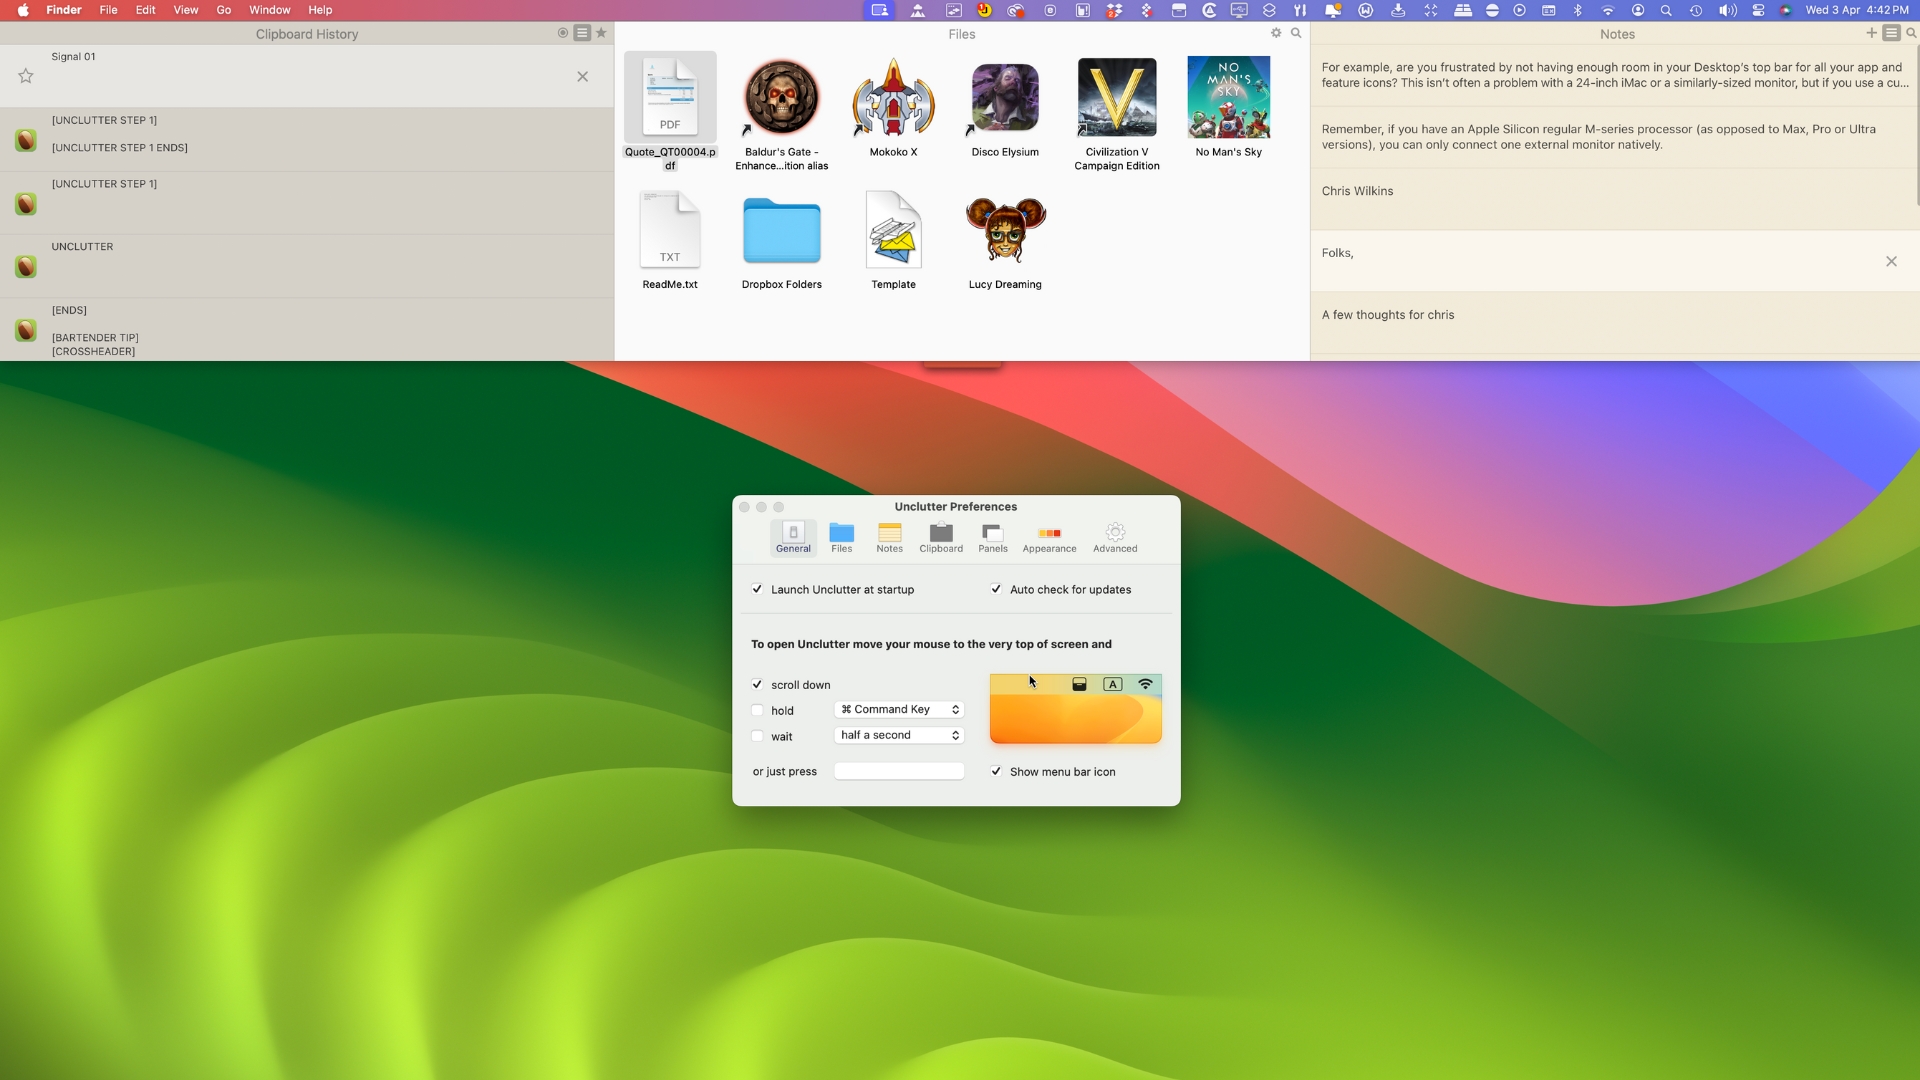
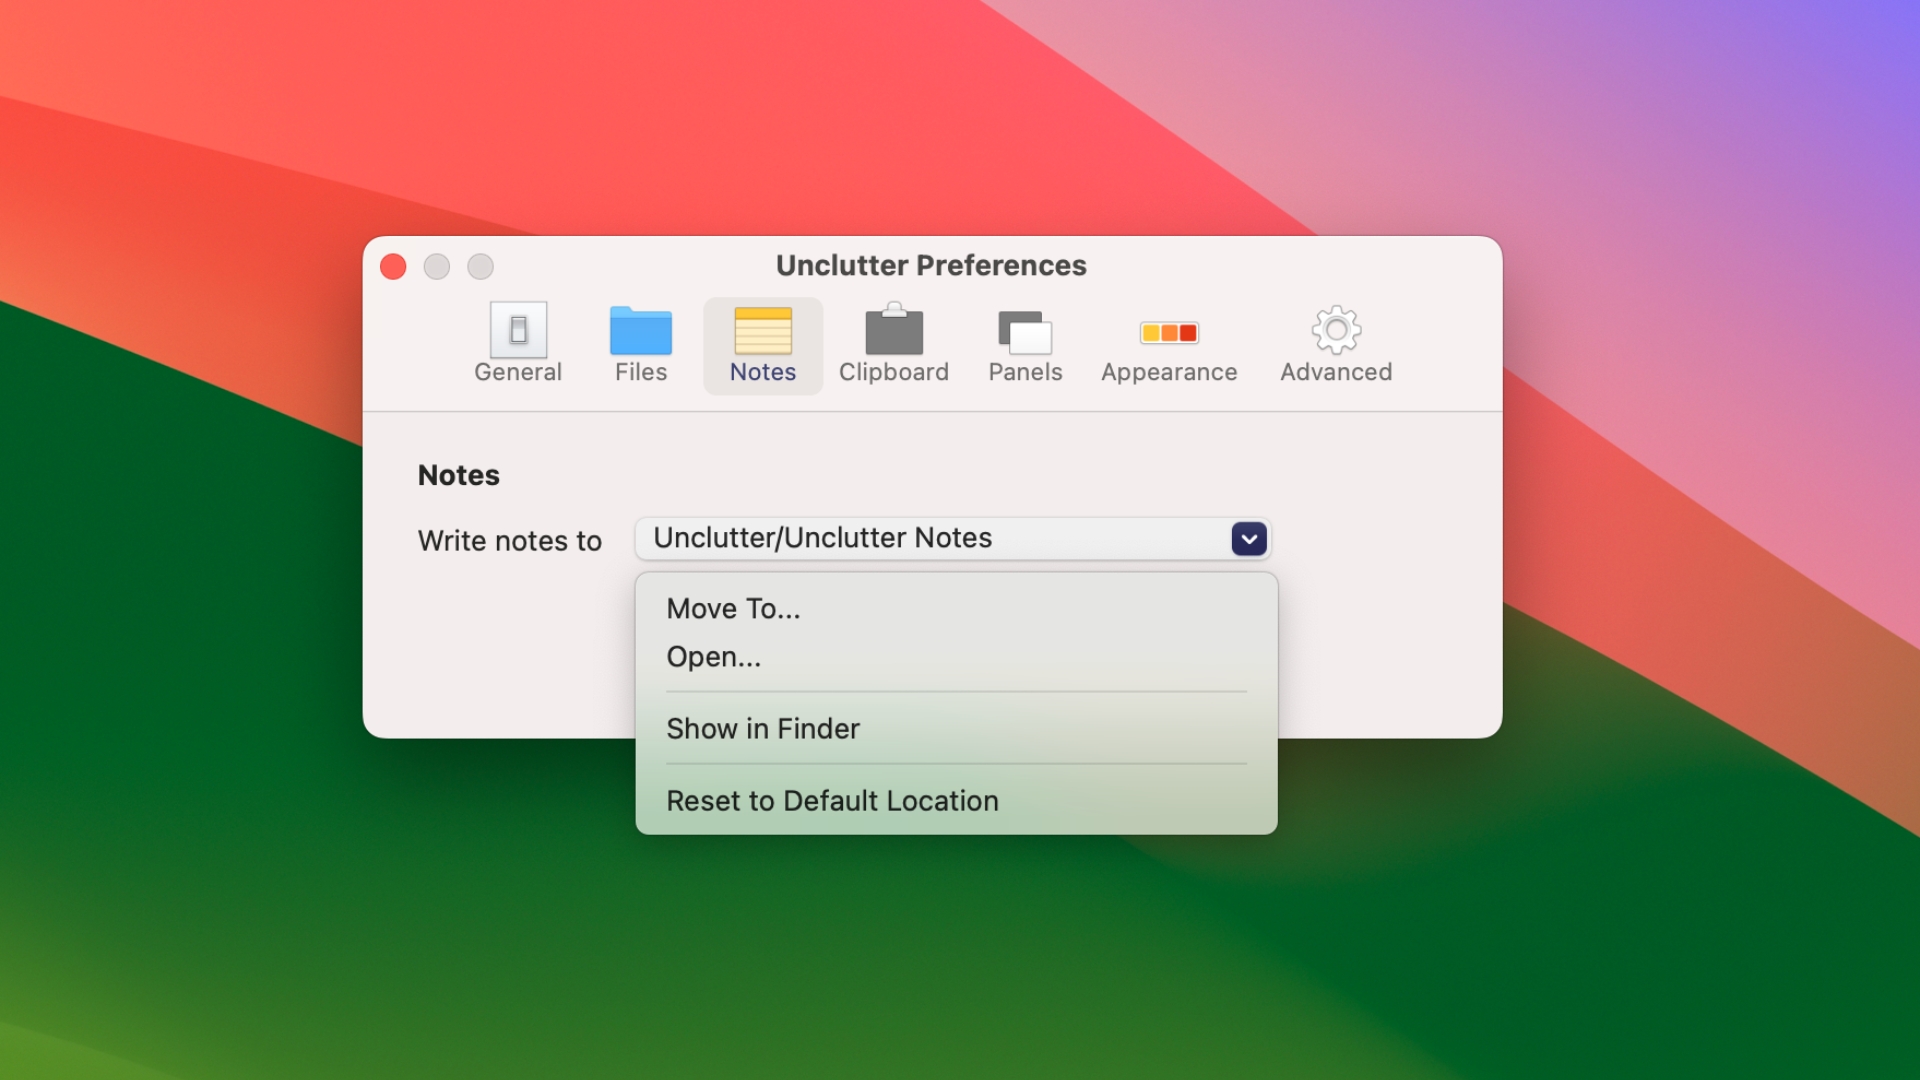
With Unclutter’s Preferences, you can change the way you summon the window, set where items stored in Unclutter are kept on your Mac, exclude apps from the Clipboard History to keep sensitive data private and more.
You can drag the dividing lines between Unclutter’s three sections to change their respective sizes. Also, when the window is open, you can hover over the tab at the bottom and click the cog that’s revealed for an options menu.
Keep Your Mac From Sleeping
When your Mac has been idle for a while, it goes to sleep to save energy. In Sleep Mode the screen is turned off, the processor goes into power-saving mode, Bluetooth is deactivated and various other functions are suspended. But what if you want to keep it awake while you’re away from your keyboard? There’s a quick and easy way to do just that.
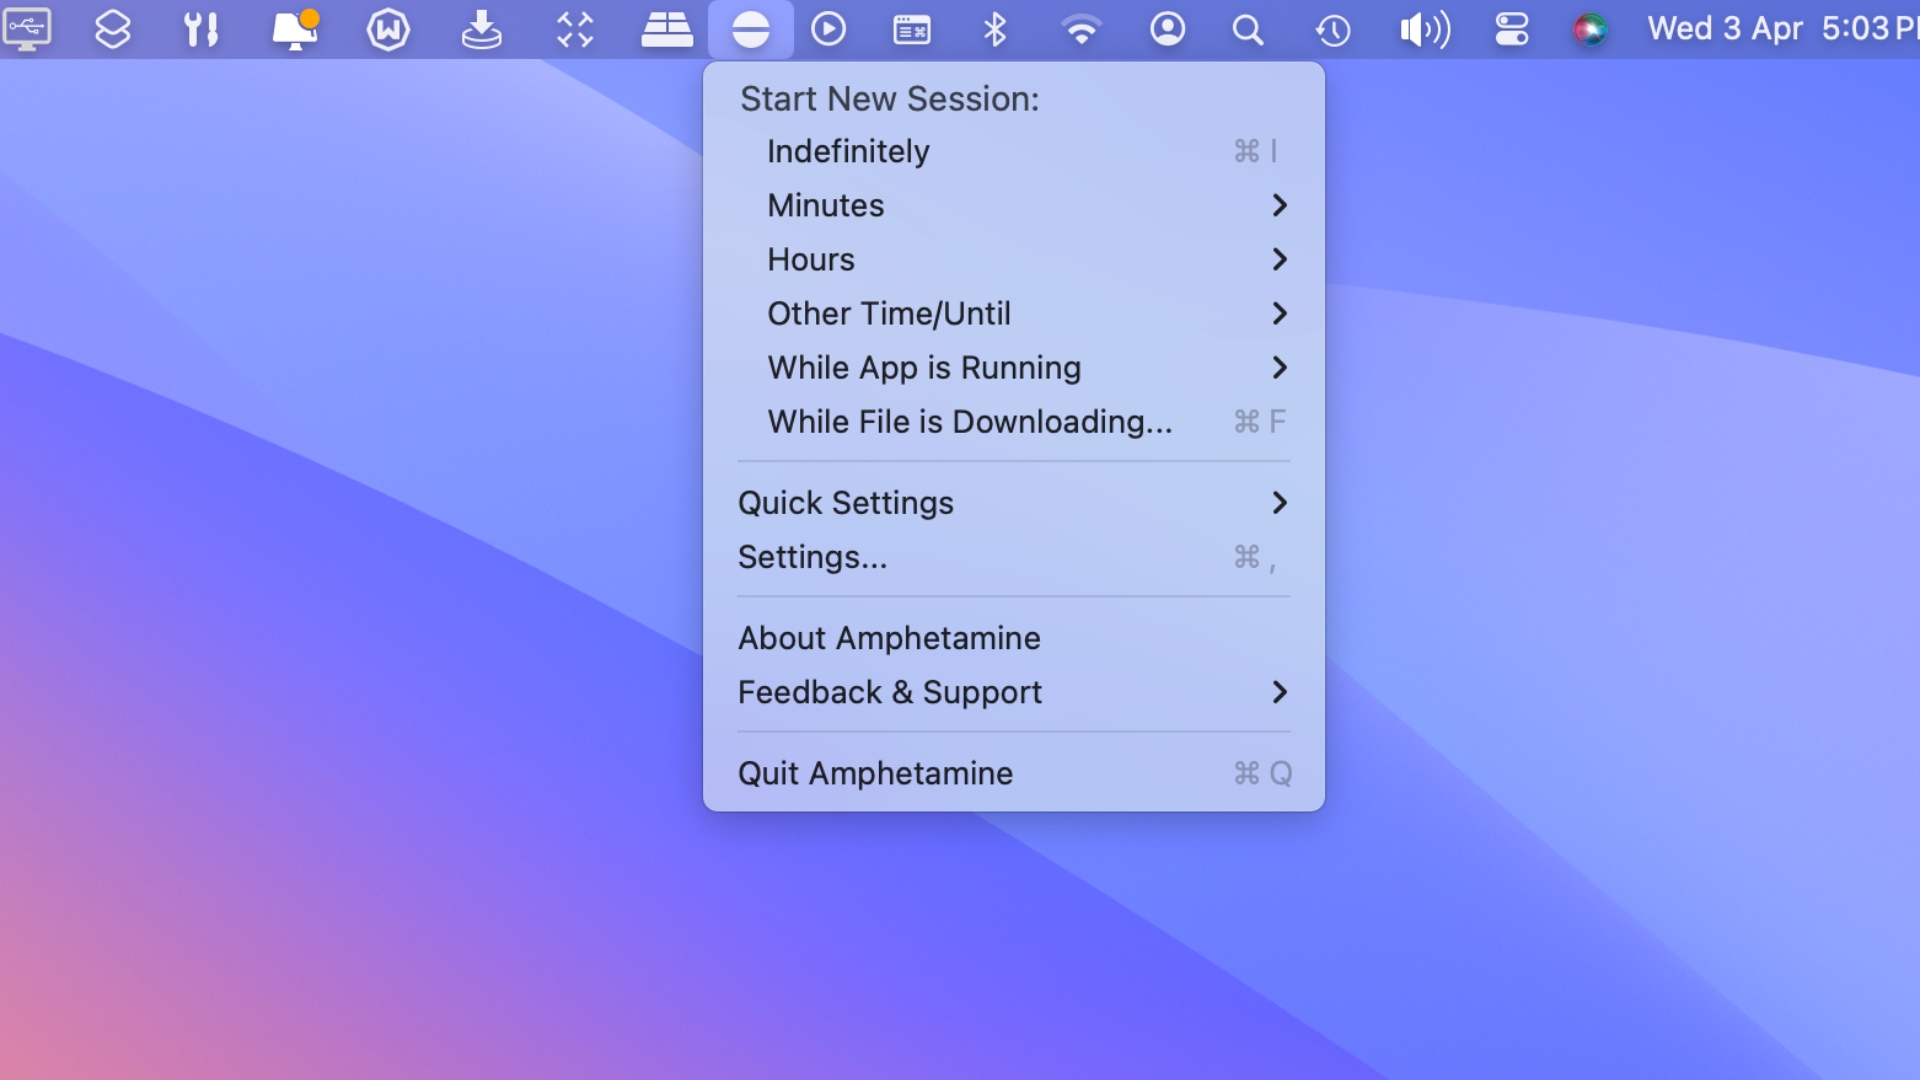
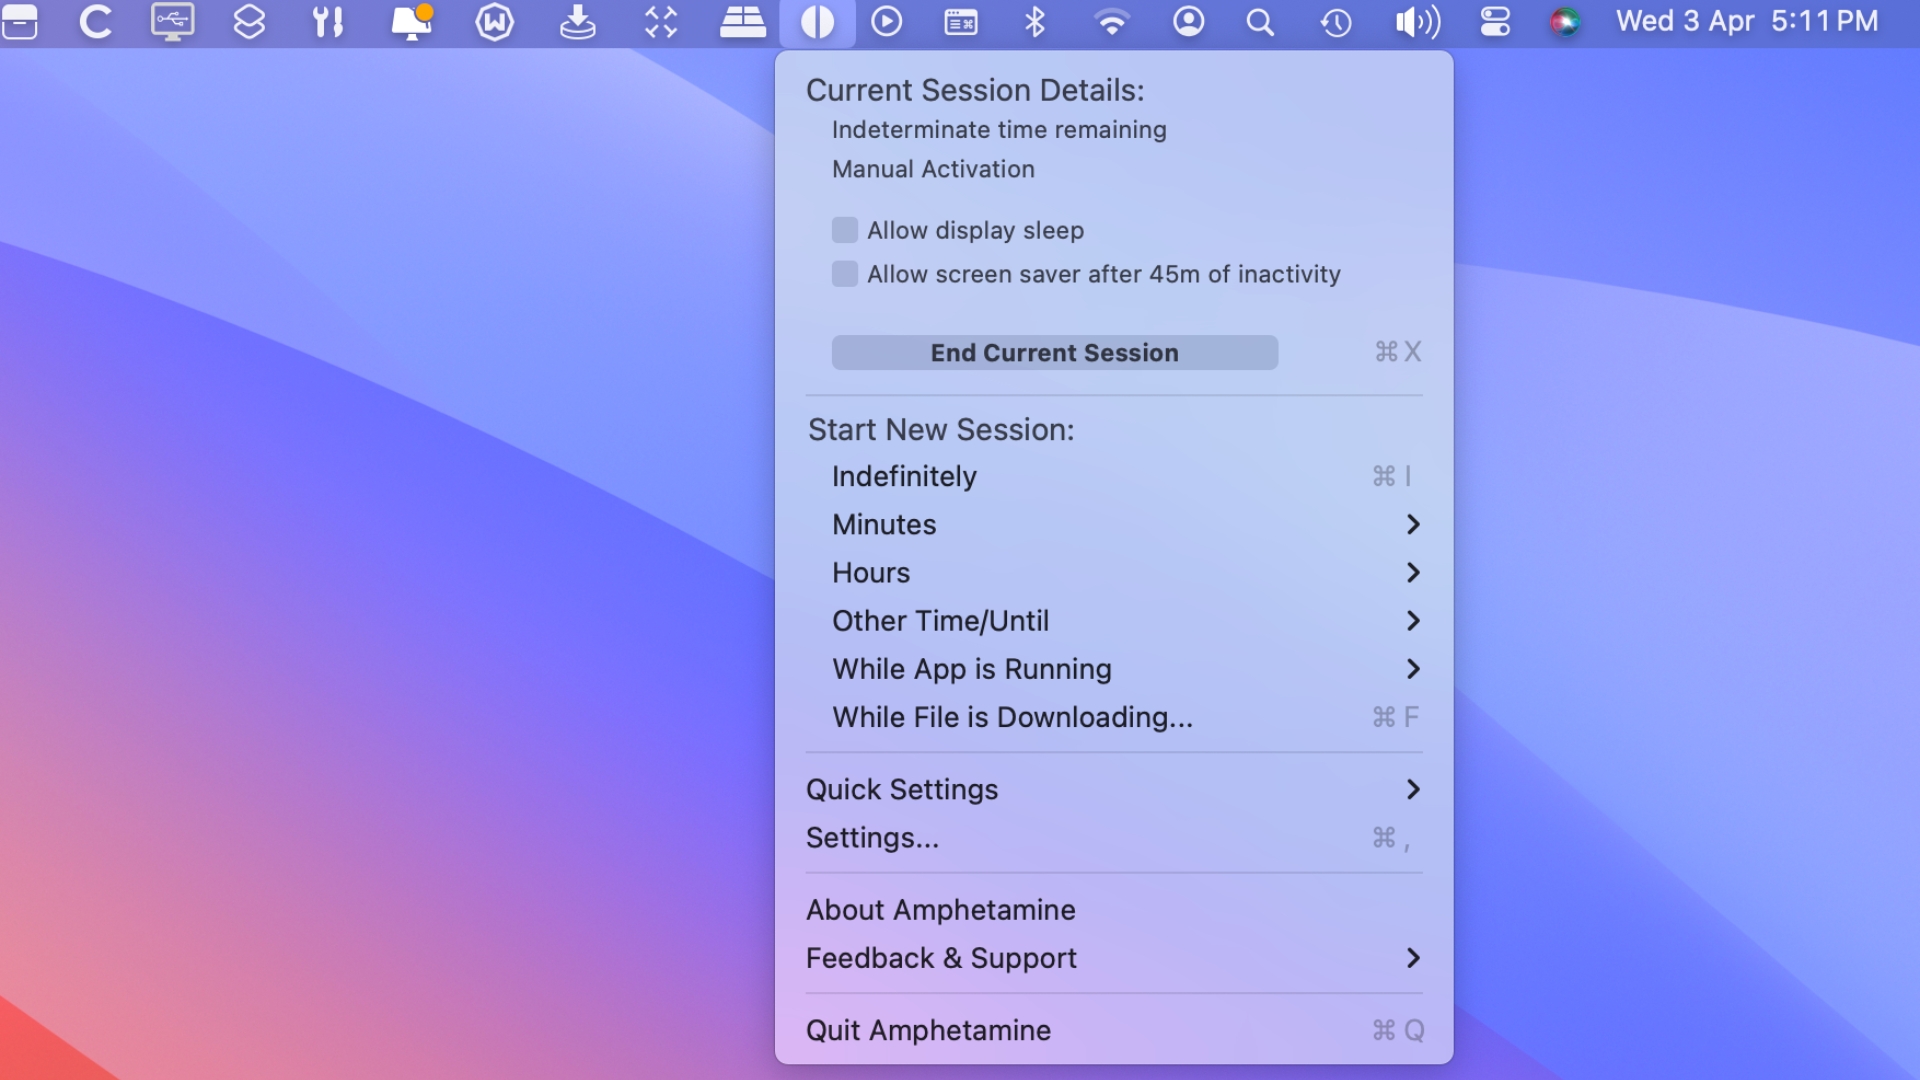
Amphetamine sits in your menu bar, out of the way until you click it. When you do, you get a menu that lets you start a new session, preventing your Mac from going to sleep. You can have this last until you switch it off, for a set time, or until a chosen app is quit.
How to use Amphetamine
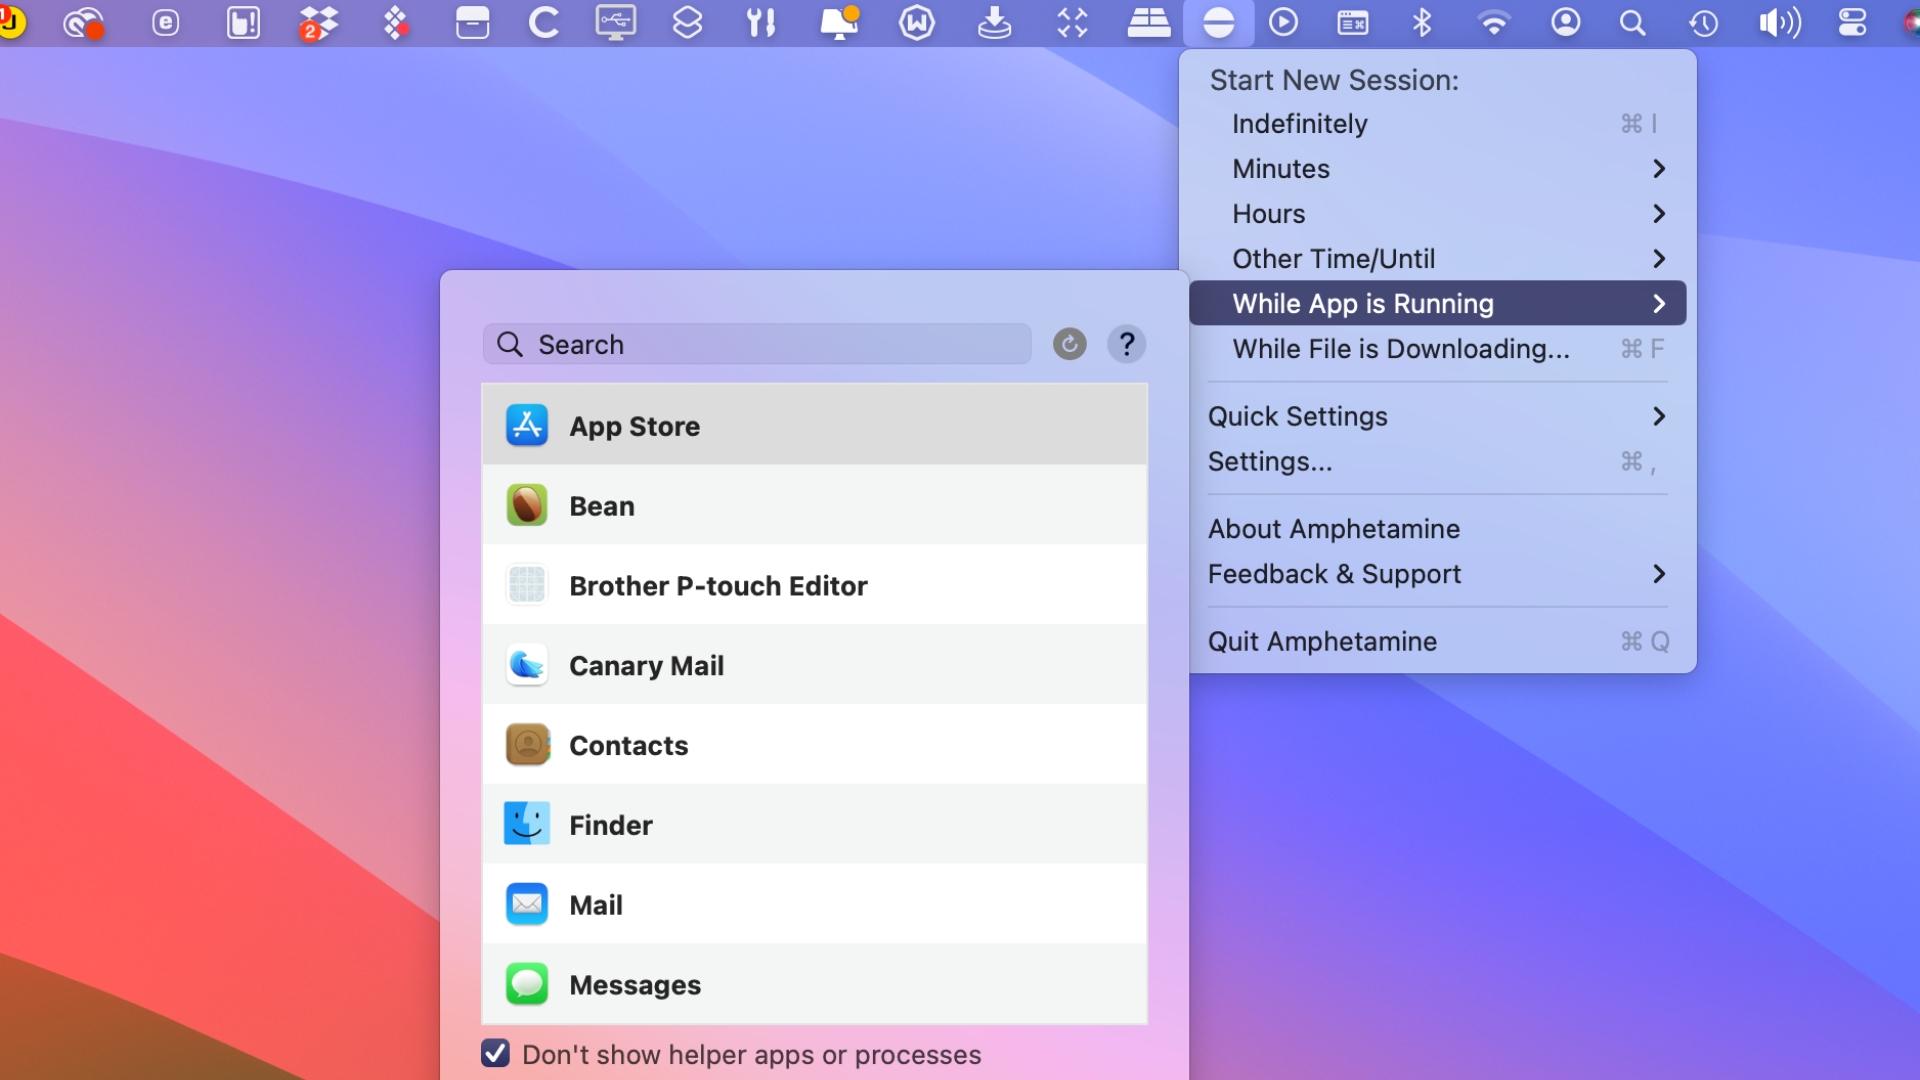
You can set Amphetamine to keep your Mac awake until you switch this off manually, for a set number of minutes or hours, or until a running app is quit. This is useful if you have a background app you don’t want to be interrupted.
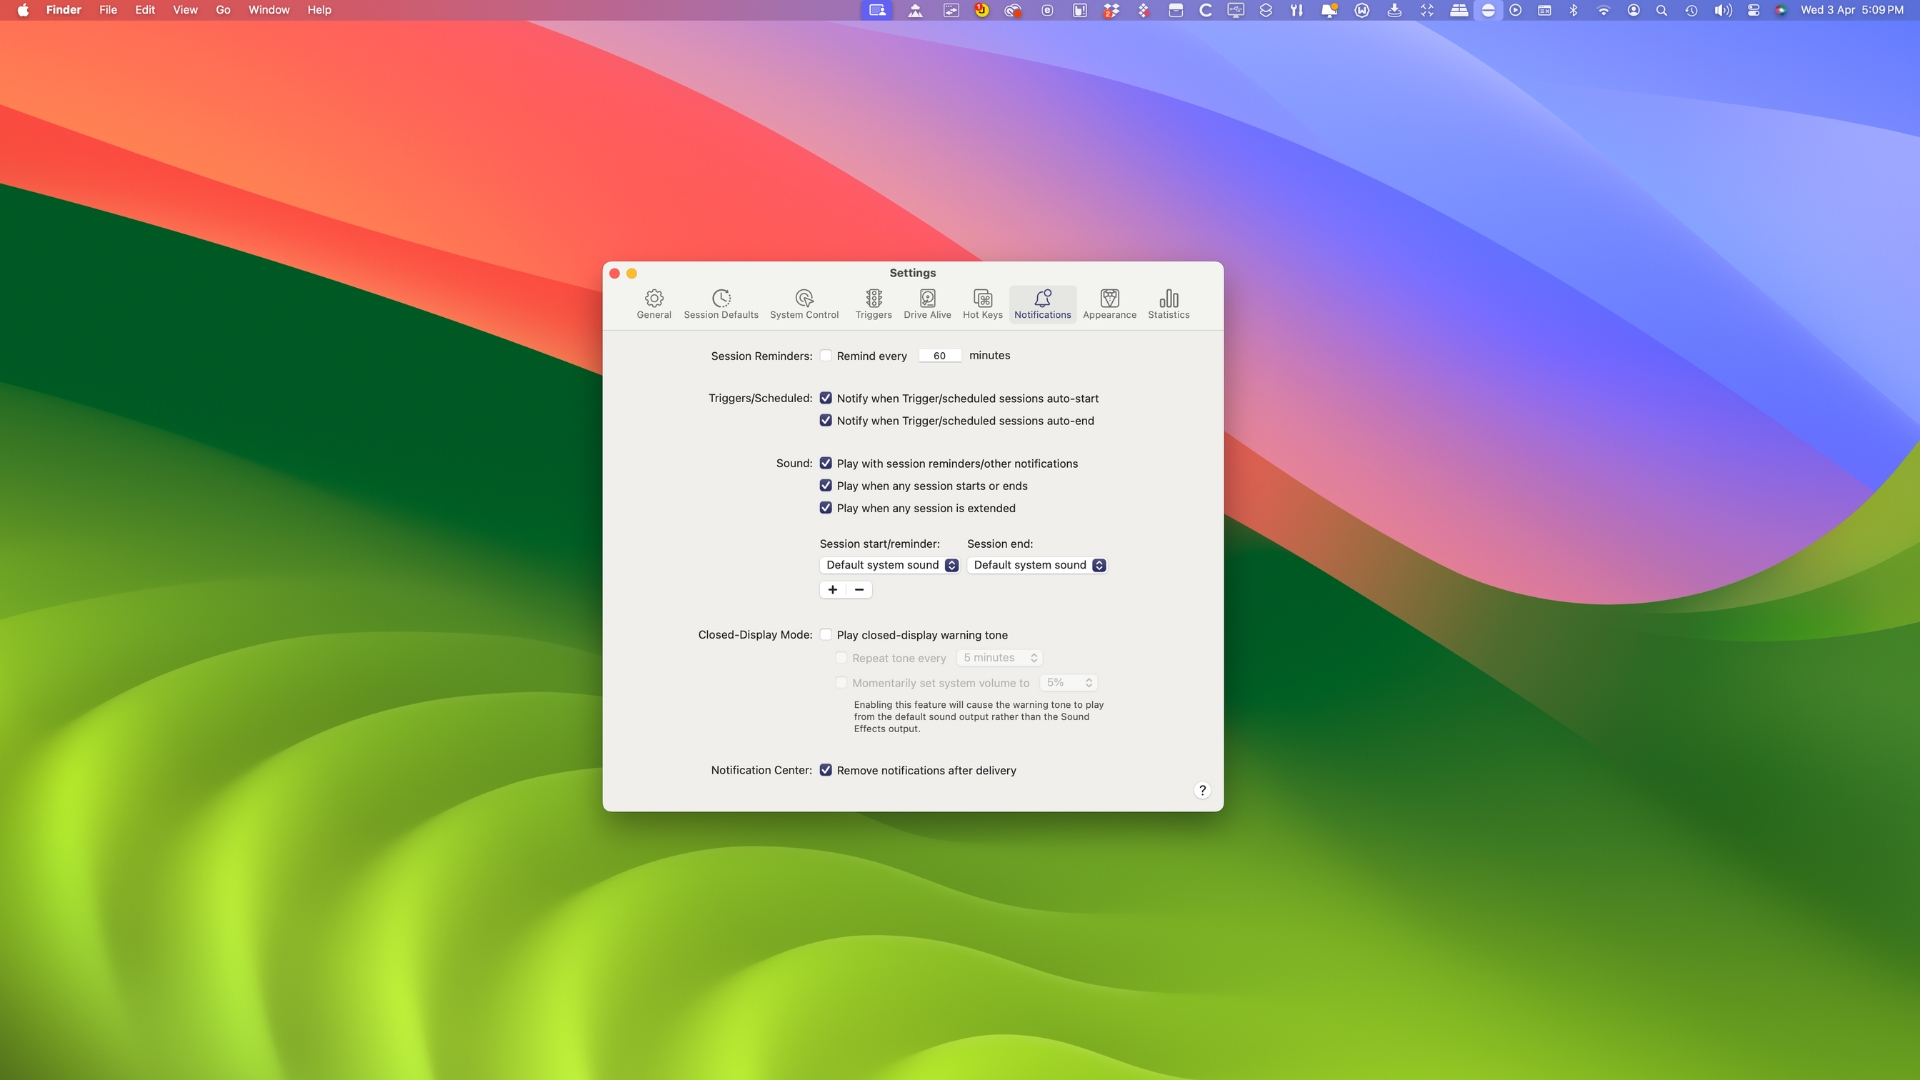
Using Amphetamine’s settings, you can set up or switch off Notifications to tell you when an Amphetamine session starts or ends, set sounds for the beginning and end of a session, set reminders for ongoing sessions, and more.
When Amphetamine is active, the horizontal line on its Menulet icon turns vertical. Click on it for a menu that lets you turn it off, and set whether the current session allows the display to go to sleep or not.
Snatch That Text
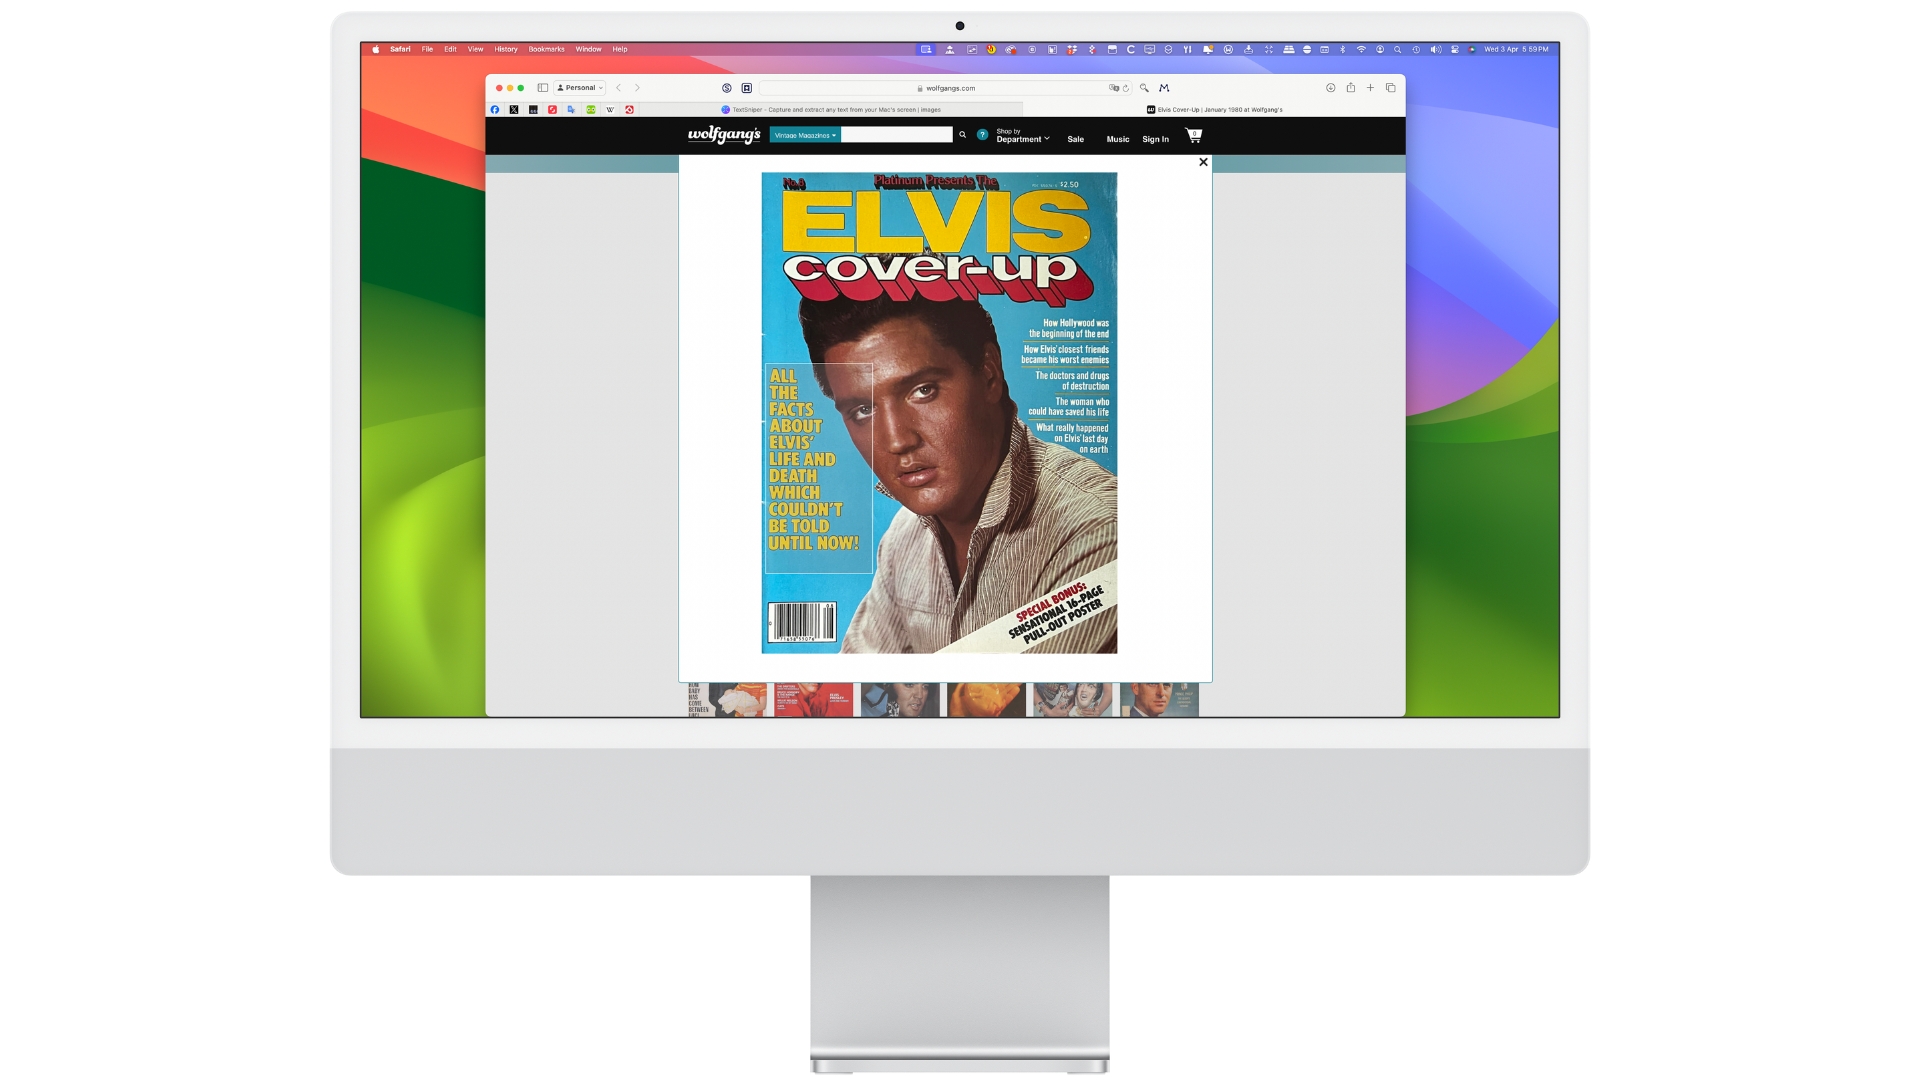
It’s not difficult to copy text to your clipboard these days. If it’s in an editable document, there’s no problem at all. You can snatch text from a PDF easily enough, and even from a photograph using Live Text. But what about those places where you can’t highlight or copy text?
With TextSniper, you can copy text from anywhere on the screen. If you can read it, you can copy it. This includes places from where you wouldn’t usually be able to copy, such as YouTube videos, images, online courses, screencasts, presentations, webpages, video tutorials and more. You just press SHIFT-CMD-2 on your keyboard, and pointer turns into a cursor. Click and hold the mouse button and drag the cursor over this text and it’s copied to your clipboard. Simple!
How to snipe text
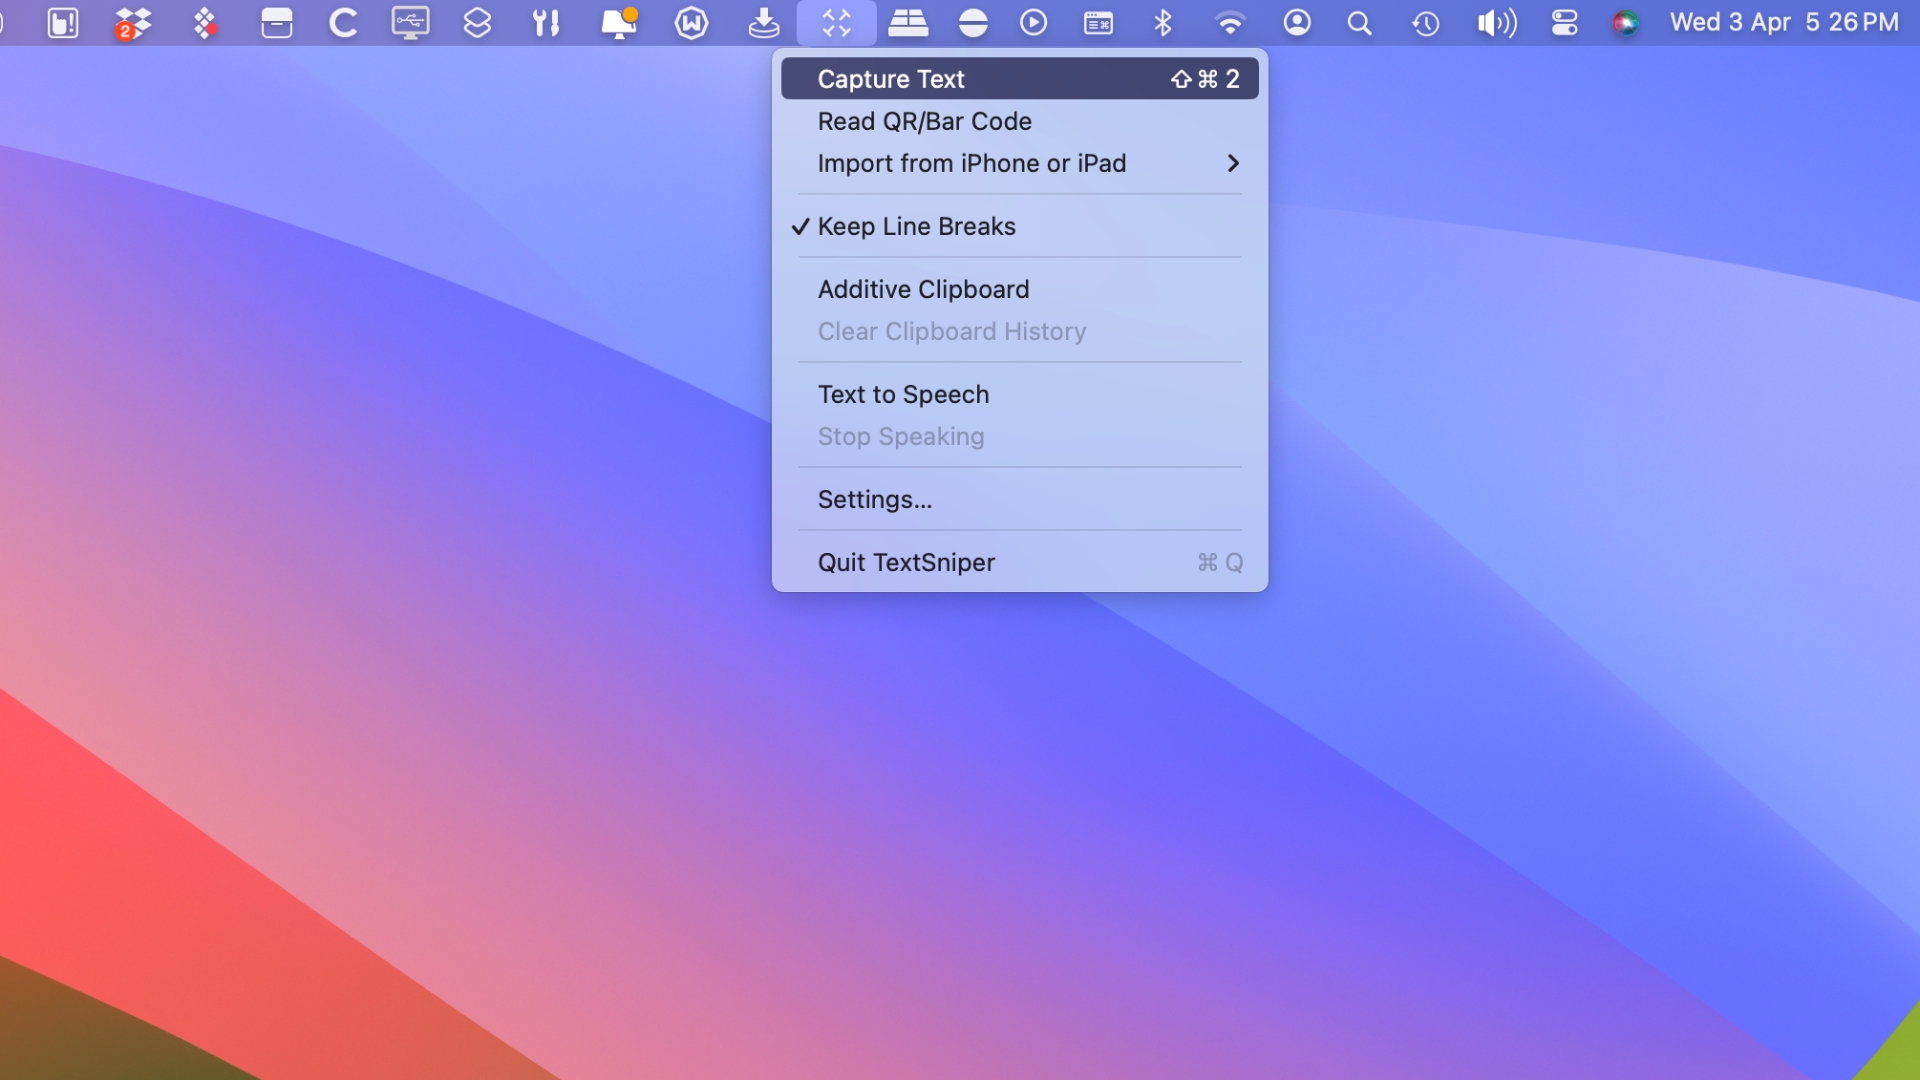
As well as using a keyboard command, you can also activate TextSniper from the menu bar. Look for the Menulet icon that looks like a rifle sight’s crosshairs, and click on it. You can also open the Settings from here.
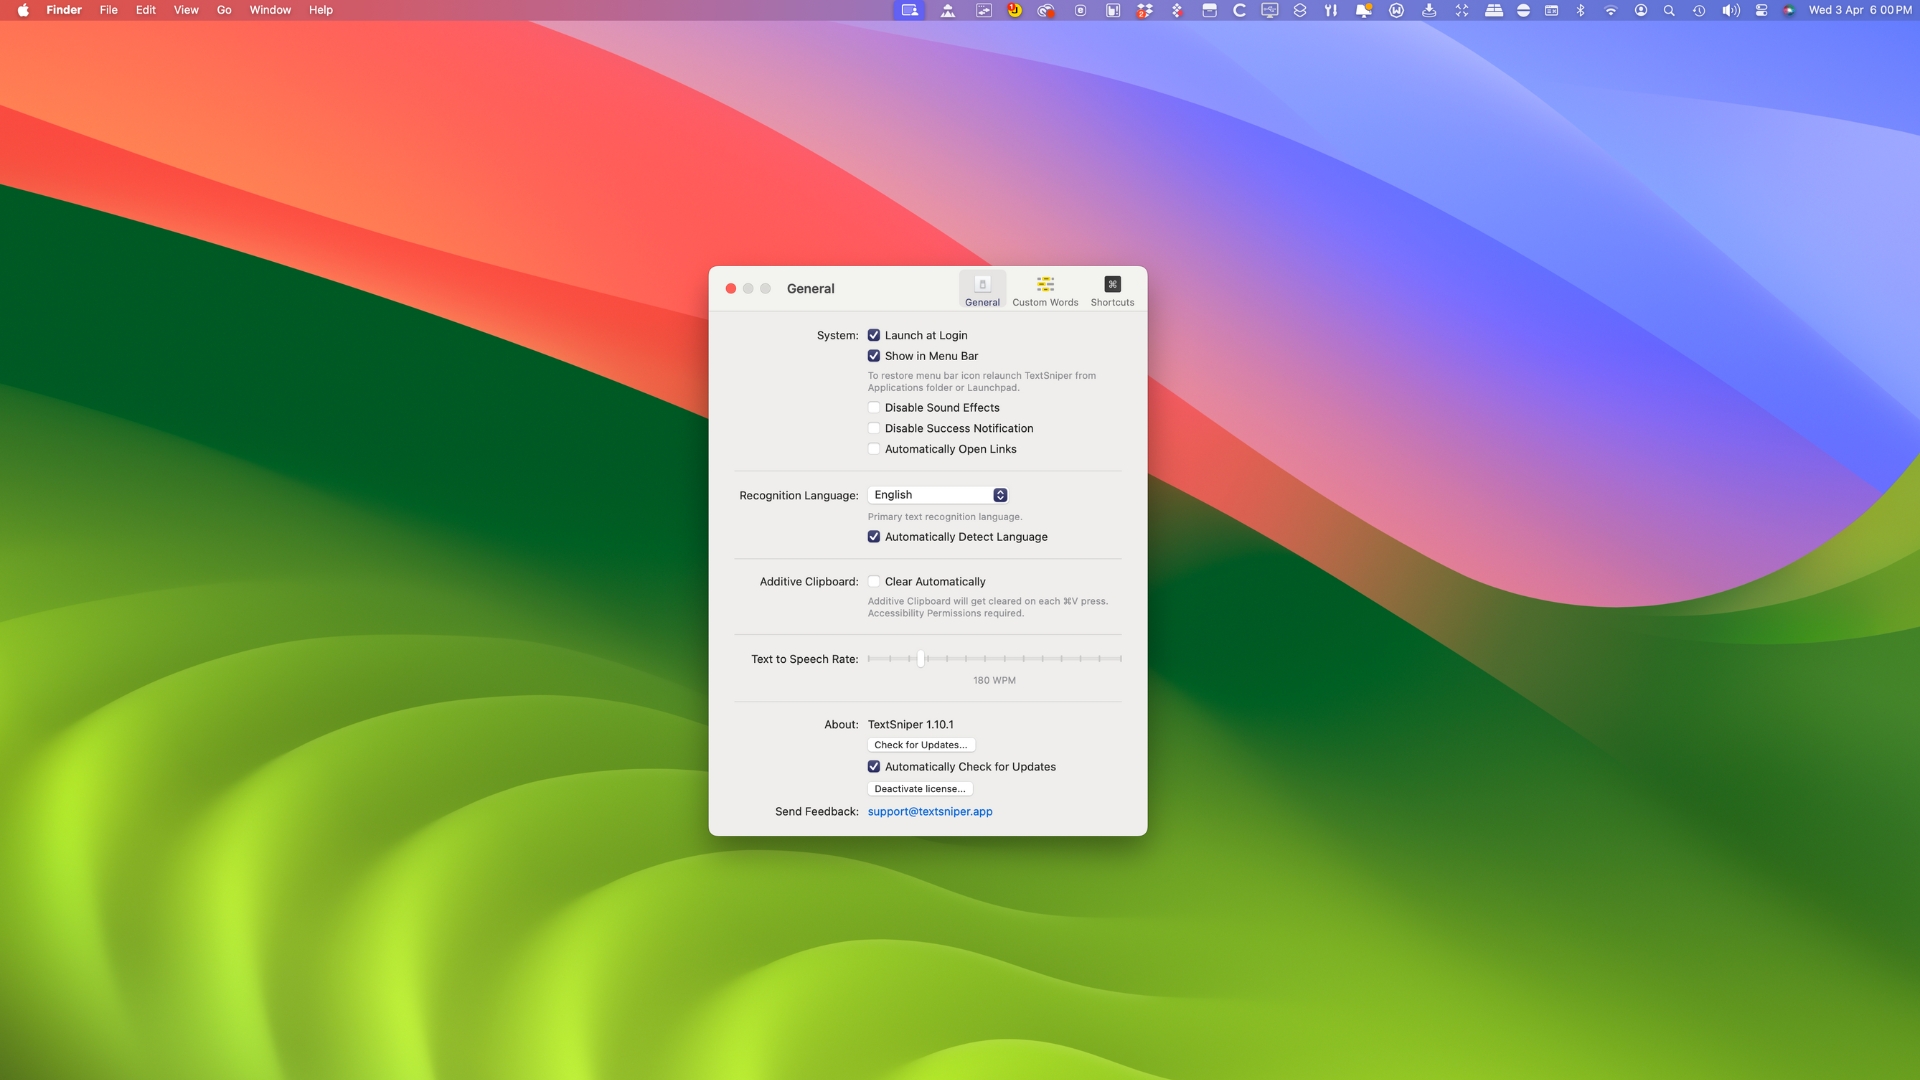
Using TextSniper’s Settings, you can have the app launch at login, set its primary language, set up custom words the app might otherwise have trouble recognizing, customize its keyboard shortcuts, and more.
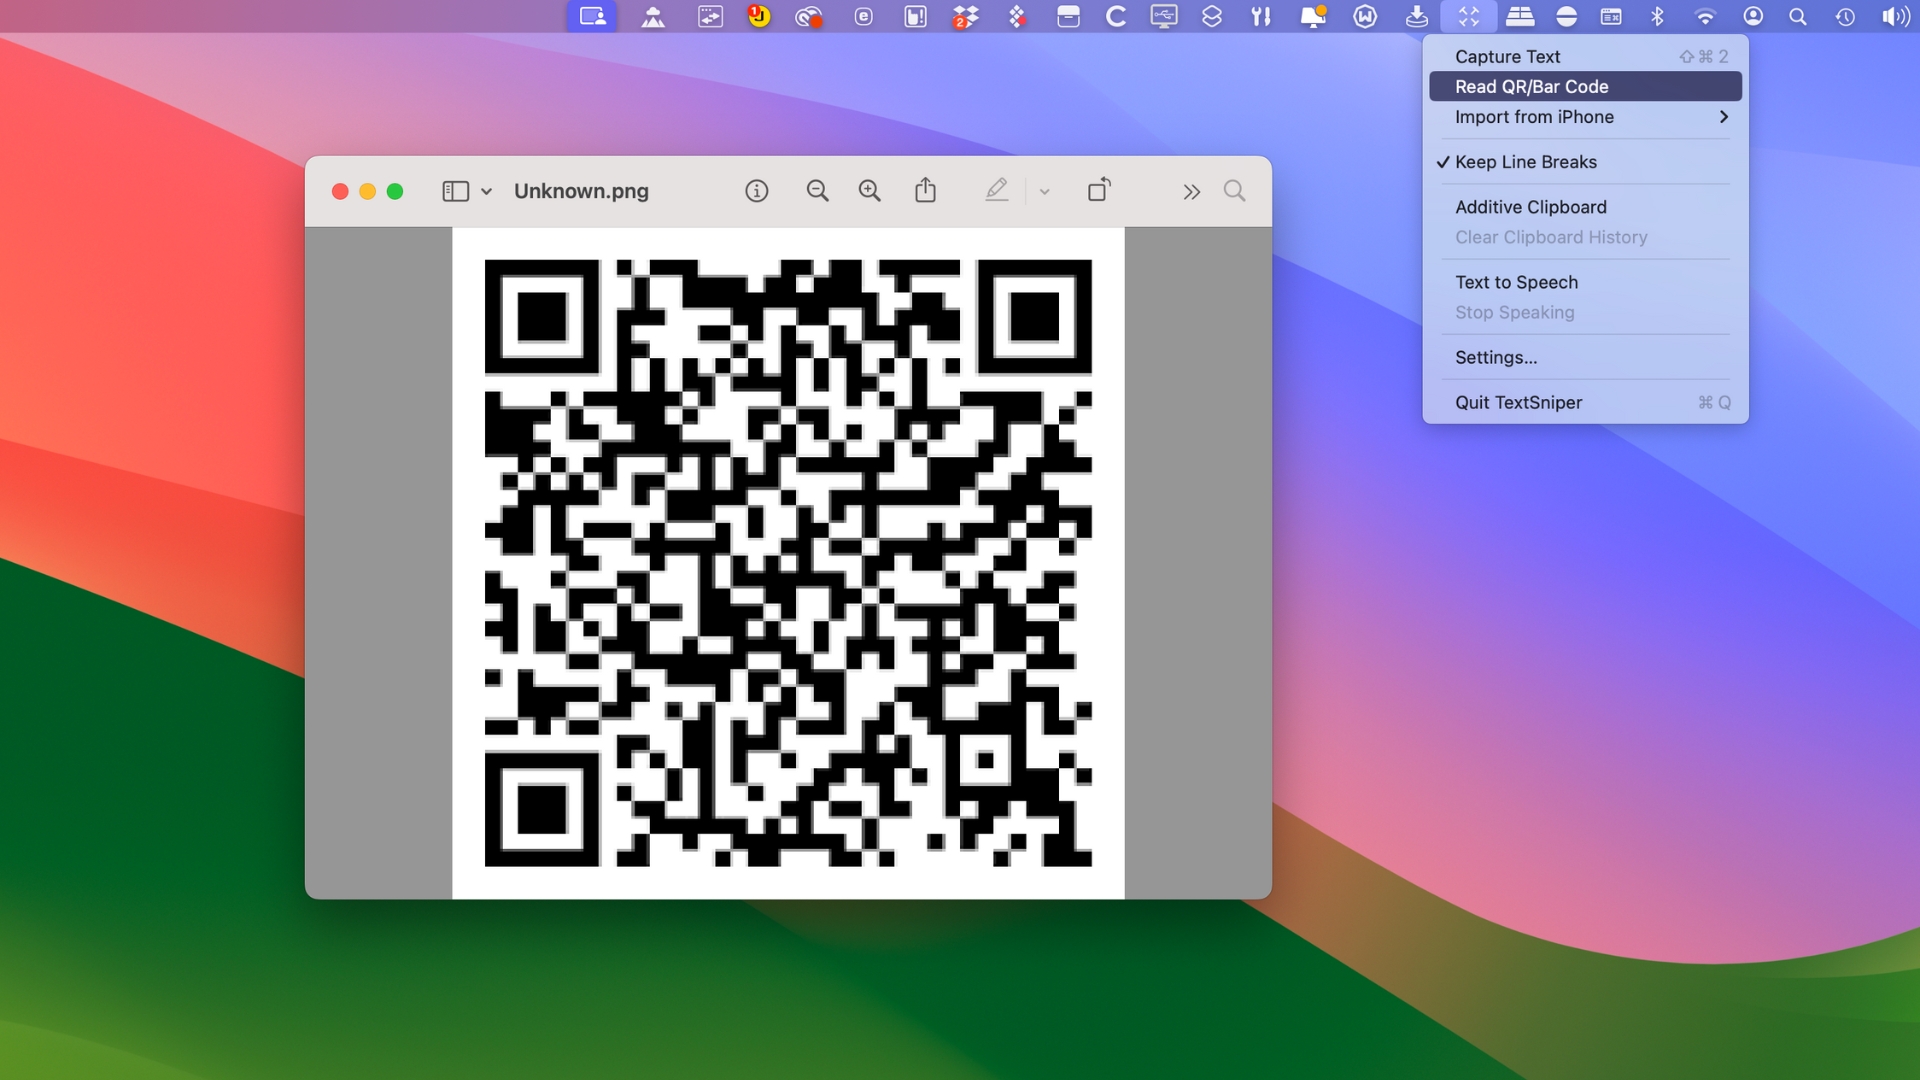
You can also use TextSniper to read text using text-to-speech. Choose the option from the Menulet’s menu. You can also use it to read barcodes and QR codes, again from the menu found by clicking on the Menulet.

Ian started his career as a games journalist, working on legendary magazines such as Crash and Zzap! 64, before moving into tech. As well as iMore, he currently works for titles such as MacFormat and Mac!Life. He also has a keen interest in history, and has written several bookazines about famous battles in World War II. His favourite computer is his M1 iMac, but his M2 MacBook Air gets a lot of love too. He’s also a keen user of other Apple devices, such as his iPad Pro, iPhone 15 Pro and Apple Watch.
