How to migrate data to a new Synology Diskstation

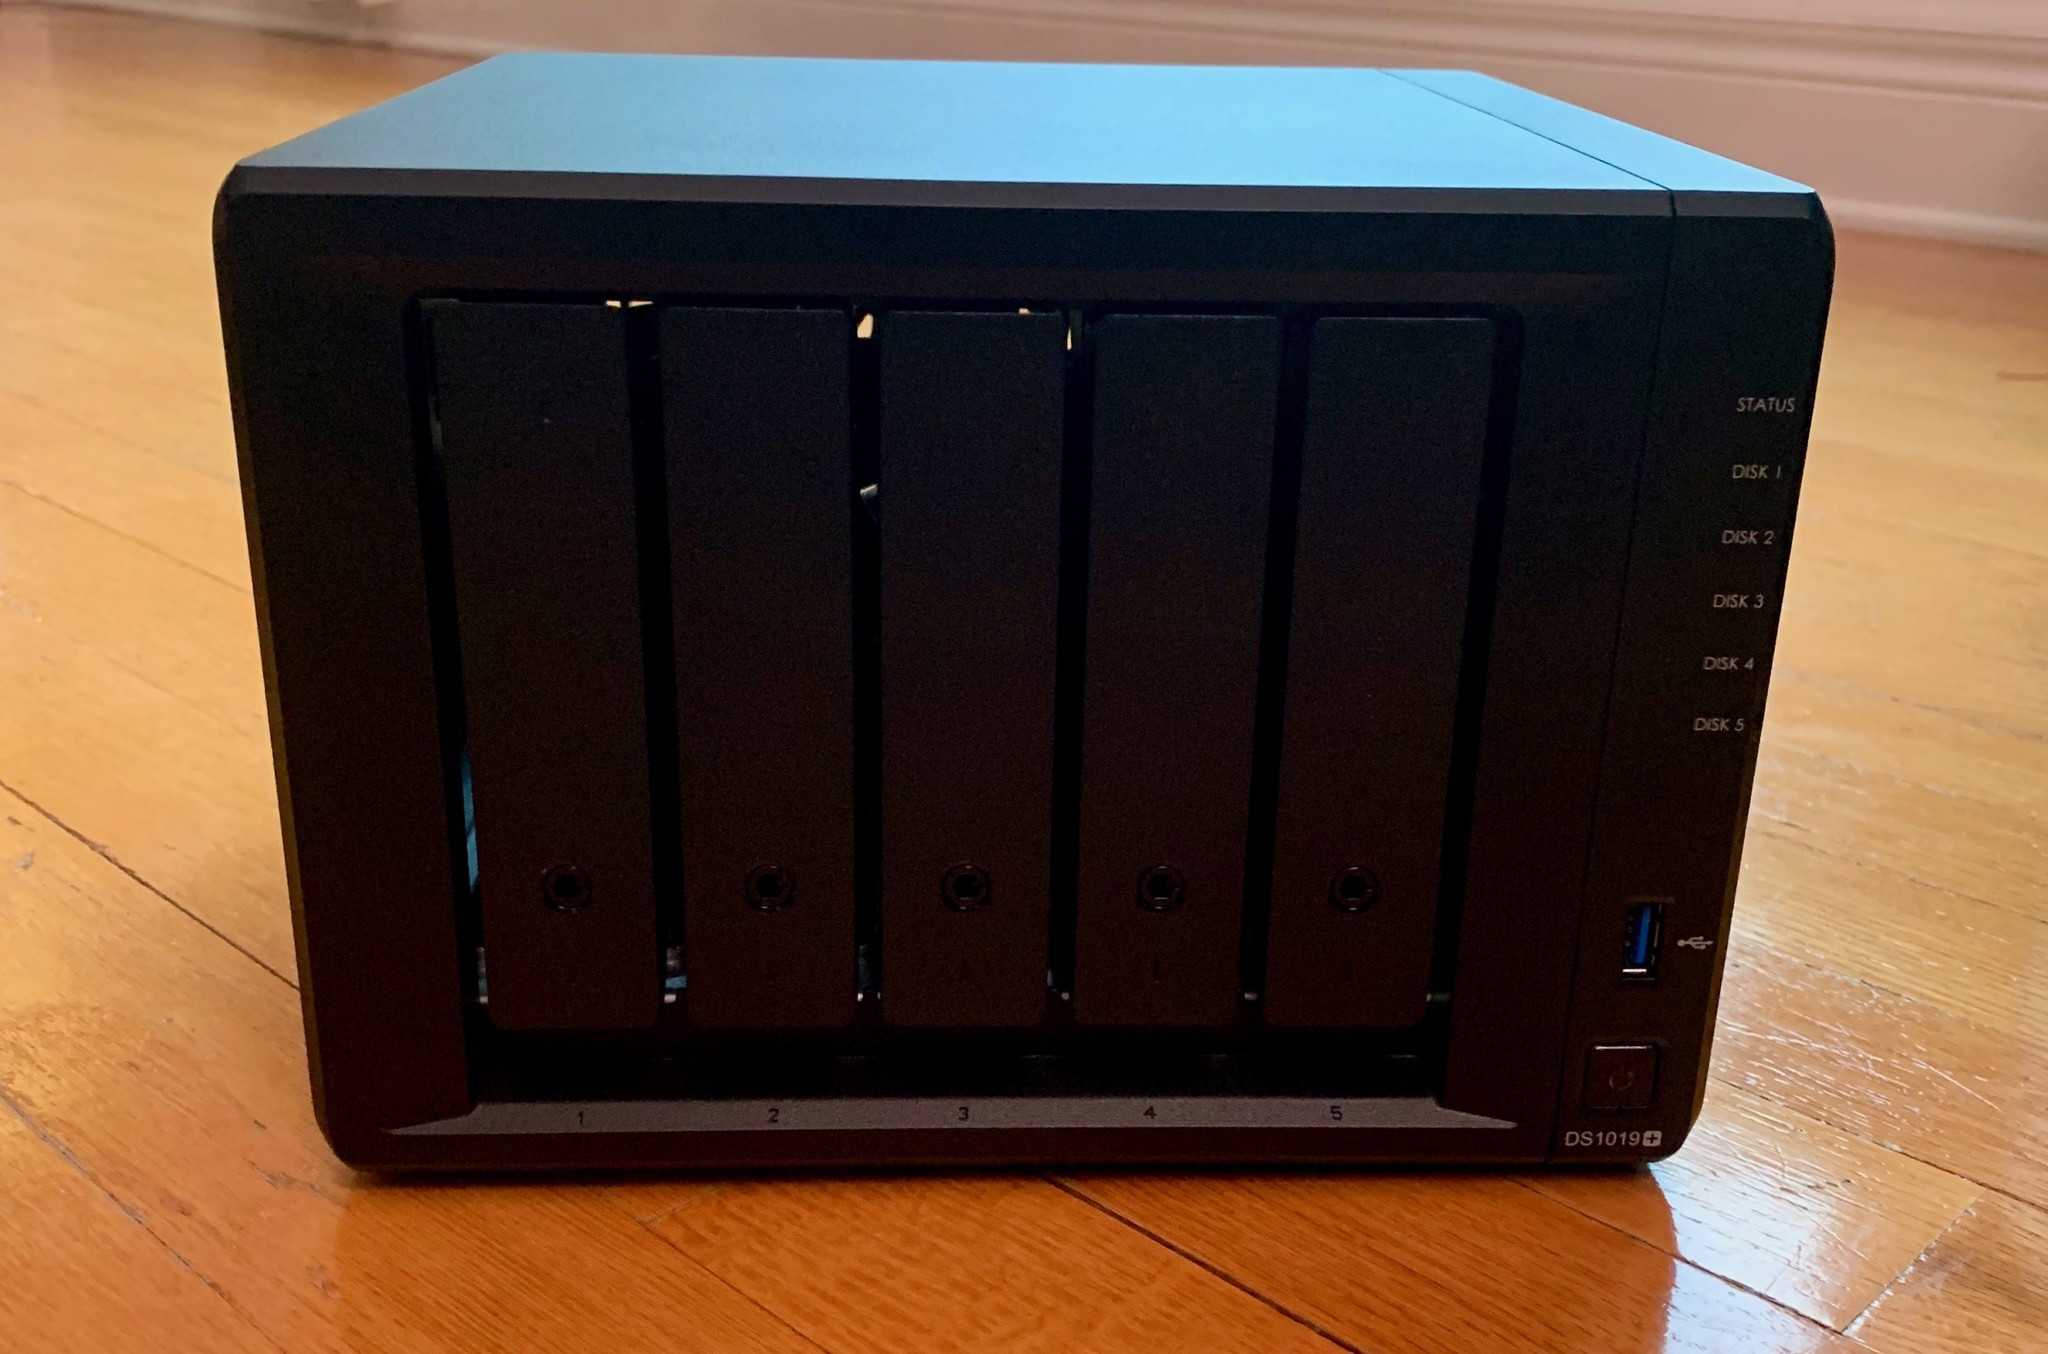
Synology, makers of the Diskstation networked attached storage (NAS) appliances, reached out to me to see if I'd like to take a look at its DS1019+ ($650 on Amazon) for use in your home or small office, or as a home backup solution. We at iMore have already given it a rave review and I have been a user of the DS1513+ since 2014 and since I just love that machine so much I jumped at the offer. I've already detailed how to go about setting up the hardware and the software on the DS1019+. Here we'll get familiarized with migrating data from an older DS1513+ Diskstation to the new DS1019+.
More than just a NAS
I'm not keen on limiting my description of the Diskstation to merely a backup repository. I also use it for my VPN (in and out of my network), my mail server, dynamic IP resolution, SSH server, DHCP server, router, Plex server, and torrent client. And since it runs a custom GNU/Linux as the OS, I can get in and do other more tacky Linux things straight on the device via an SSH shell. So if you add a Synology Diskstation to your network, you're potentially also adding a bunch of extra capabilities that can scale with your needs. Pretty good deal.
With all that said, let's see how to go about migrating you data!
Migration options
Synology has a couple of suggested options available on its support site that detail the steps and requirements needed for the various methods. Both have benefits and drawbacks and both strongly recommend backing up your data before attempting.
The first method is a swap of the hard disk drives. Initially, this sounds ideal as it would provide the fastest way to get up and running with your data on the new Diskstation. However, seeing as there are quite a number of prerequisites, you'll quickly come to realize the importance of backing up your data before an HDD swap in any case. I only suggest using this option if you can guarantee proper adherence to Synology's instructions and you are in absolute need of reusing the HDDs.
The second method, is using the internal migration and backup tool Hyper Backup. This is the program I used when adding the new DS1019+ to my network.
Hyper Backup
Although Synology can perform a complete migration of data, services and configurations if you are swapping one Diskstation on the network and replacing it with another, I still wanted to keep my older Diskstation online so that I can use some services on the old one and add new services on the new DS1019+. So I decided to only use Hyper Backup to create a weekly, encrypted and compressed, backup of the data on the older system and create new shares and services on the new. Here's how I did that.
iMore offers spot-on advice and guidance from our team of experts, with decades of Apple device experience to lean on. Learn more with iMore!
- Connect to your Diskstation IP for both Diskstations. You can download the Synology Assistant if you don't know the IP and need help finding it.
- If you haven't done so already, install and start Hyper Backup from the Package Center.
- On the Target Diskstation, install Hyper Backup Vault from the Package Center.
- On the Source Diskstation, highlight remote NAS device, and start a new backup by pressing Next.
- With the Create backup task radio button selected, enter the target Diskstation IP. It will be automatically entered if you select it from the dropdown list.
- Optionally enable Transfer Encryption.
- Enter your Username.
- Enter your Password.
- Enter the shared Directory you want to backup to. It will be automatically entered if you select it from the dropdown list. You will have had to already set up a share on the target Diskstation.
- Click Next.
- Select the Shared Folders you wish to be stored on the target Diskstation.
- Click Next.
- Select the Applications to back up.
- Click Next.
- Select your Backup Settings such as schedule and compression.
- Click Next.
- Click Apply and then decide if you want to run your first backup now or not.
- Wait for the backup to compete.
Although I elected not to continue, if you have decided to restore some of the backup shares or services on the new Diskstation, Synology has you covered in that regard. On the target Diskstation, you can follow the restore guide to have that backed up data and application information enabled on the new Diskstation.
Final comments
I've decided to use the new Diskstation in conjunction with my old one to give me greater flexibility on my network. I use Time Machine backups to my older Diskstation, which in turn get Hyper Backed up to the new Diskstation on a weekly schedule. I've also set up a VPN and Mail Server on my old Diskstation (both backed up to the new machine of course) that route out to my main ISP line, and I've set up an always-on outbound VPN connection on my new Diskstation to act as a secondary gateway to allow some of my machines to have an encrypted outbound connection. I've also migrated my Plex and Video Manager applications to the new DS1019+ for its greater ability to stream and encode 4K video. That's how I use my Synology Diskstations. Let me know how you use yours in the comments.


