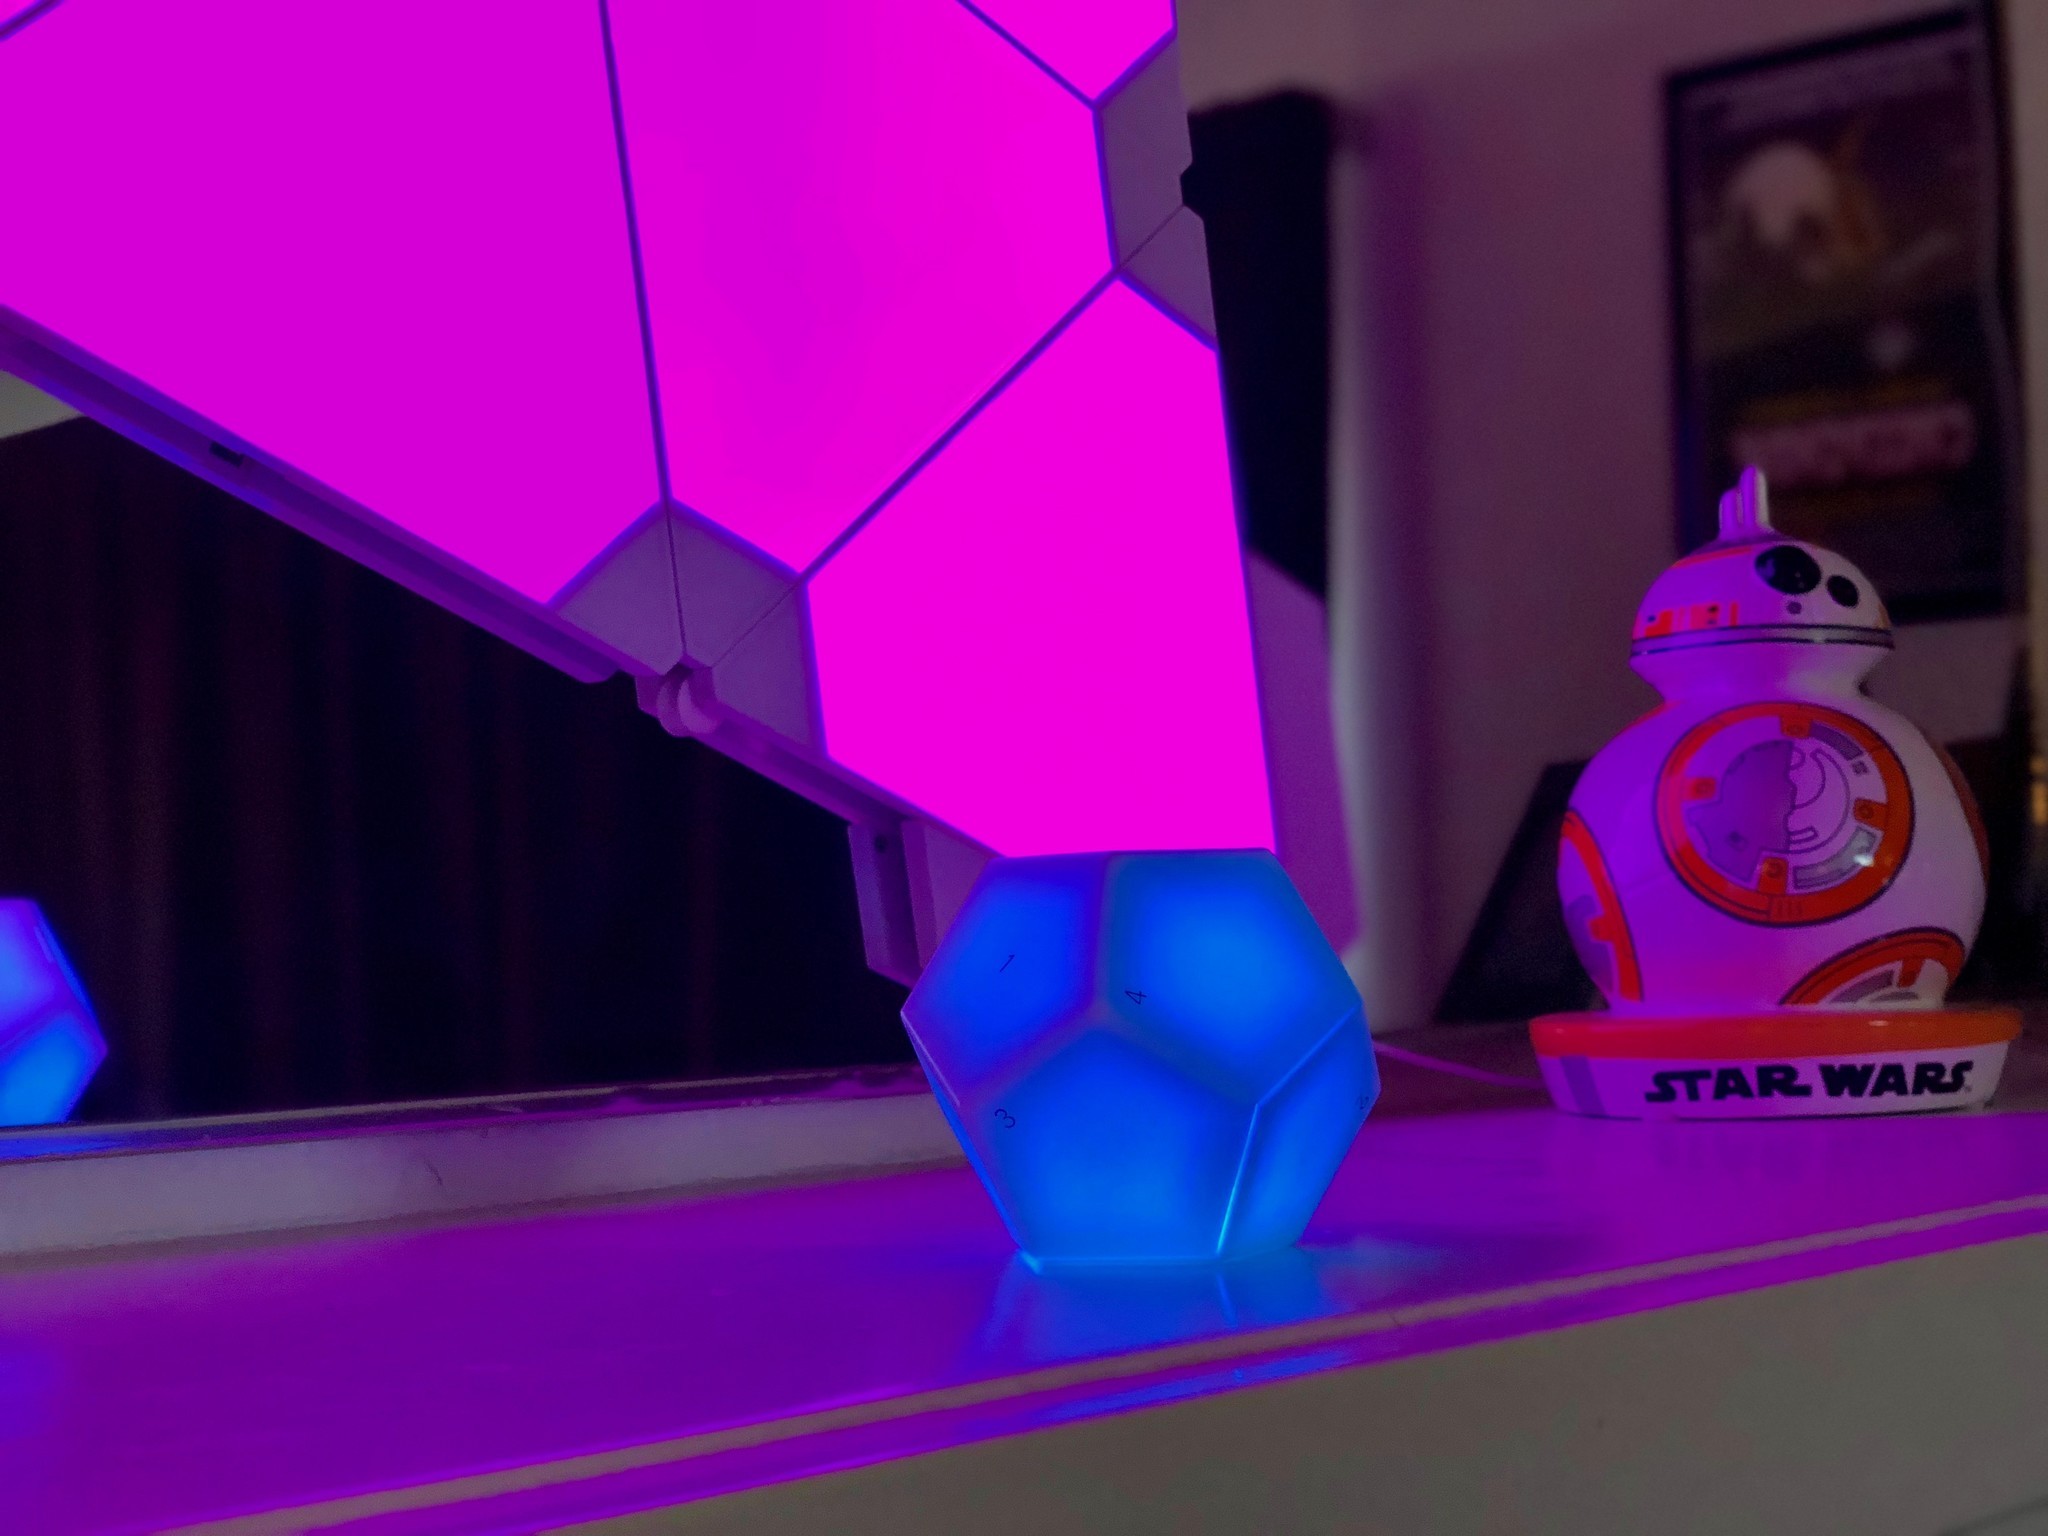
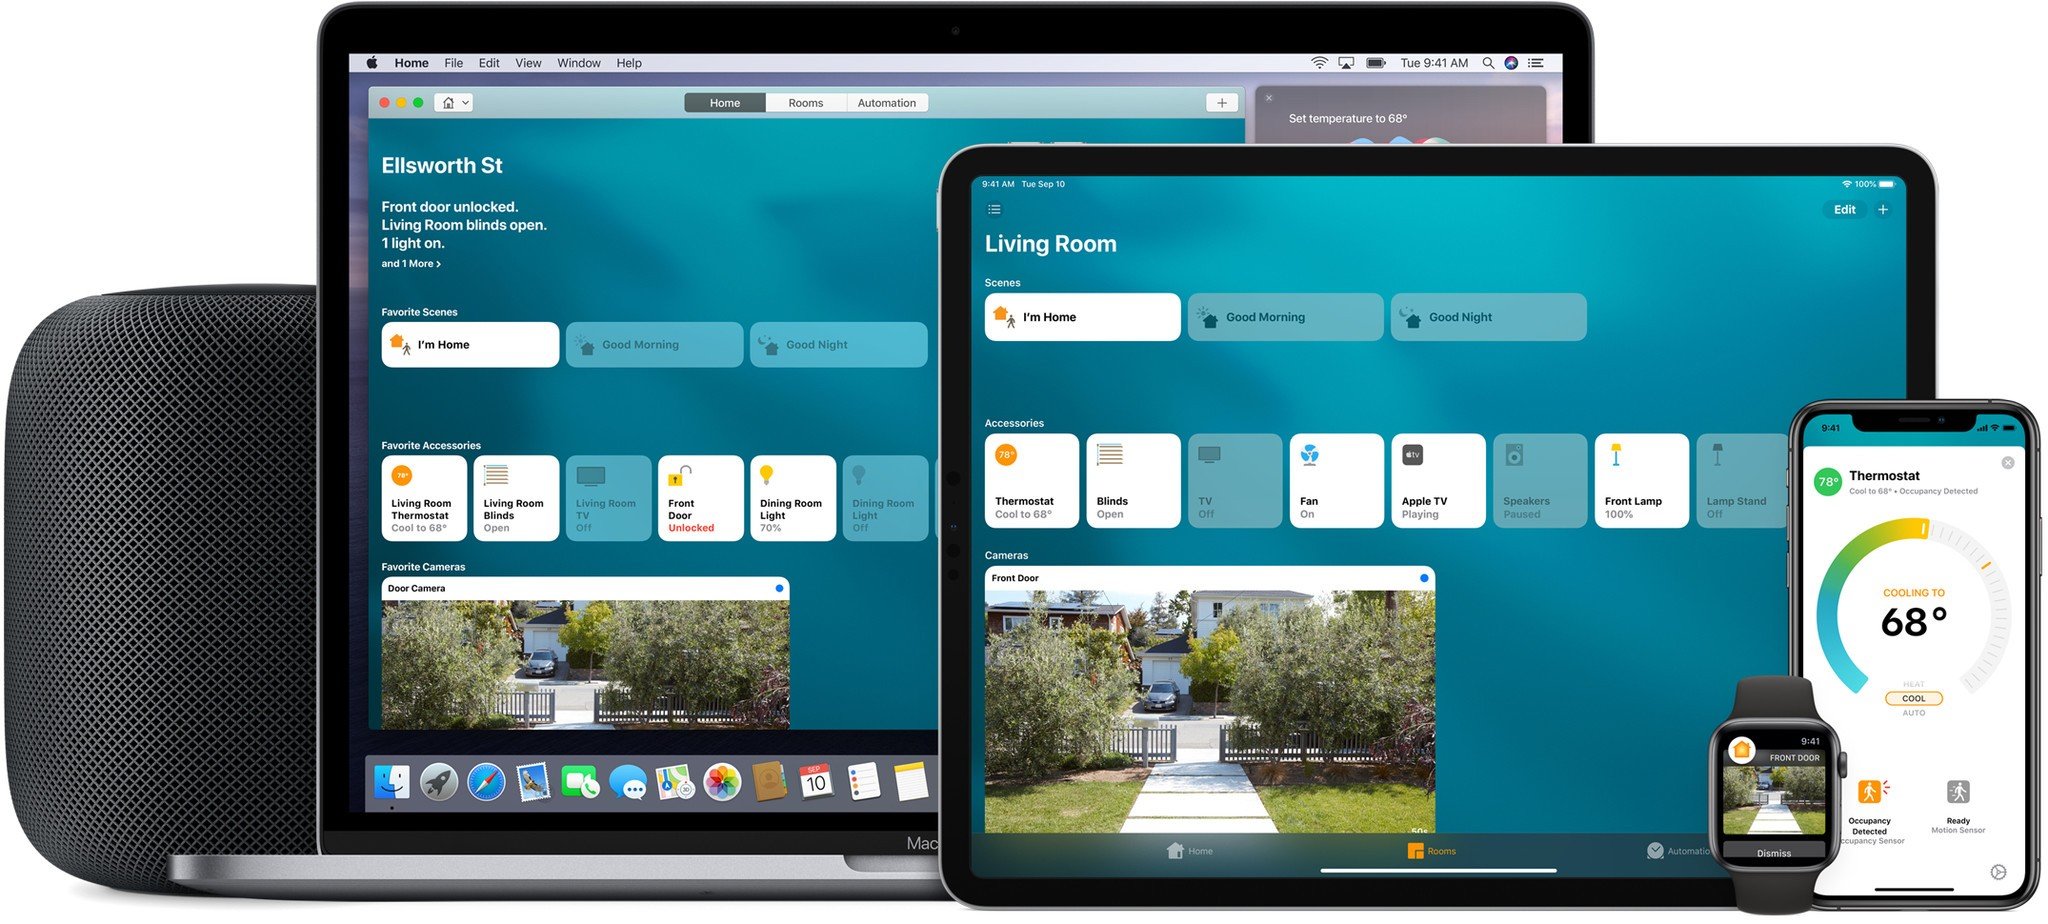
Practically every light in my house is connected to my iPhone via HomeKit so I can tell Siri to turn on or off the lights or use the Home app to adjust the scenes. My significant other pretty much refuses to talk to Siri, unless it's for a joke, which means he doesn't take advantage of the HomeKit connected fun. He just turns the lights on or off using the light switch ... like an animal.
The Remote, by Nanoleaf, is a connected device that works like, well, a remote control for your HomeKit connected devices using your Apple home hub. Oh, and you can use it to control your Nanoleaf lights, of course. Friends that are visiting, or partners that don't want a smart home, can turn on lights, set scenes, and make your Nanoleaf panels dance to the rhythm with a simple turn.
You can check out Nanoleaf Remote for yourself!
As of July 18, the Nanoleaf Remote is on sale at Apple Retail stores and a live demo is available for anyone to check out for themselves. The Remote is connected to Nanoleaf's Light Panels so you can see how easy it is to switch between beautiful lighting patterns with just the turn of a dodecahedron.
Find an Apple Store near you to demo Nanoleaf Remote
The Remote is a remote for everyone
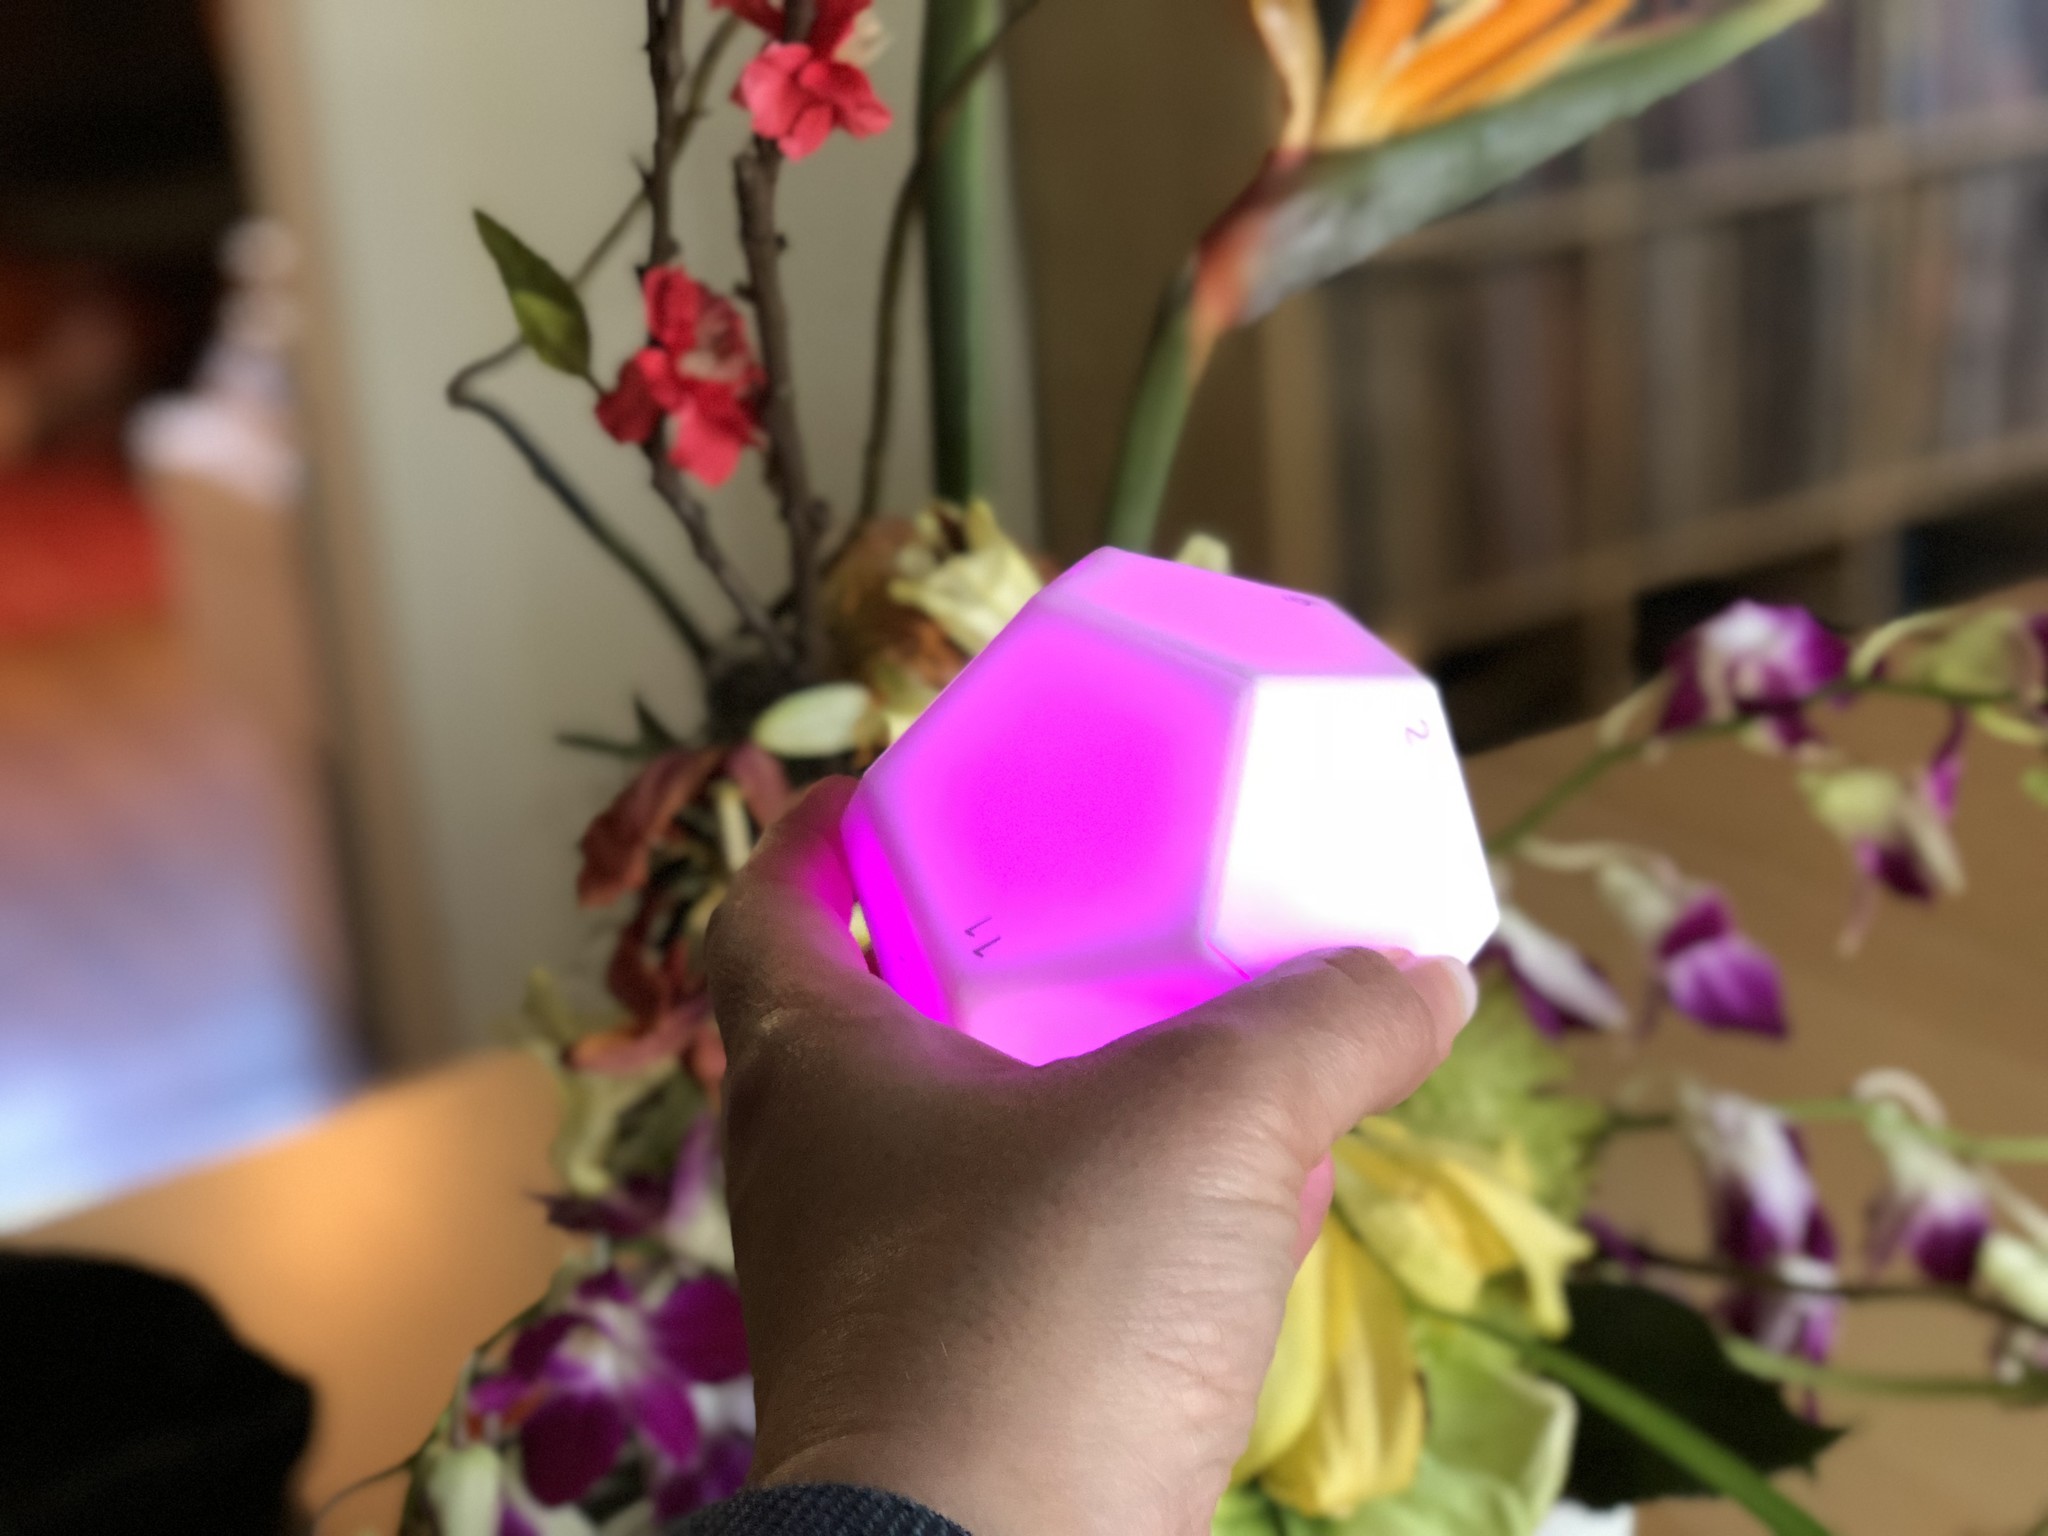
The Nanoleaf Remote is a dodecahedron that doesn't look entirely unlike a giant 12-sided die. Only, you might not want to roll this for perception (Dungeons & Dragons joke there, sorry). Each of the 12 sides can be mapped to a different room, light, or scene. Once a side is mapped. Anyone that picks up the Remote has lighting control. If your kids want to set the stage for movie night, they can rotate the Remote to the side that has the "Movie Night" scene set up. Thanks to a little help from HomeKit via your home hub, that means everything set up with that scene will turn on: lights, air-conditioning, HomePods. If they're connected to a scene, the Remote can turn them on (or off, or adjust).
Not all smart devices are equal
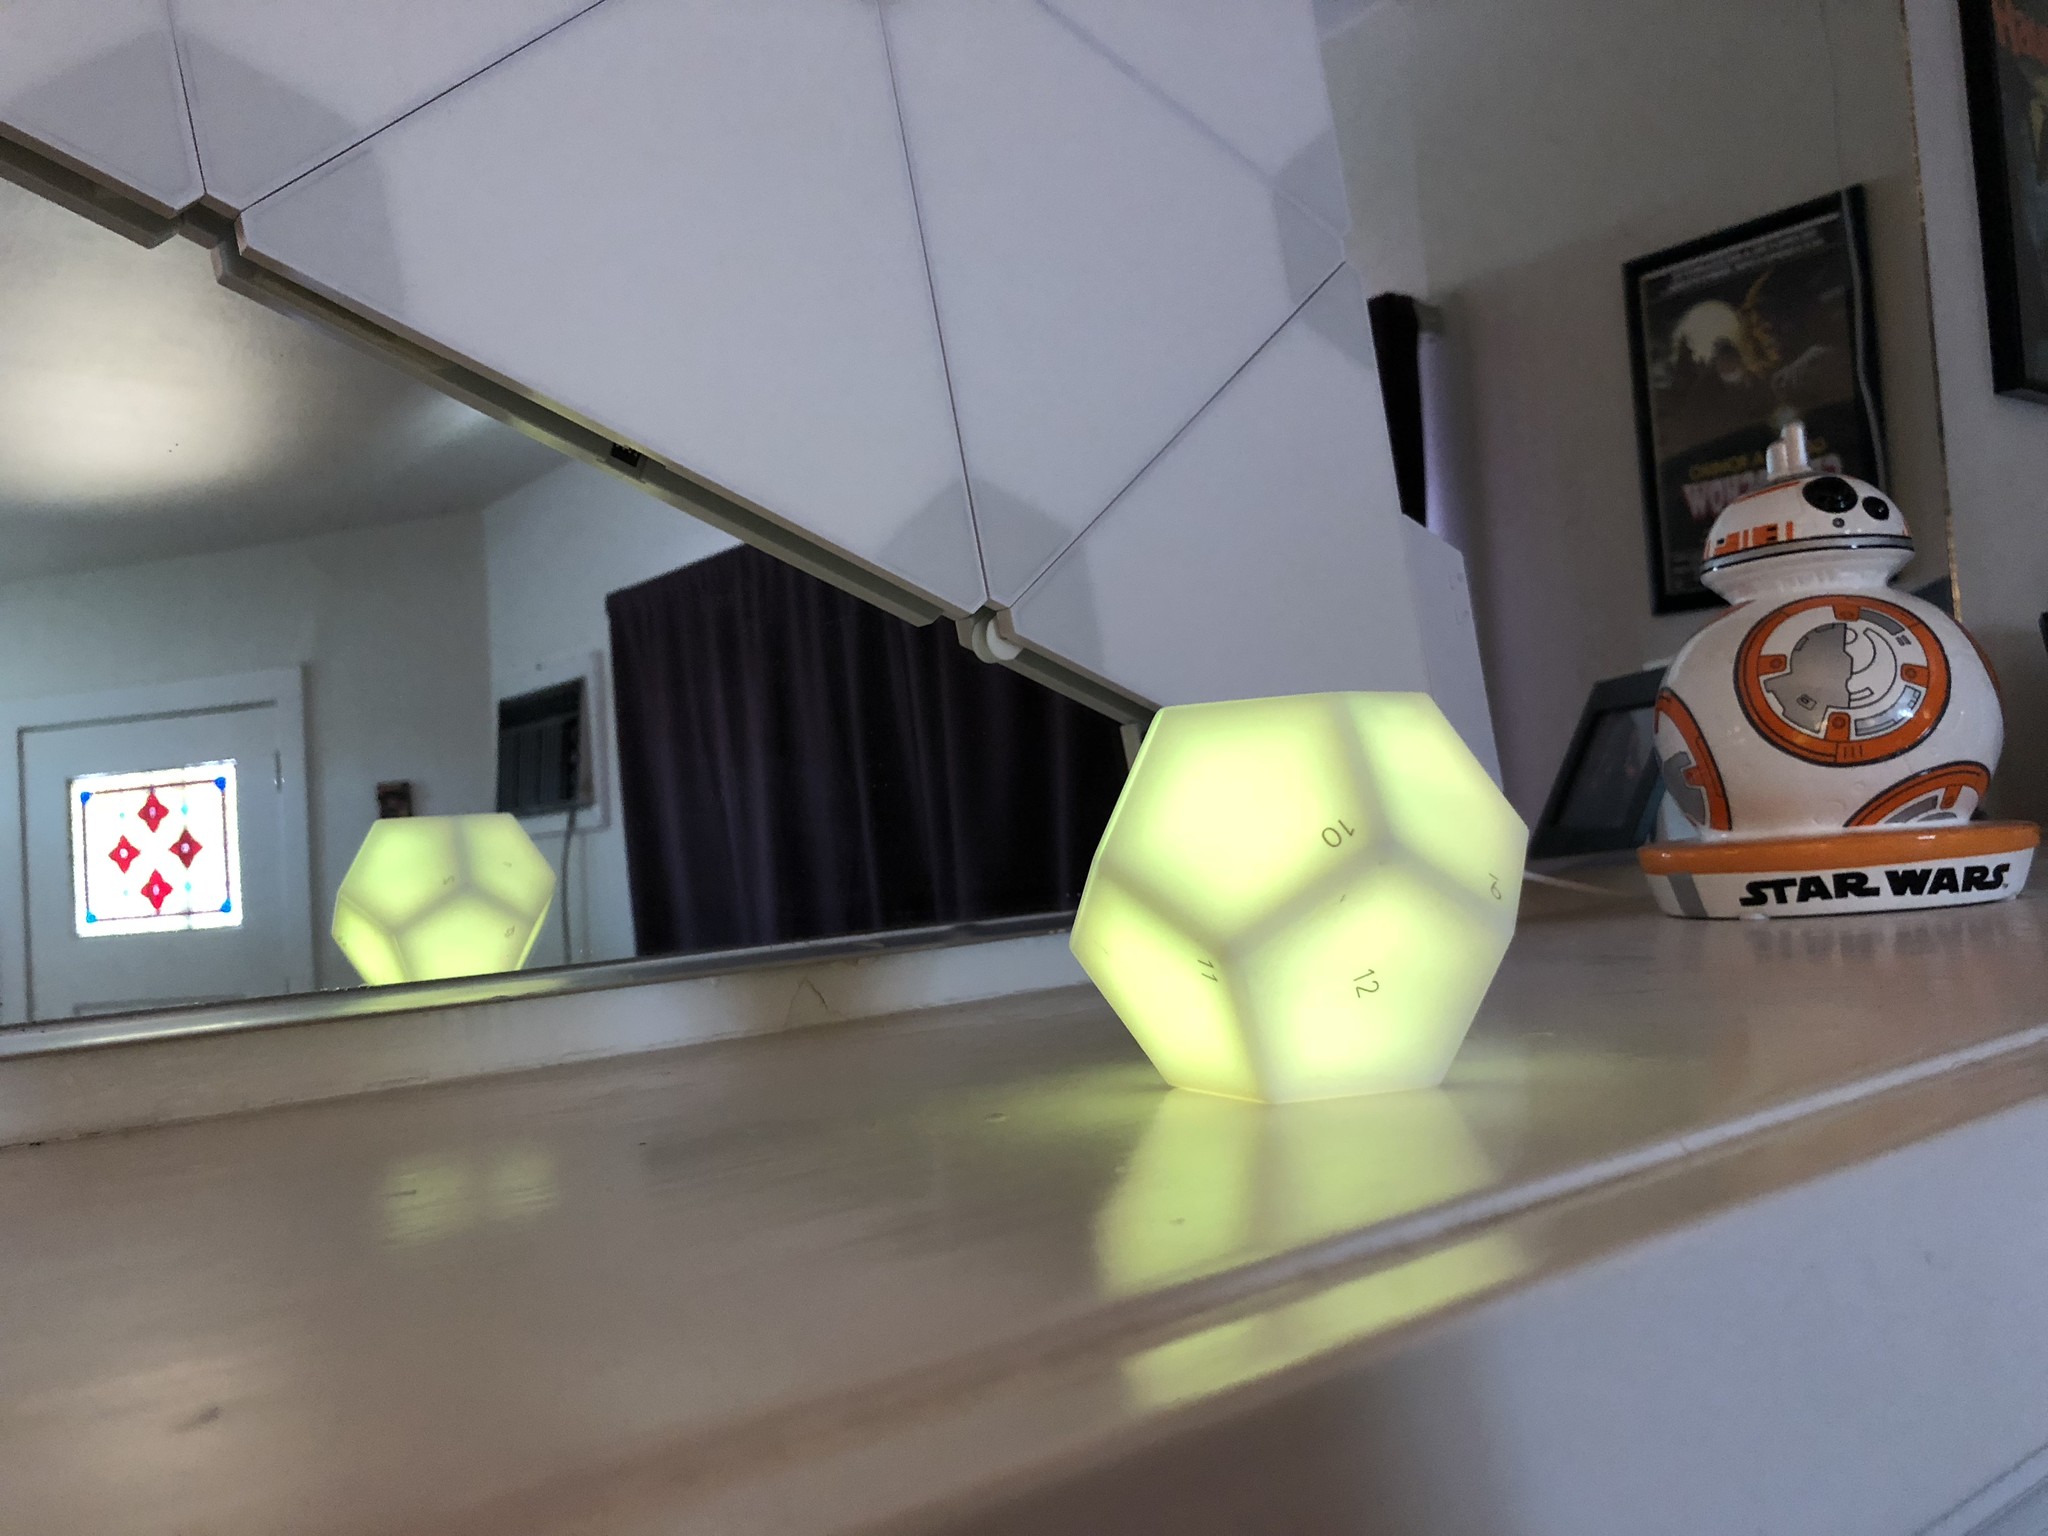
Just because the Remote can control some of your smart home devices doesn't mean it can control all of your smart home devices. They have to be HomeKit compatible.
This means, you can't use the Nanoleaf Remote with smart lights that aren't HomeKit supported and you can't create scenes that you haven't already set up in the Home app.
If, for example, you're trying to get the Philips Hue lights in your living room to turn blue and your EcoBee thermostat to set the temperature to 72 degrees for movie night, you can't just create a scene in the Nanoleaf app and map it to the Remote. The scene has to already exist in the Home app.
If it's not a HomeKit supported device, it won't show up in the Home app, and thus won't be able to be mapped to the Remote. Make sense?
You need a home hub - not just an iPhone
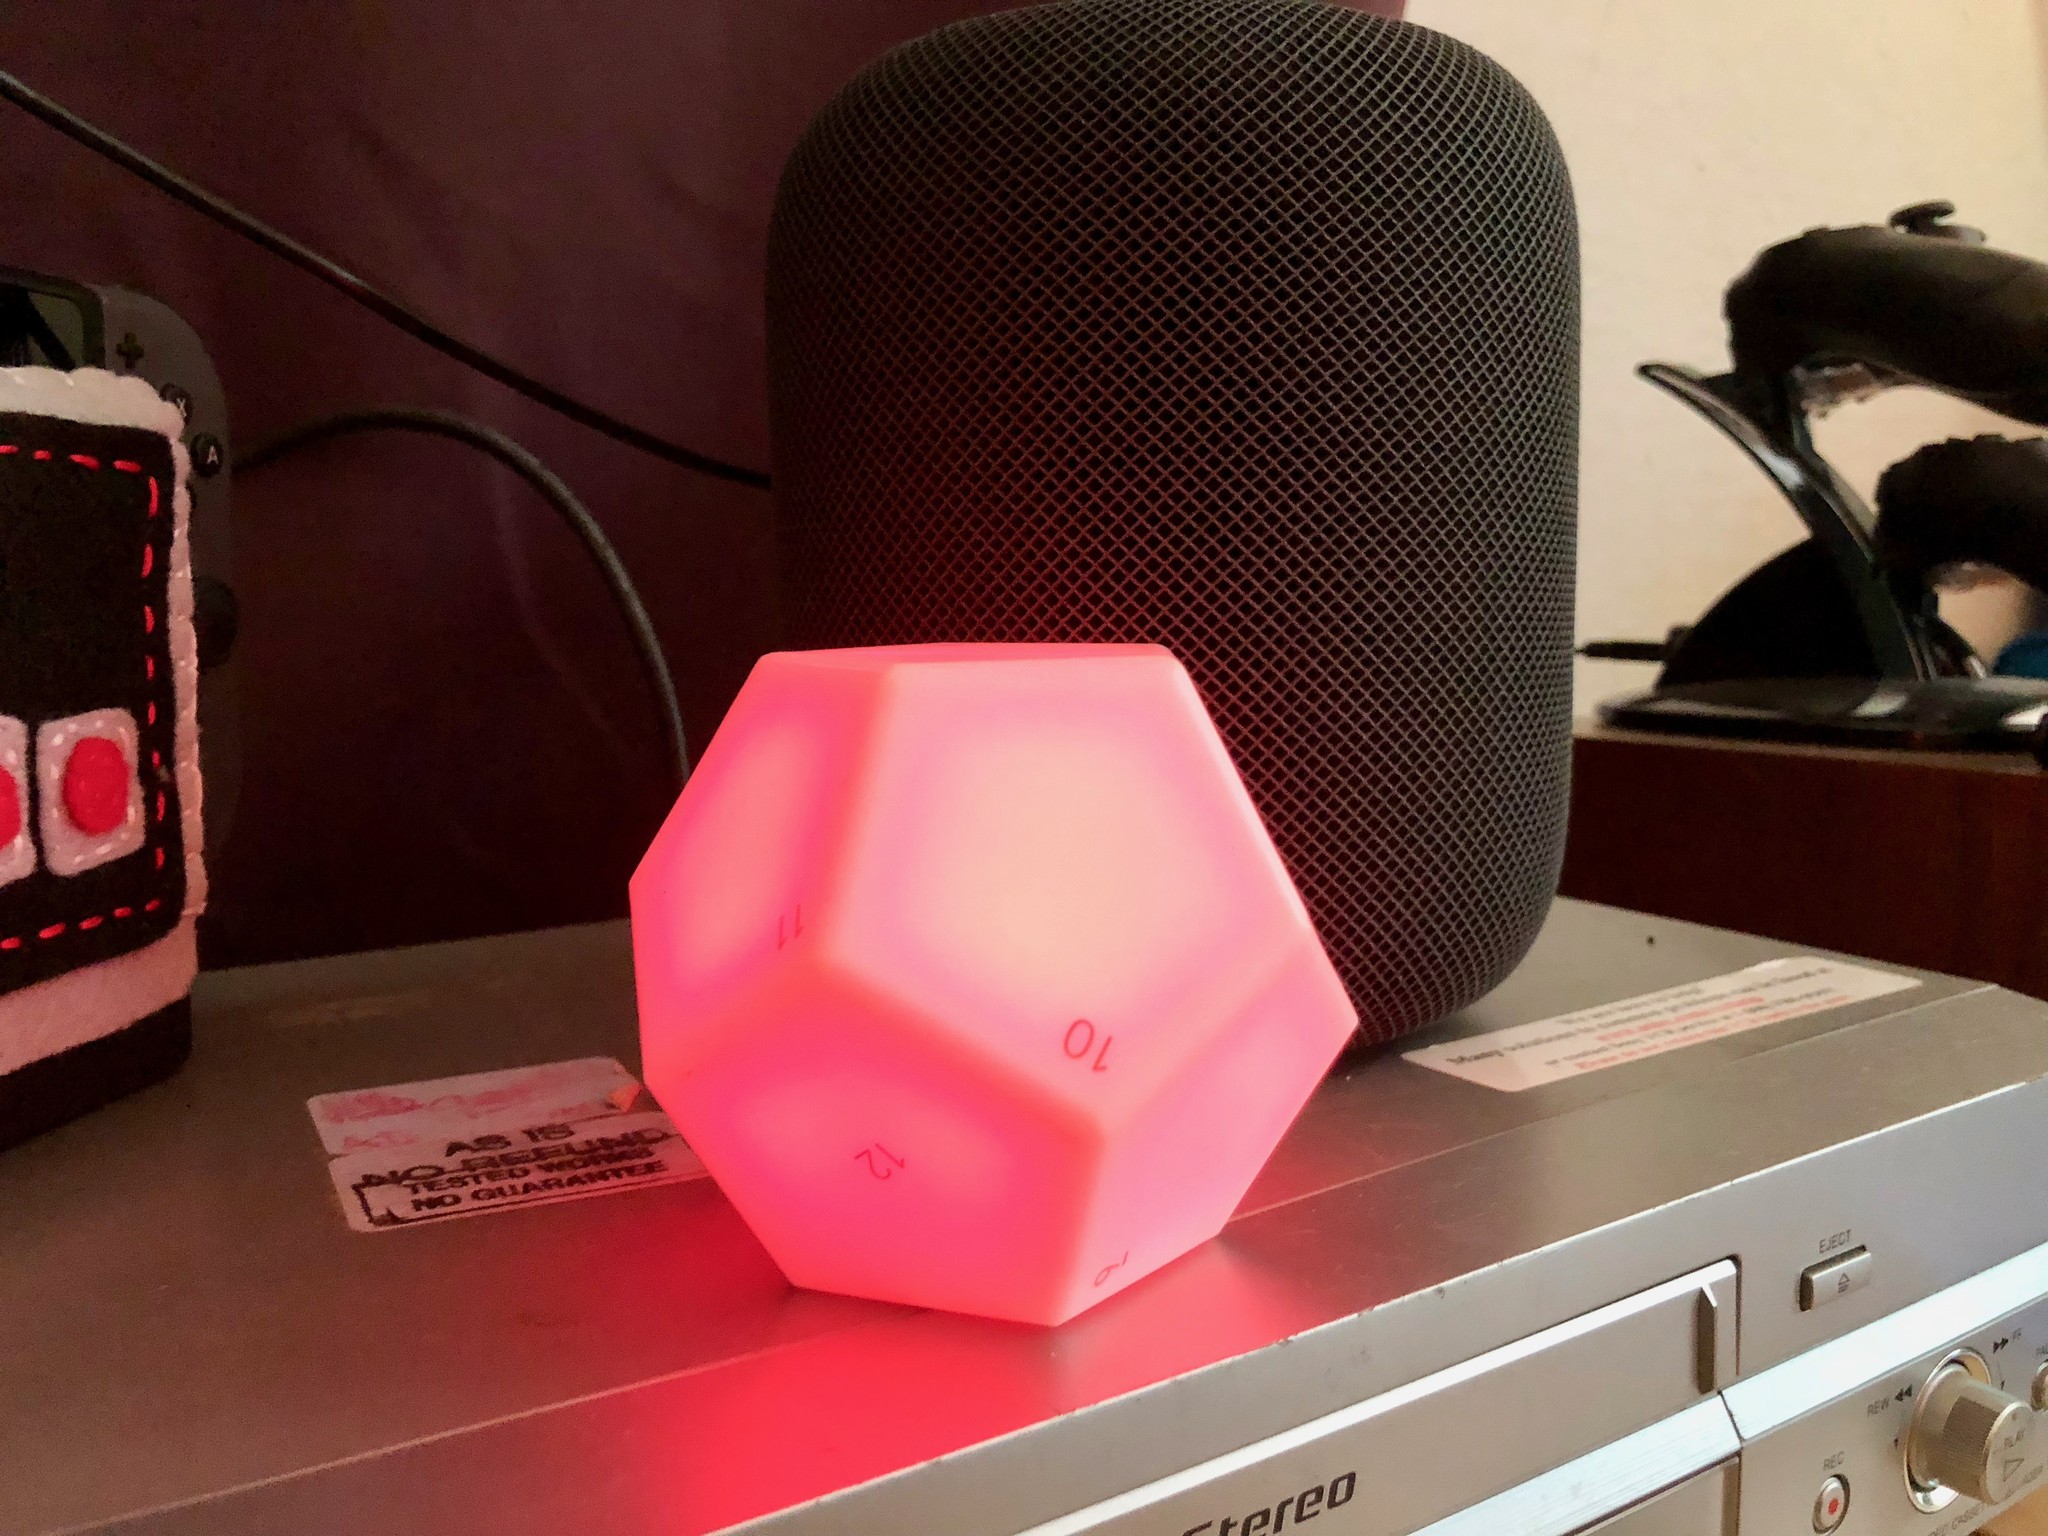
The nature of Apple's HomeKit remote and automation features requires that you have more than just an iPhone. You need one of these additional accessories:
- Apple TV (3rd gen, 4th gen, or 4K)
- iPad (Bluetooth LE supported)
- HomePod
This is how the Remote connects to your HomeKit devices: via your home hub. If you don't have one of the three listed devices, you can't connect to HomeKit with the Remote.
You can, however, still use the Remote with the Nanoleaf panels if you have the Rhythm module. It has its own internal pairing technology.
The set up is the hardest part
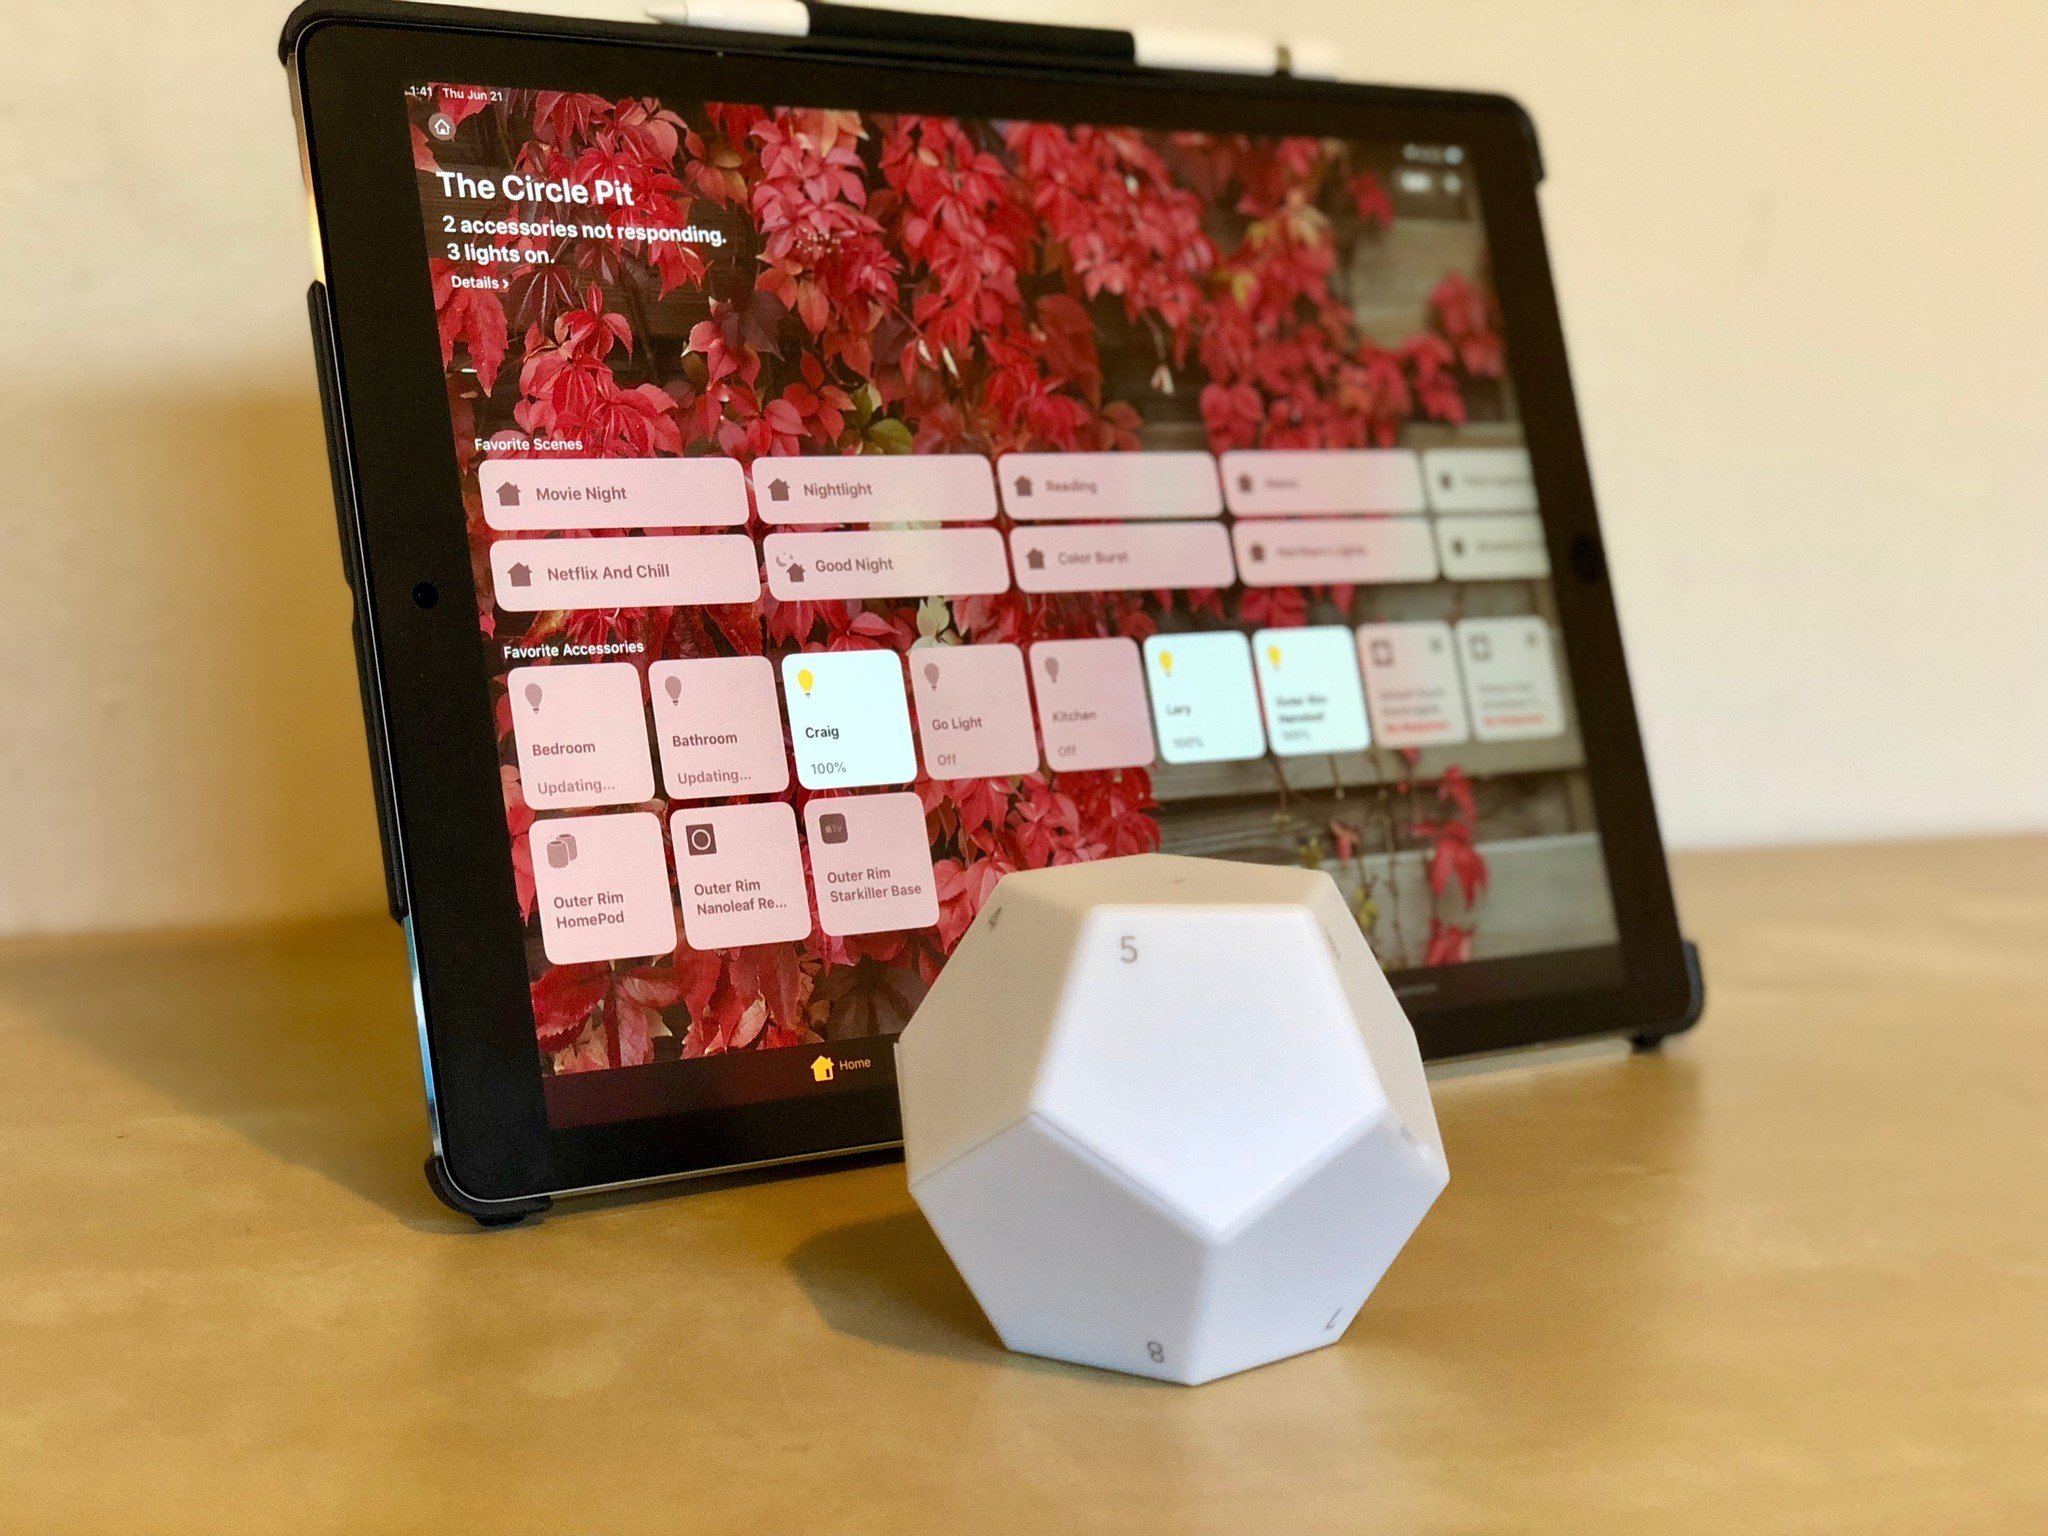
After a couple of confusing attempts I made to map my lights to the Remote, I discovered that the easiest way to do it is actually from the Home app, not the official Nanoleaf app (no offense Nanoleaf, but your Remote mapping interface is confusing).
Here's how I was able to map scenes like a boss to my Remote:
Step 1 - Set up scenes in the Home app. The first thing I did was decide what I wanted to happen with my HomeKit connected gadgets. Want all the lights in the house on? Set up a scene. Want the kitchen lights dimmed but the bathroom lights bright? Set up a scene. One after another, after another, until I had 10 scenes (I'll explain why only 10 in a moment).
Step 2 - Map the scenes from Step 1 to each side of the Remote in the Home app. With my scenes set up, I long-pressed on the Remote in the Home app and tapped Details to get to the mapping function. Each side of the Remote is called a Button. Tap one to assign a scene and your accessories to it. If, for example, you have a Nanoleaf Aurora and Hue lights, you can select one of the Nanoleaf lighting schemes, plus set your lights to a specific color and brightness.
Step 3 - Set Button 1 to turn lights on and Button 12 to turn lights off. I'm recommending this because they are the two easiest sides to recall and will most likely be used more often than other scenes. If you want all the lights off in the house except the front porch before you go to bed, set that to Button 12. If you only want the living room lights on when you get up in the morning, set that to Button 1. You don't need to create scenes for turning lights on or off. You can just select the accessories during Step 2 and tap their icon to set them to be on or off.
Rumble in the house
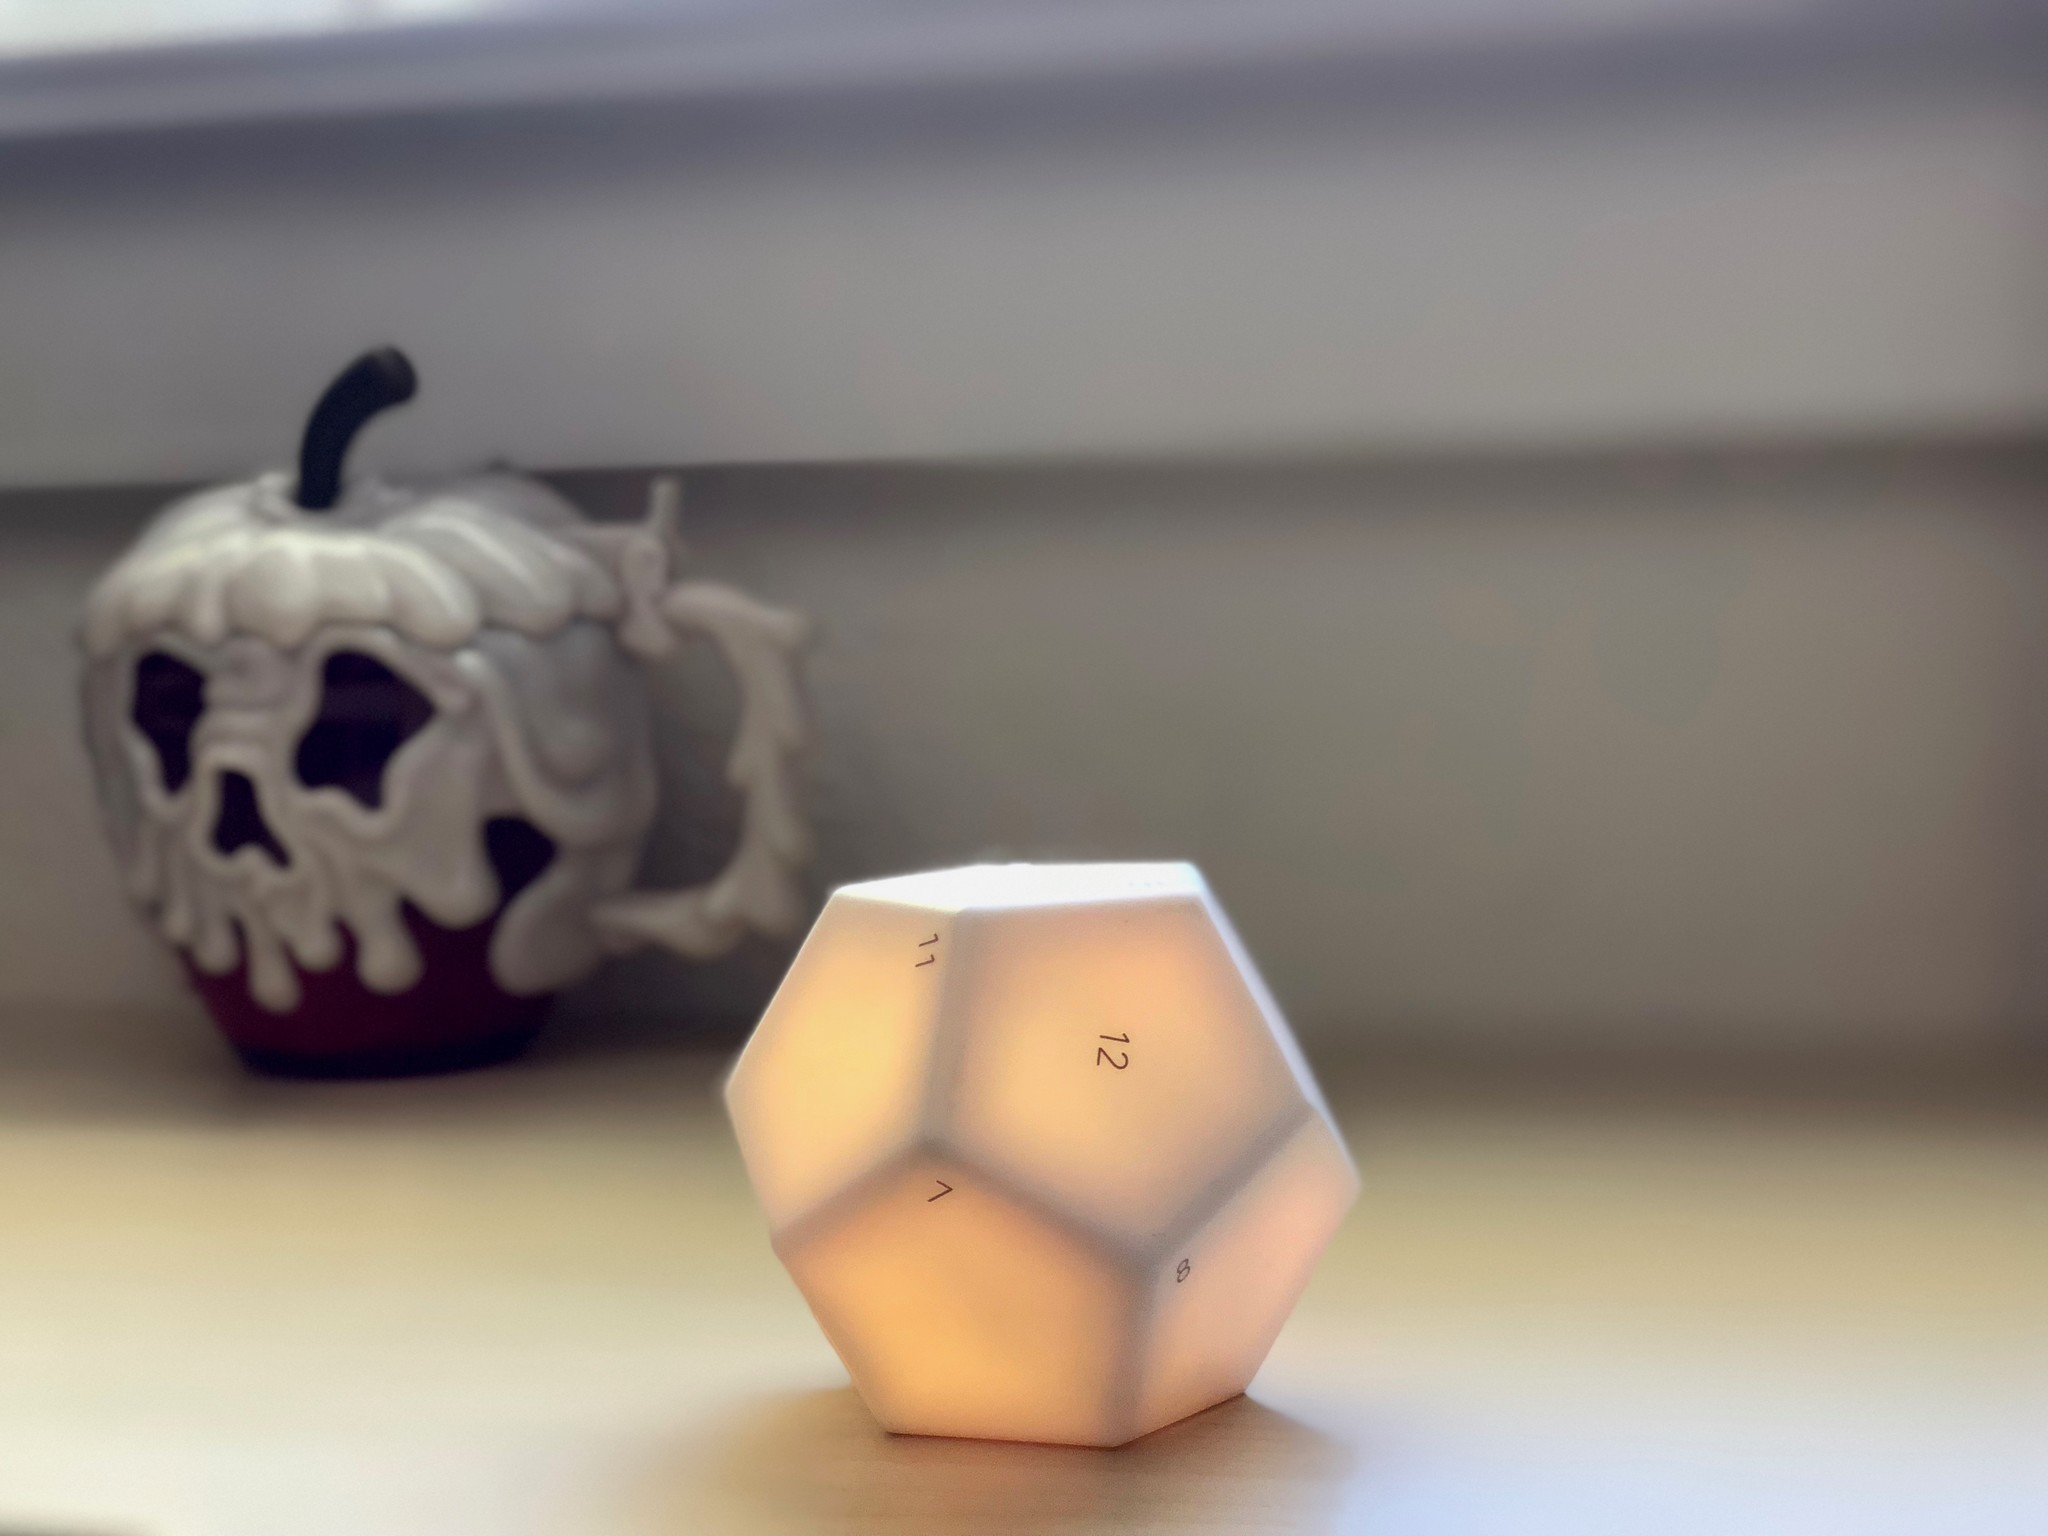
The Remote uses a gyroscope sensor to determine it's positioning. It also uses a bit of haptic feedback to help you know that it's working. When you rotate the Remote from one side to another, it'll give you a little zing. When you twist it to dim or brighten your Nanoleaf panels, a small vibration lets you know that it's working. It's subtle but responsive.
The Remote also uses lighting effects whenever you rotate it, changing colors with each scene, or twinkling slightly when you twist it.
All of this physical feedback is very nice for those non-techies in your life. It's letting them know that what they're doing is working.
Nanoleaf panels with Remote are a sci-fi dream come true
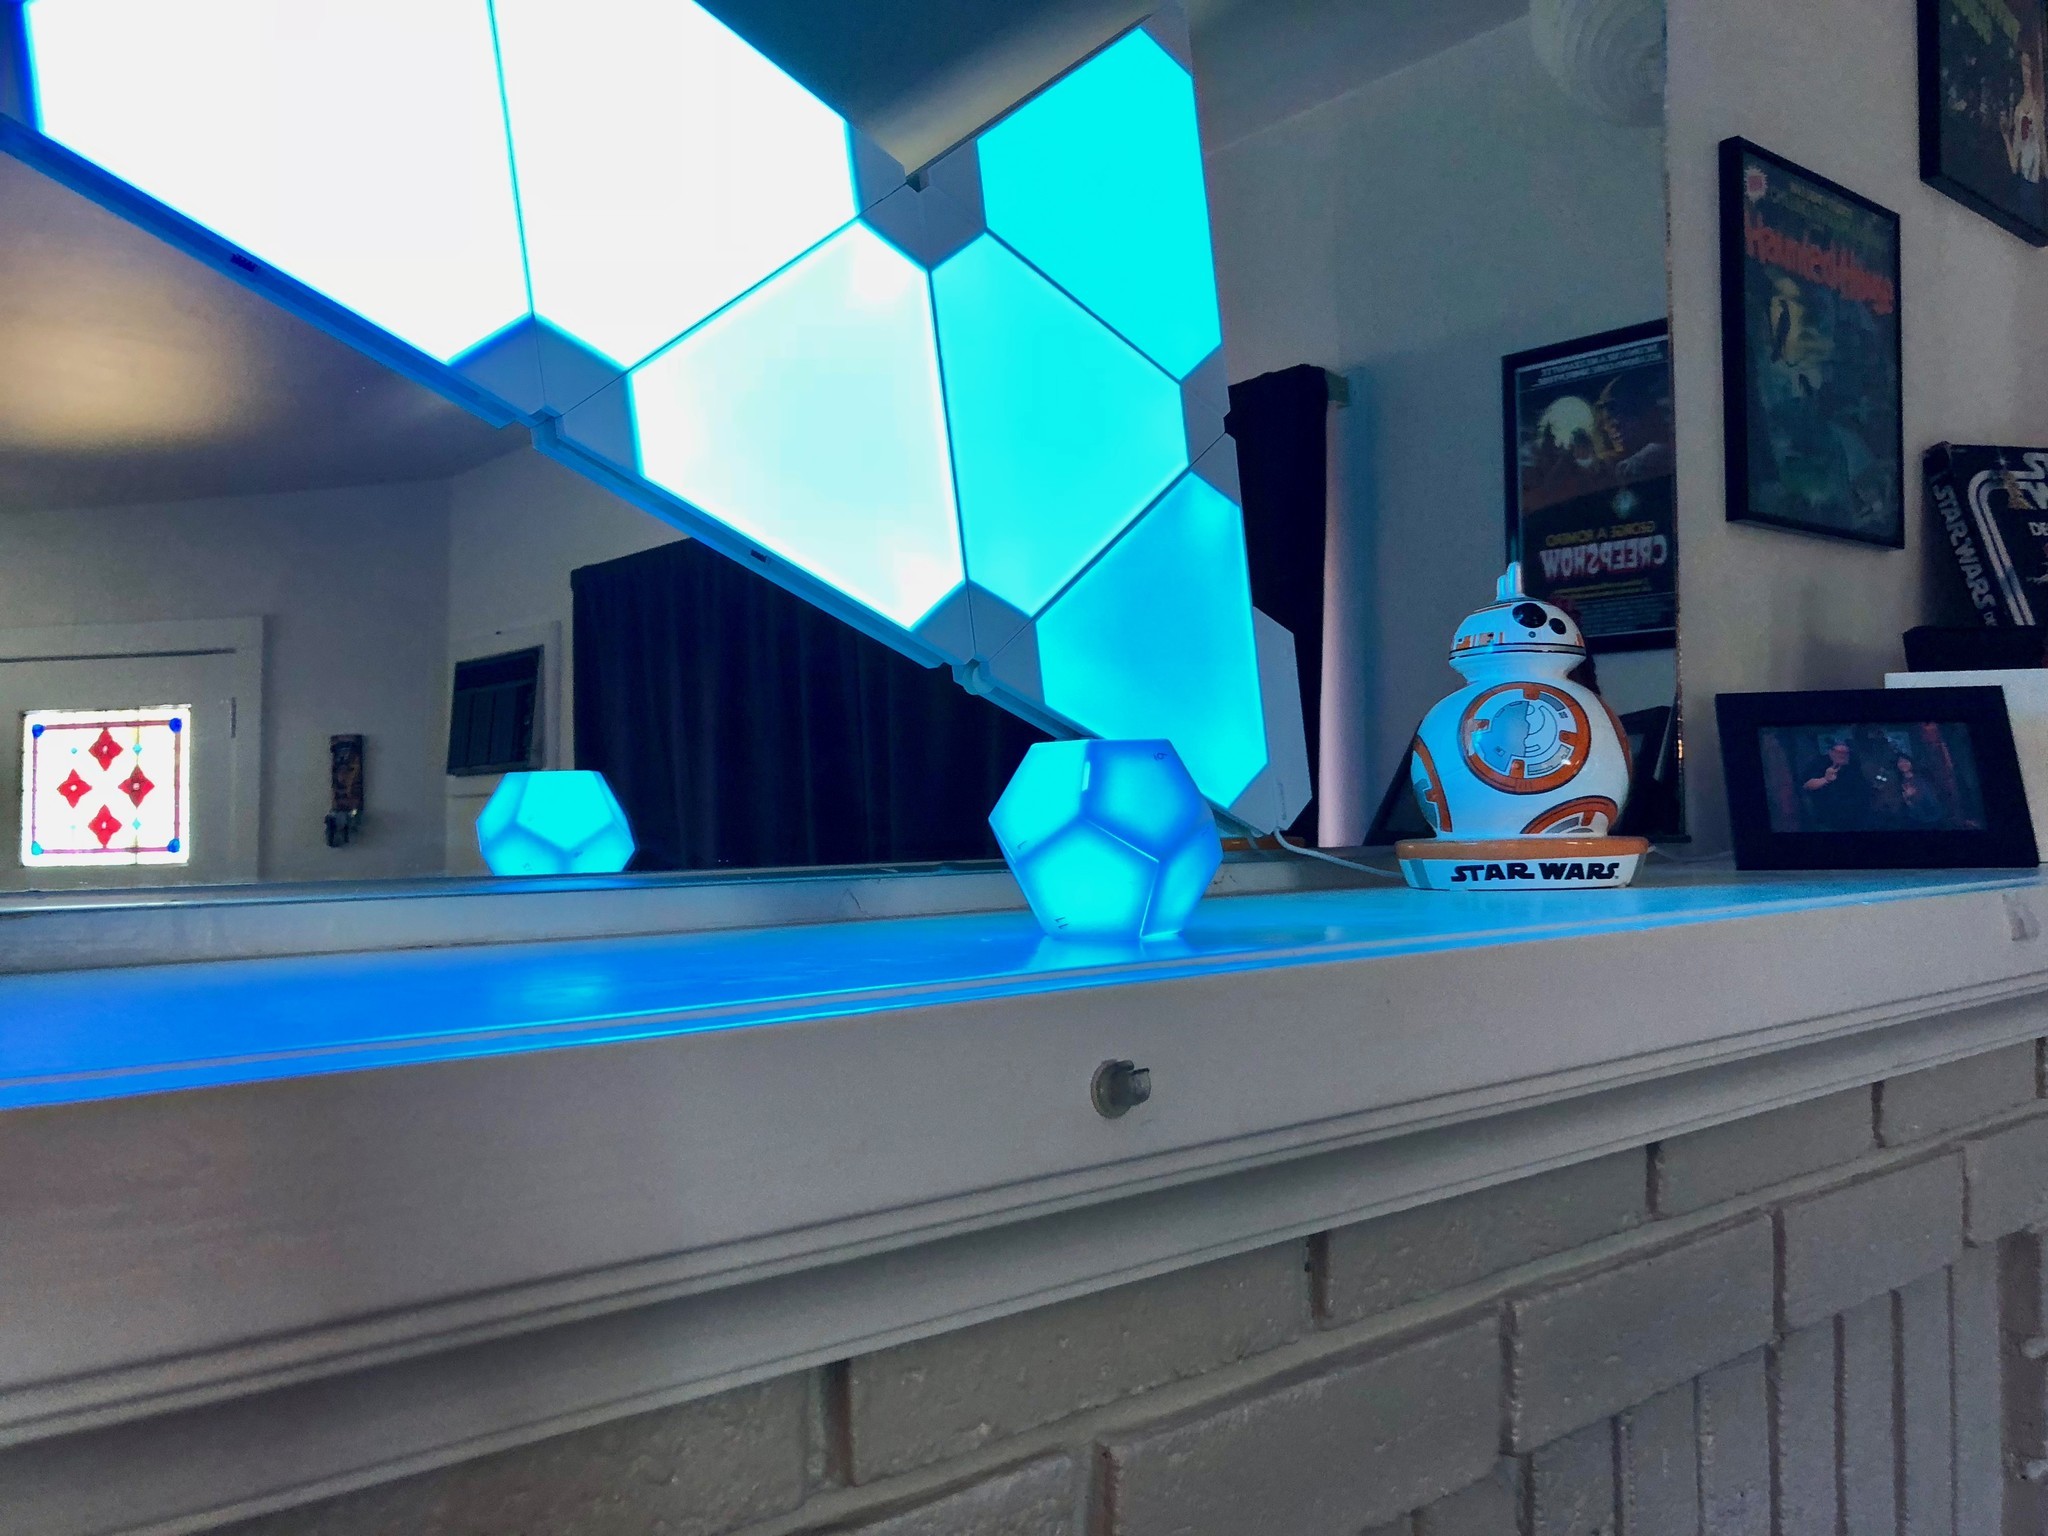
When I paired the Remote with my Nanoleaf Aurora panels and flipped the orb to activate a scene, I was giggling with joy. First, the Nanoleaf Panels are like something out of Ridley Scott's dreams. Now that I can use the Remote to control the panels, it's like I'm living in Deckard's apartment.
You can pair the Remote to your home hub through your iPhone (which I highly recommend) for HomeKit and Home app support, but if you're only going to use the Remote with your Nanoleaf panels and you have the Rhythm module, you can pair the Remote directly to the panels.
If you're only going to use the Remote with the Nanoleaf panels, using the official Nanoleaf app is much easier to navigate. The Remote is already set up, by default, with 10 light patterns, on, and off.
You can easily change the mapped sides, selecting any number of amazing light patterns (including Rhythm compatible patterns) or solid colors to set to a side.
The Remote's extra special feature is that you can twist it to the left to dim the panels or to the right to brighten them. Just a twist! On the Remote!
Note: Dimming and brightening lights with the Remote only works with Nanoleaf panels.
The Remote's battery is ... interesting
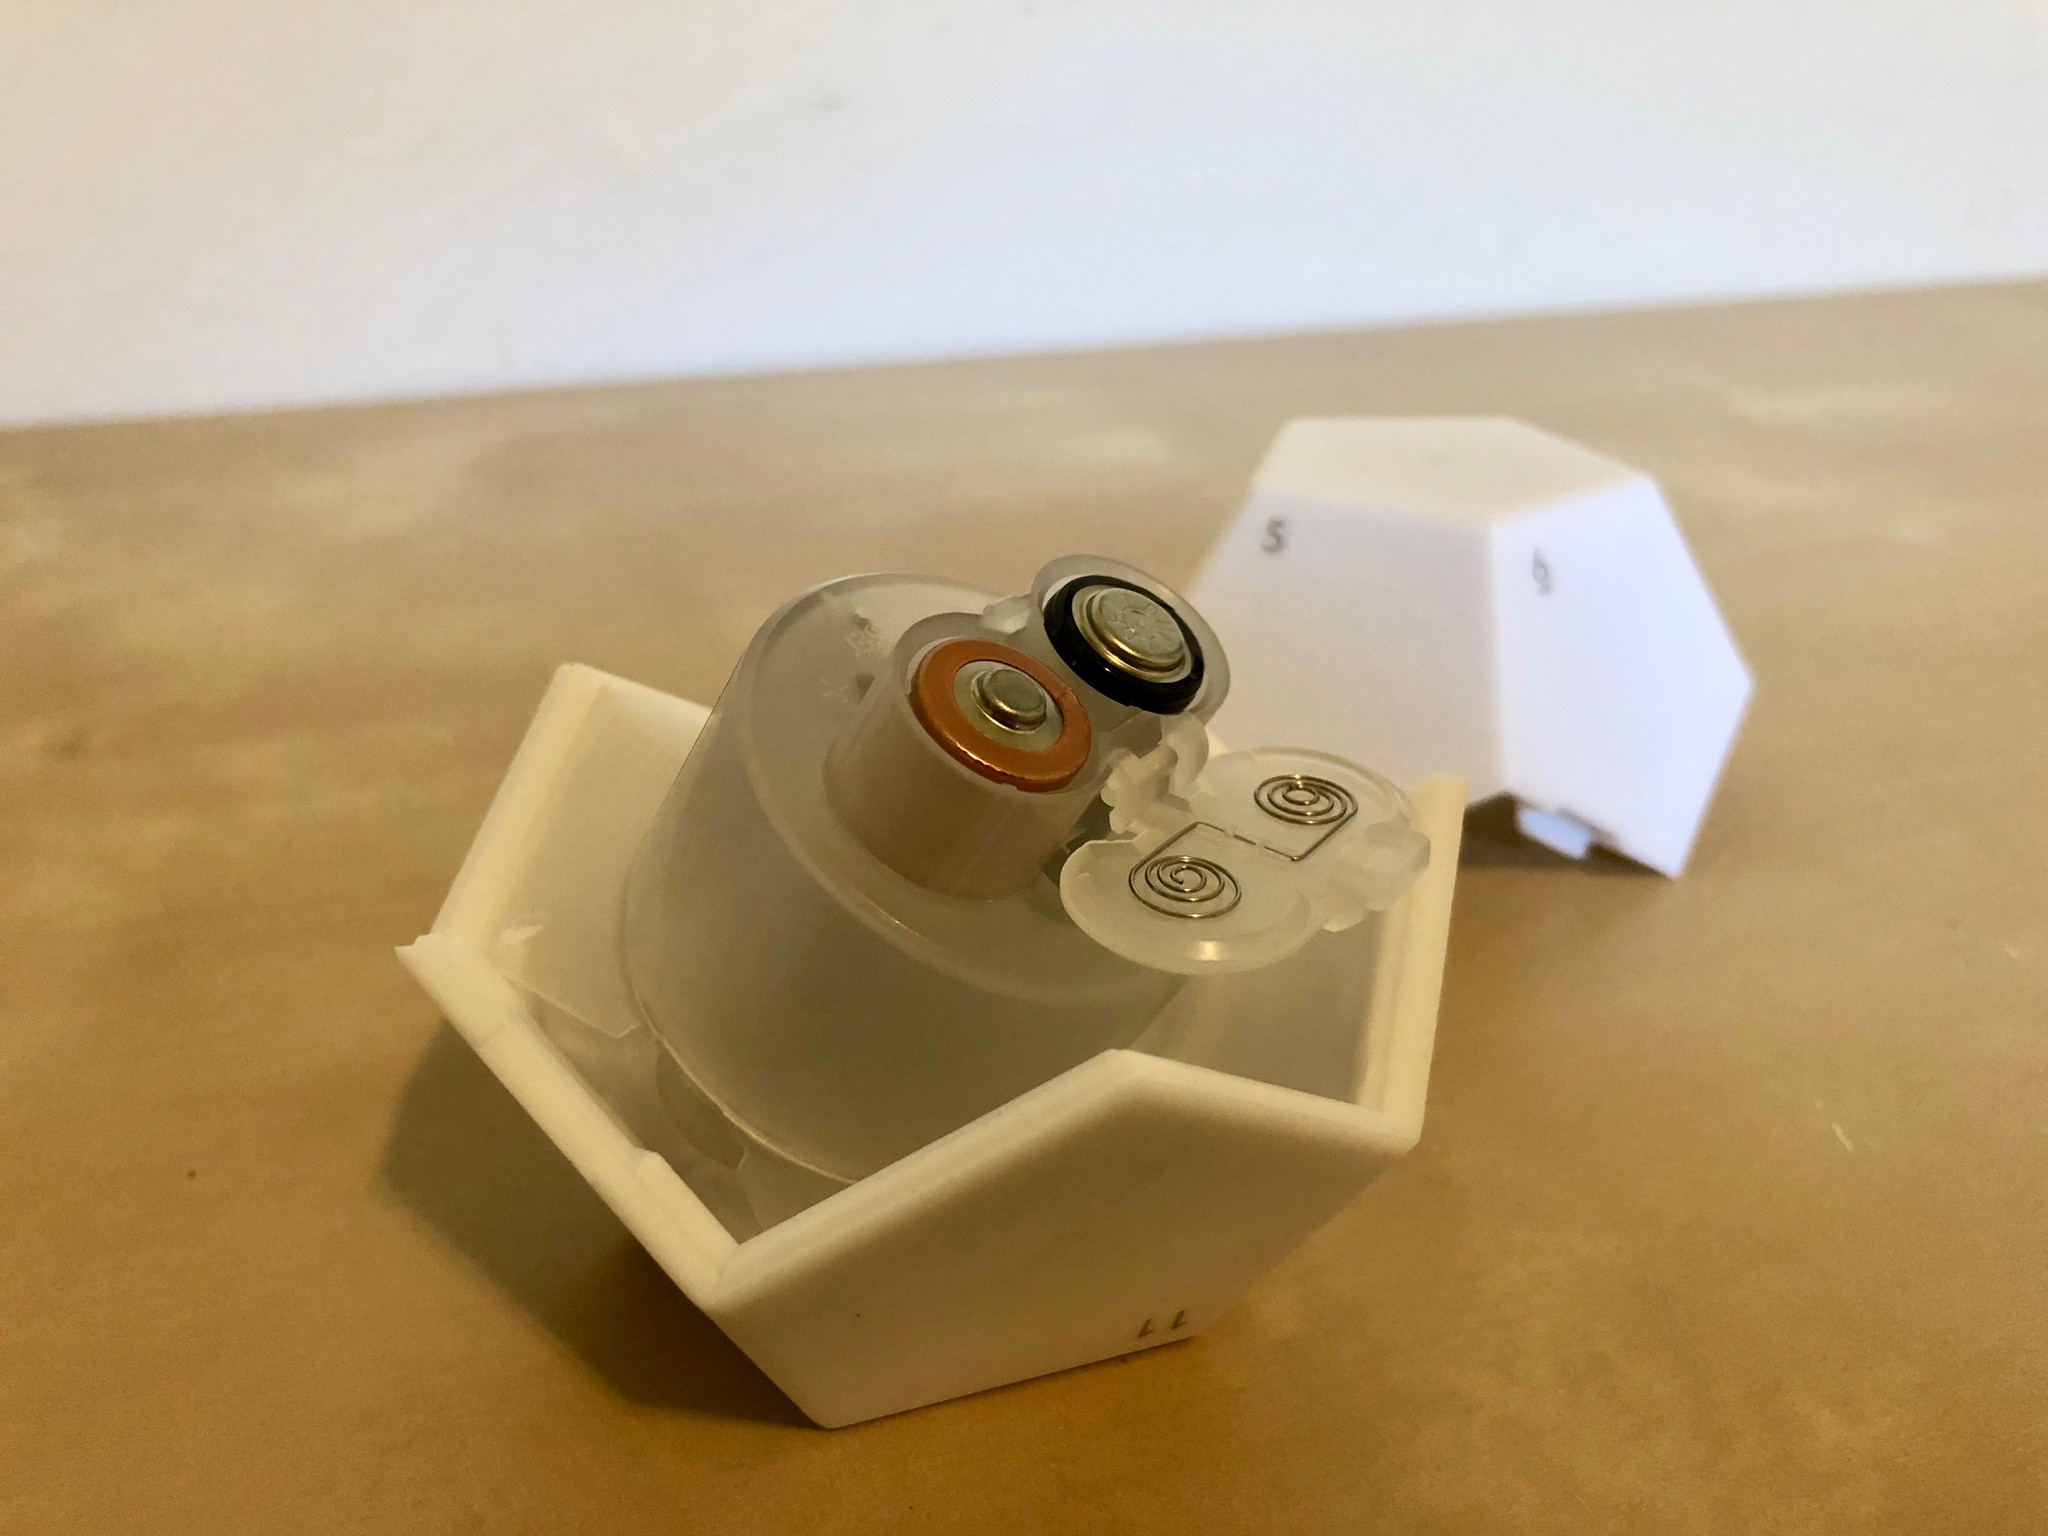
The Remote runs on two AA batteries, not a rechargeable lithium-ion battery, which is what I'd have expected from a smart home controller. I'm not sure why the company went with the disposable battery option, but I'm sure there is a good reason. Maybe Li-ion isn't powerful enough for the Remote's functions or maybe the designers wanted the Remote to really feel like a non-smart gadget, even though it connects to smart things (for those non-techies that will use it).
My concern with the use of traditional alkaline batteries is the issue with leakages. We've all had gizmos and gadgets that require standard batteries. If the gadgets don't get used for a long time, they might leak, destroying the gadget.
I know what you're thinking, Li-ion batteries explode — a little alkaline leakage is small potatoes in comparison — and you're right. It's just a minor concern.
At first glance...
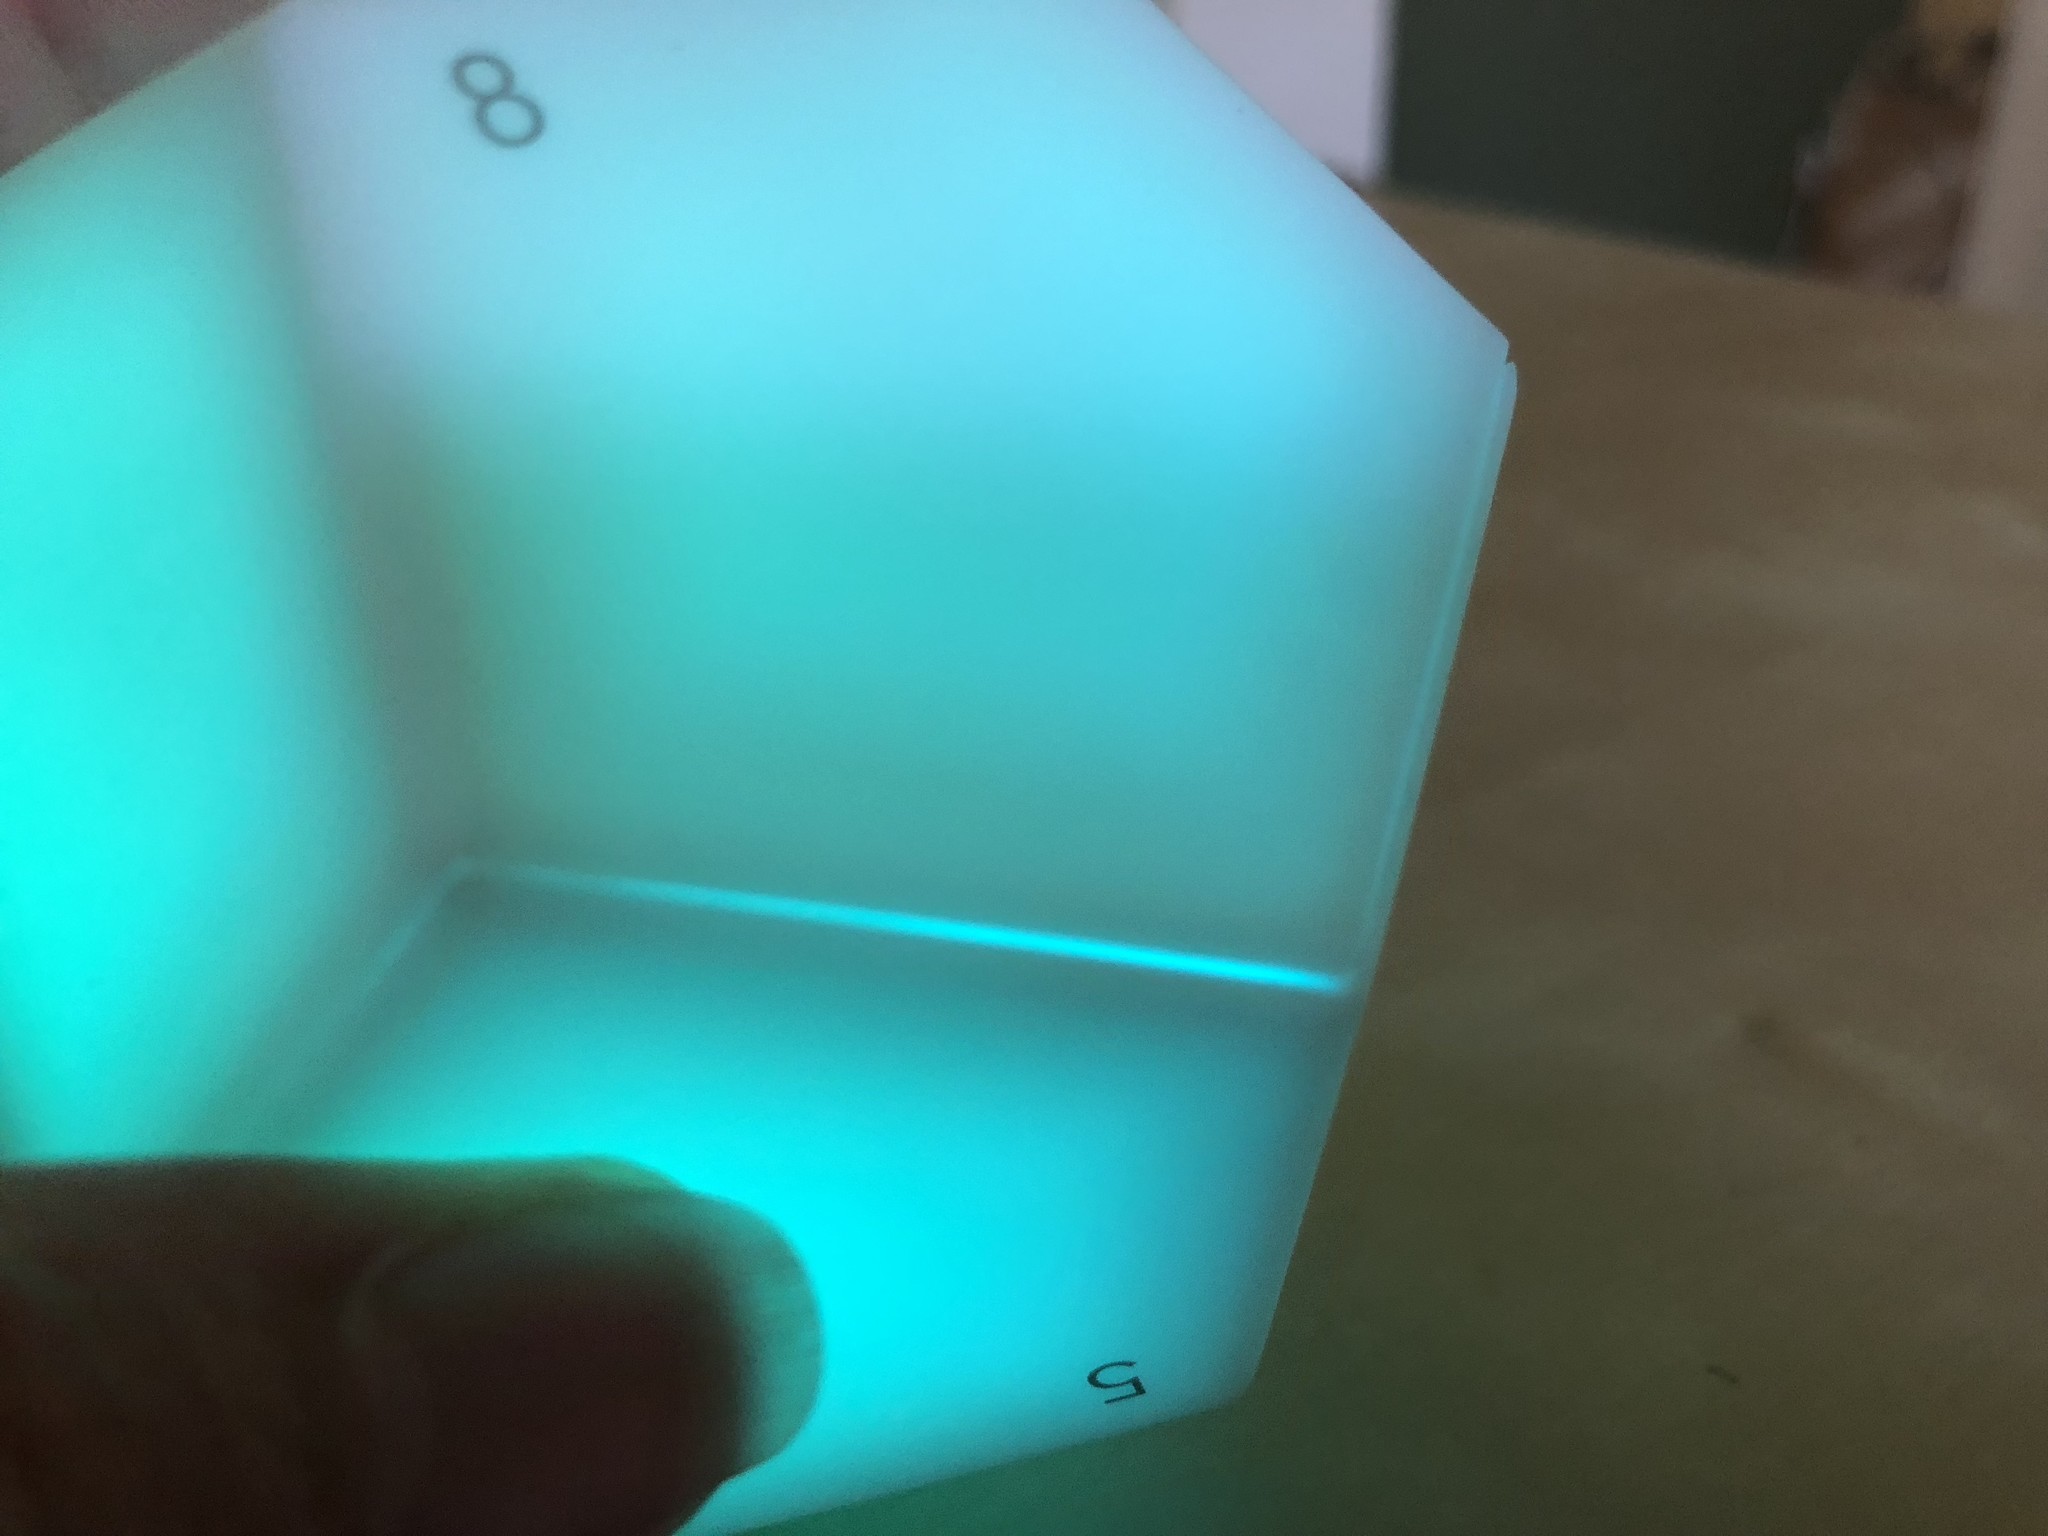
As far as structure and materials are concerned, I wasn't exactly awed by the build of the Remote. It kinda feels and looks like a toy to me — a toy that might shatter if I drop it.
The Remote comes shipped in two separate pieces, kind of like an eggshell broken in half. Everything you need to install the batteries, pair with your iPhone, and reset it is inside. Once you connect the batteries and pair your iPhone, you snap the two halves together.
There is the ever-so-slightest gap in the seam that separates the two sides, which is very noticeable when the Remote lights up. It doesn't really bother me, but it adds to the overall feeling of a first-generation gadget.
The quality is inside
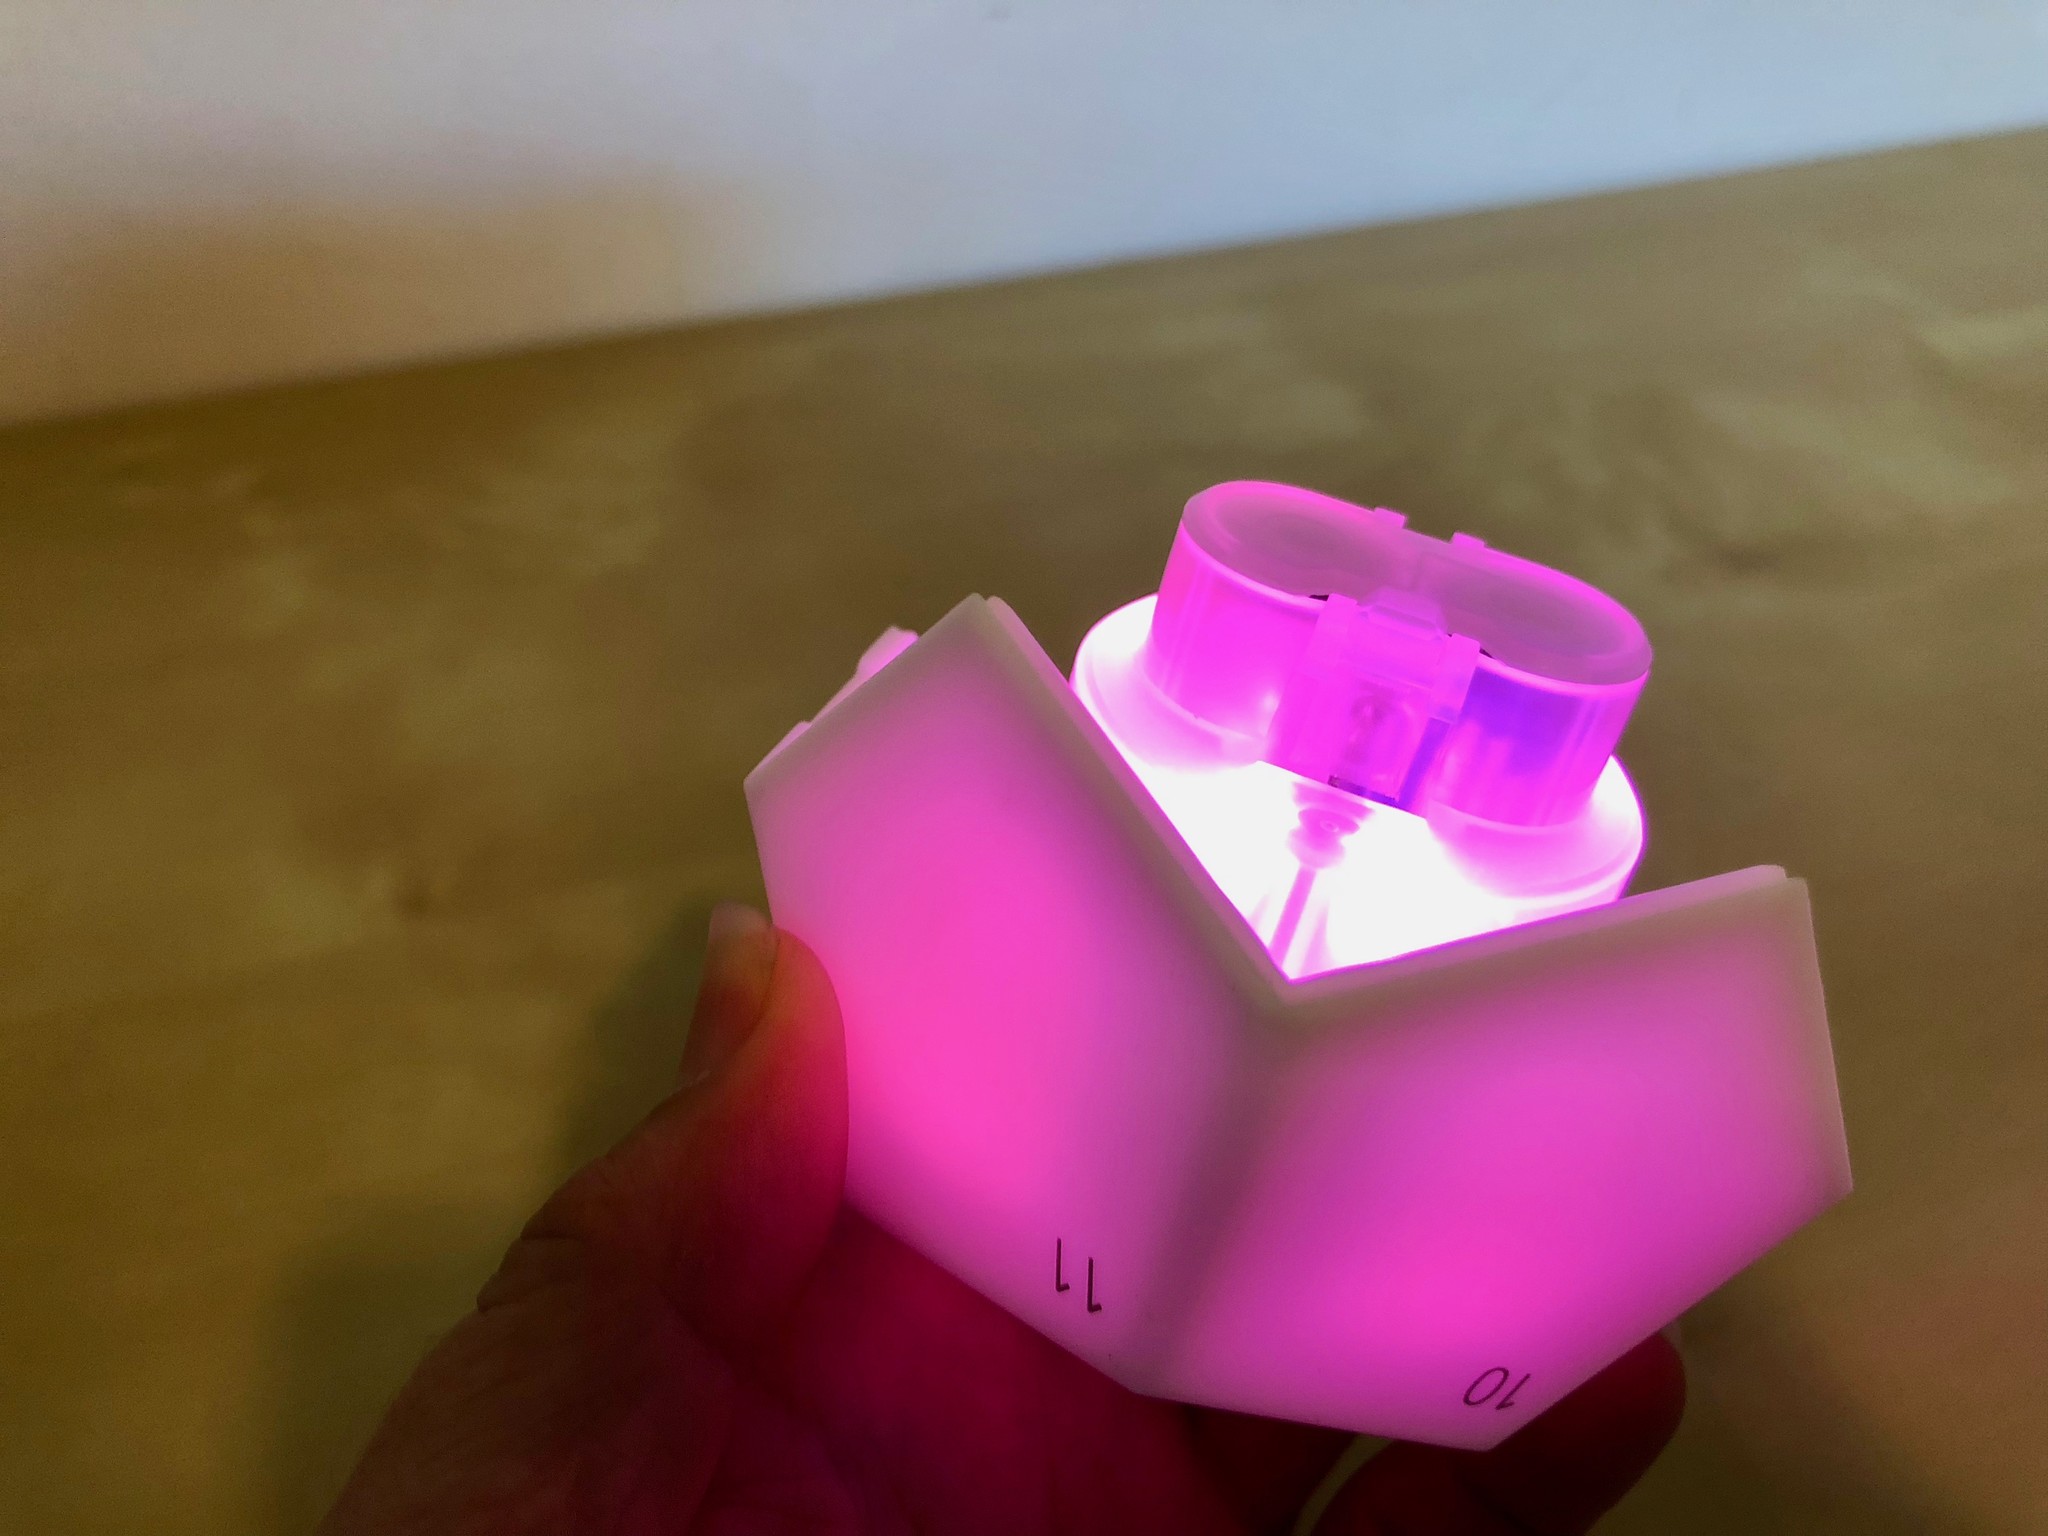
Though the materials and structure of the Remote are nothing to write home about, the overall experience is. It works well with HomeKit connected accessories. There were a few times when the changeover would lag and some issues with a light not registering when I flipped to a new side, but the Remote usually worked correctly every time.
I love having this little dodecahedral orb sitting on my coffee table. I don't have to whip out my iPhone if I want to set a scene, nor will I interrupt a movie by yelling at Siri to set a mood for me. With a simple rotation, I can set any scene I want —12 of them!
I'm most amazed at how comfortable I am using the Remote myself. I originally thought of it as something for my significant other to use or visitors to play with. I found myself using it way more often than I use my iPhone to set scenes in my house. It's so much easier. No unlocking my iPhone, opening the Home app (or the Control Center functions), and then tapping the scene. No asking Siri to set a scene, only to get the response: "I can't do that." With a single flip, my scenes are set. Done. Move on.
Should you buy?
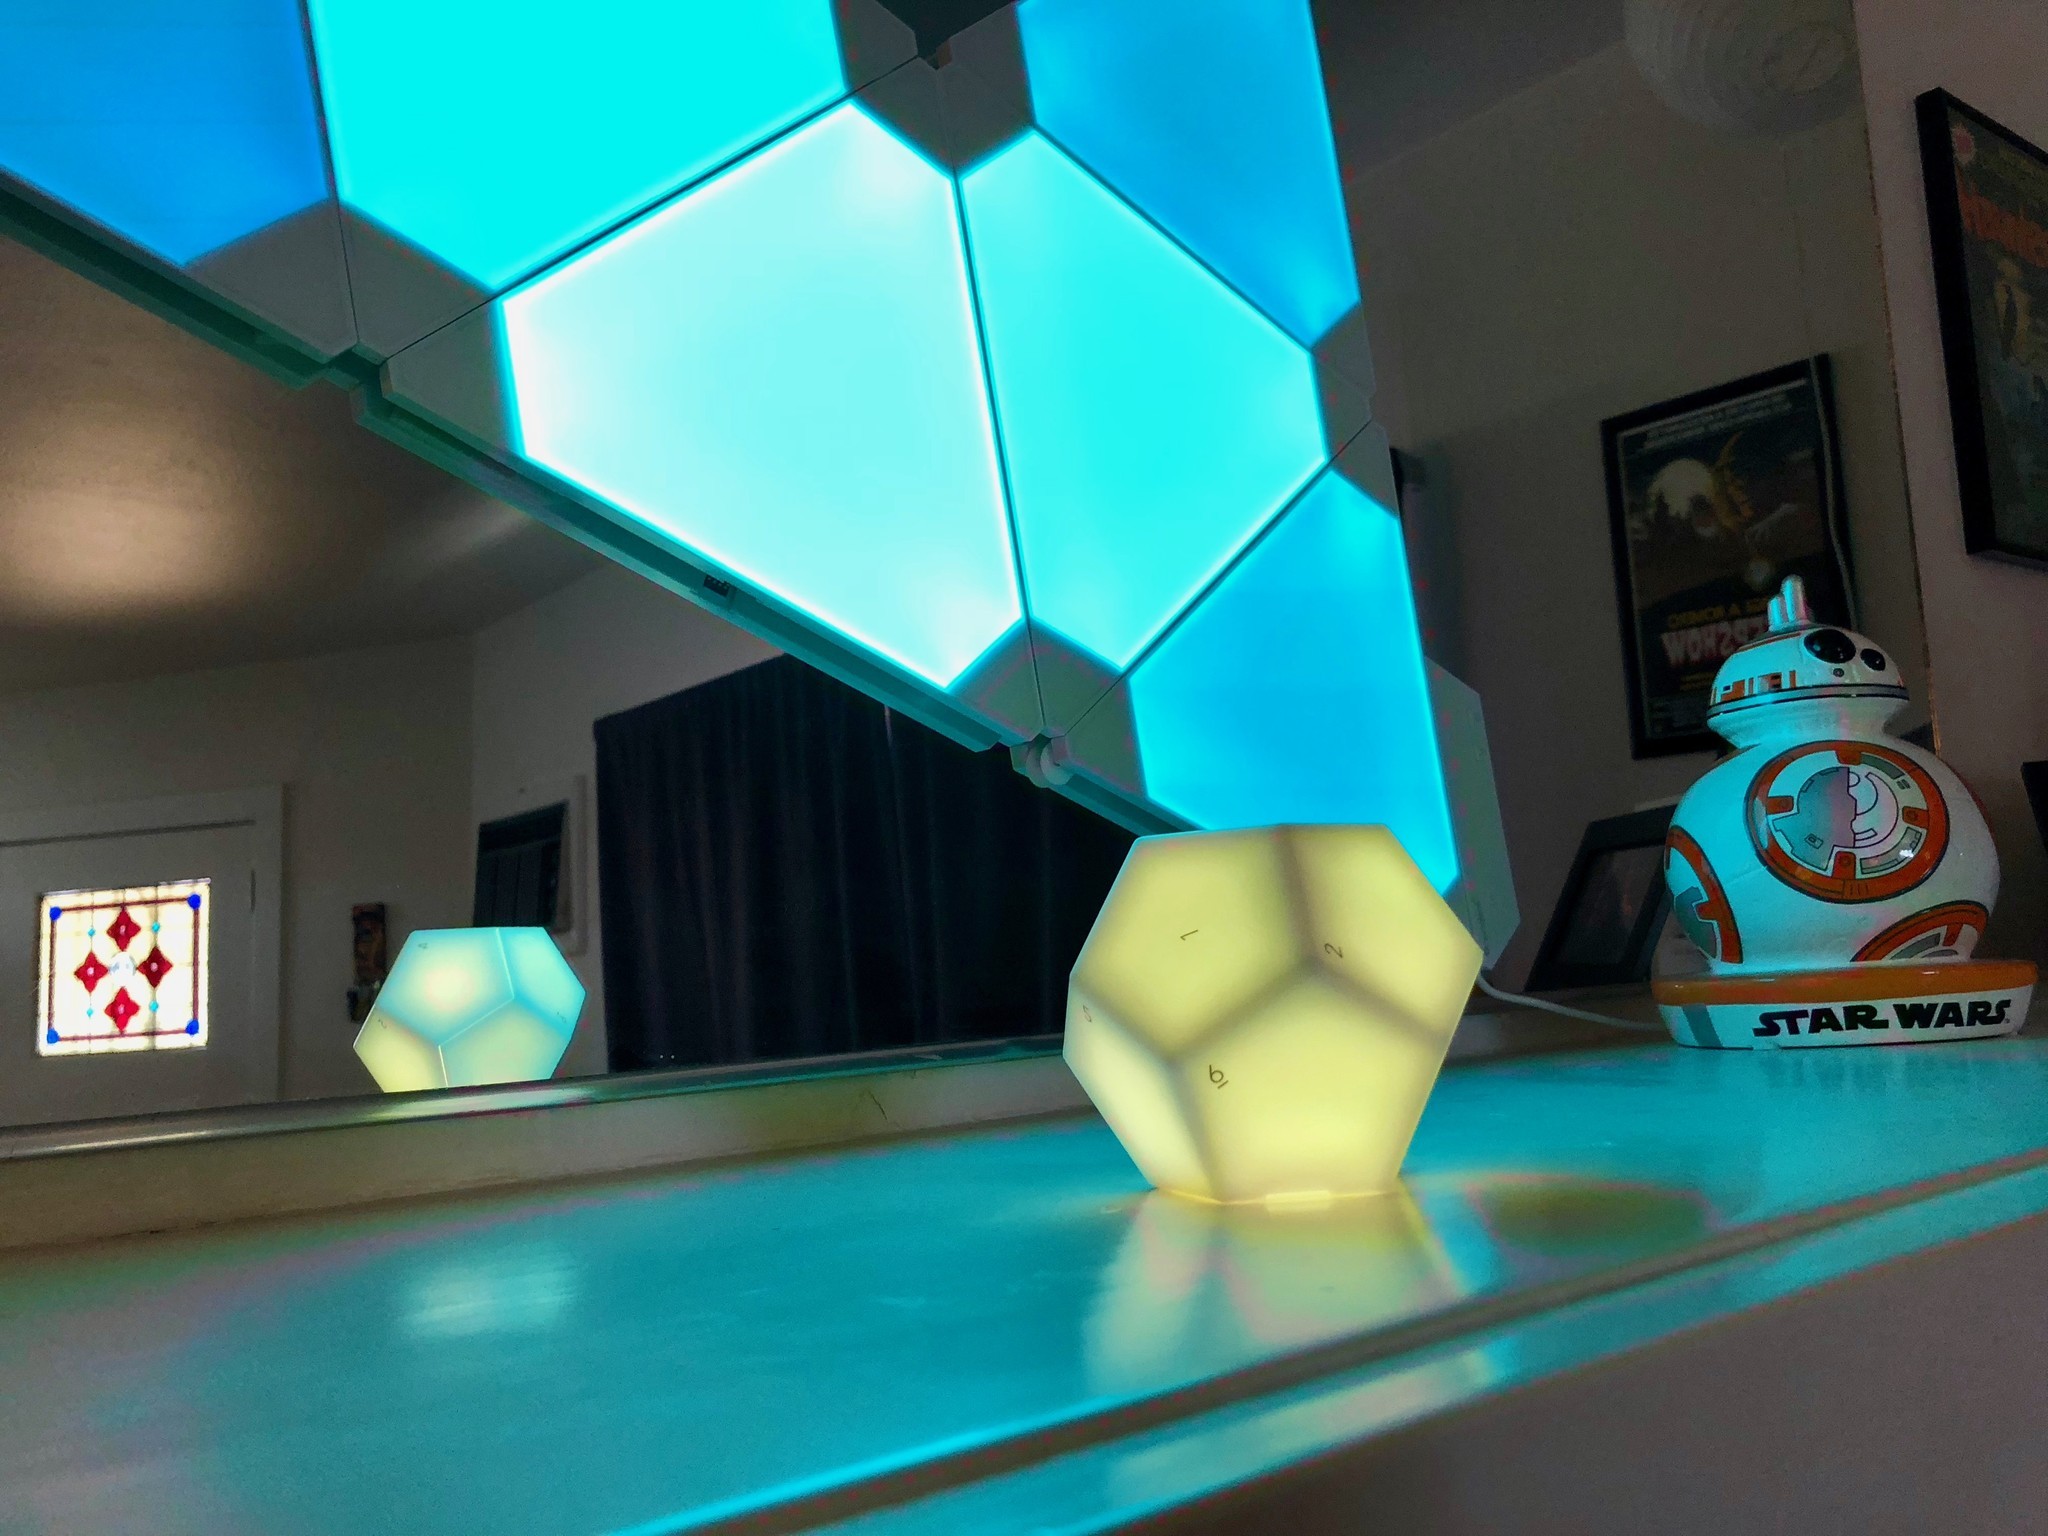
Nanoleaf designs tech-focused art experiences first and foremost. So, there isn't really a need for the products they sell. You don't exactly need a Remote. Do you want a Remote? That's the question you should be asking yourself.
If you've always loved the idea of Nanoleaf's gorgeous panels, but can't justify spending more than $200 on light-up wall art, the Remote is a great mini investment. It only costs $50, and unlike the panels, it actually does have a function - You can control your smart home with it. You don't have to own a single panel to use it. You do, however, need HomeKit connected accessories.
If you own any of Nanoleaf's panel sets, I definitely think you should get the Remote. It's really fun to set a lighting pattern by just rotating the orb and adds to the overall experience. Plus, it's a serious talking piece at parties. If you've already invested in the panels, the Remote is a wonderful compliment. It's like having Le Rêve on your wall and then adding Girl before a Mirror to compliment your collection (OK, so that comparison was a huge exaggeration, but you get what I'm saying, right?).
You can get the Remote by itself for $49.99. If you own a set of Nanoleaf panels, but not the Rhythm module, you can get the bundle for $90. If you want to go all-in with the Remote plus a starter set of panels (with the Rhythm module), you can get one of two bundles that discount your purchase by $60 - $130, depending on how many panels you want. Basically, you can get the Remote for free if you go with one of the panel packs.
You light up my life
Let me know what you think of the Remote in the comments. Are you getting one?
Lory is a renaissance woman, writing news, reviews, and how-to guides for iMore. She also fancies herself a bit of a rock star in her town and spends too much time reading comic books. If she's not typing away at her keyboard, you can probably find her at Disneyland or watching Star Wars (or both).
