How to take the best holiday photos ever!
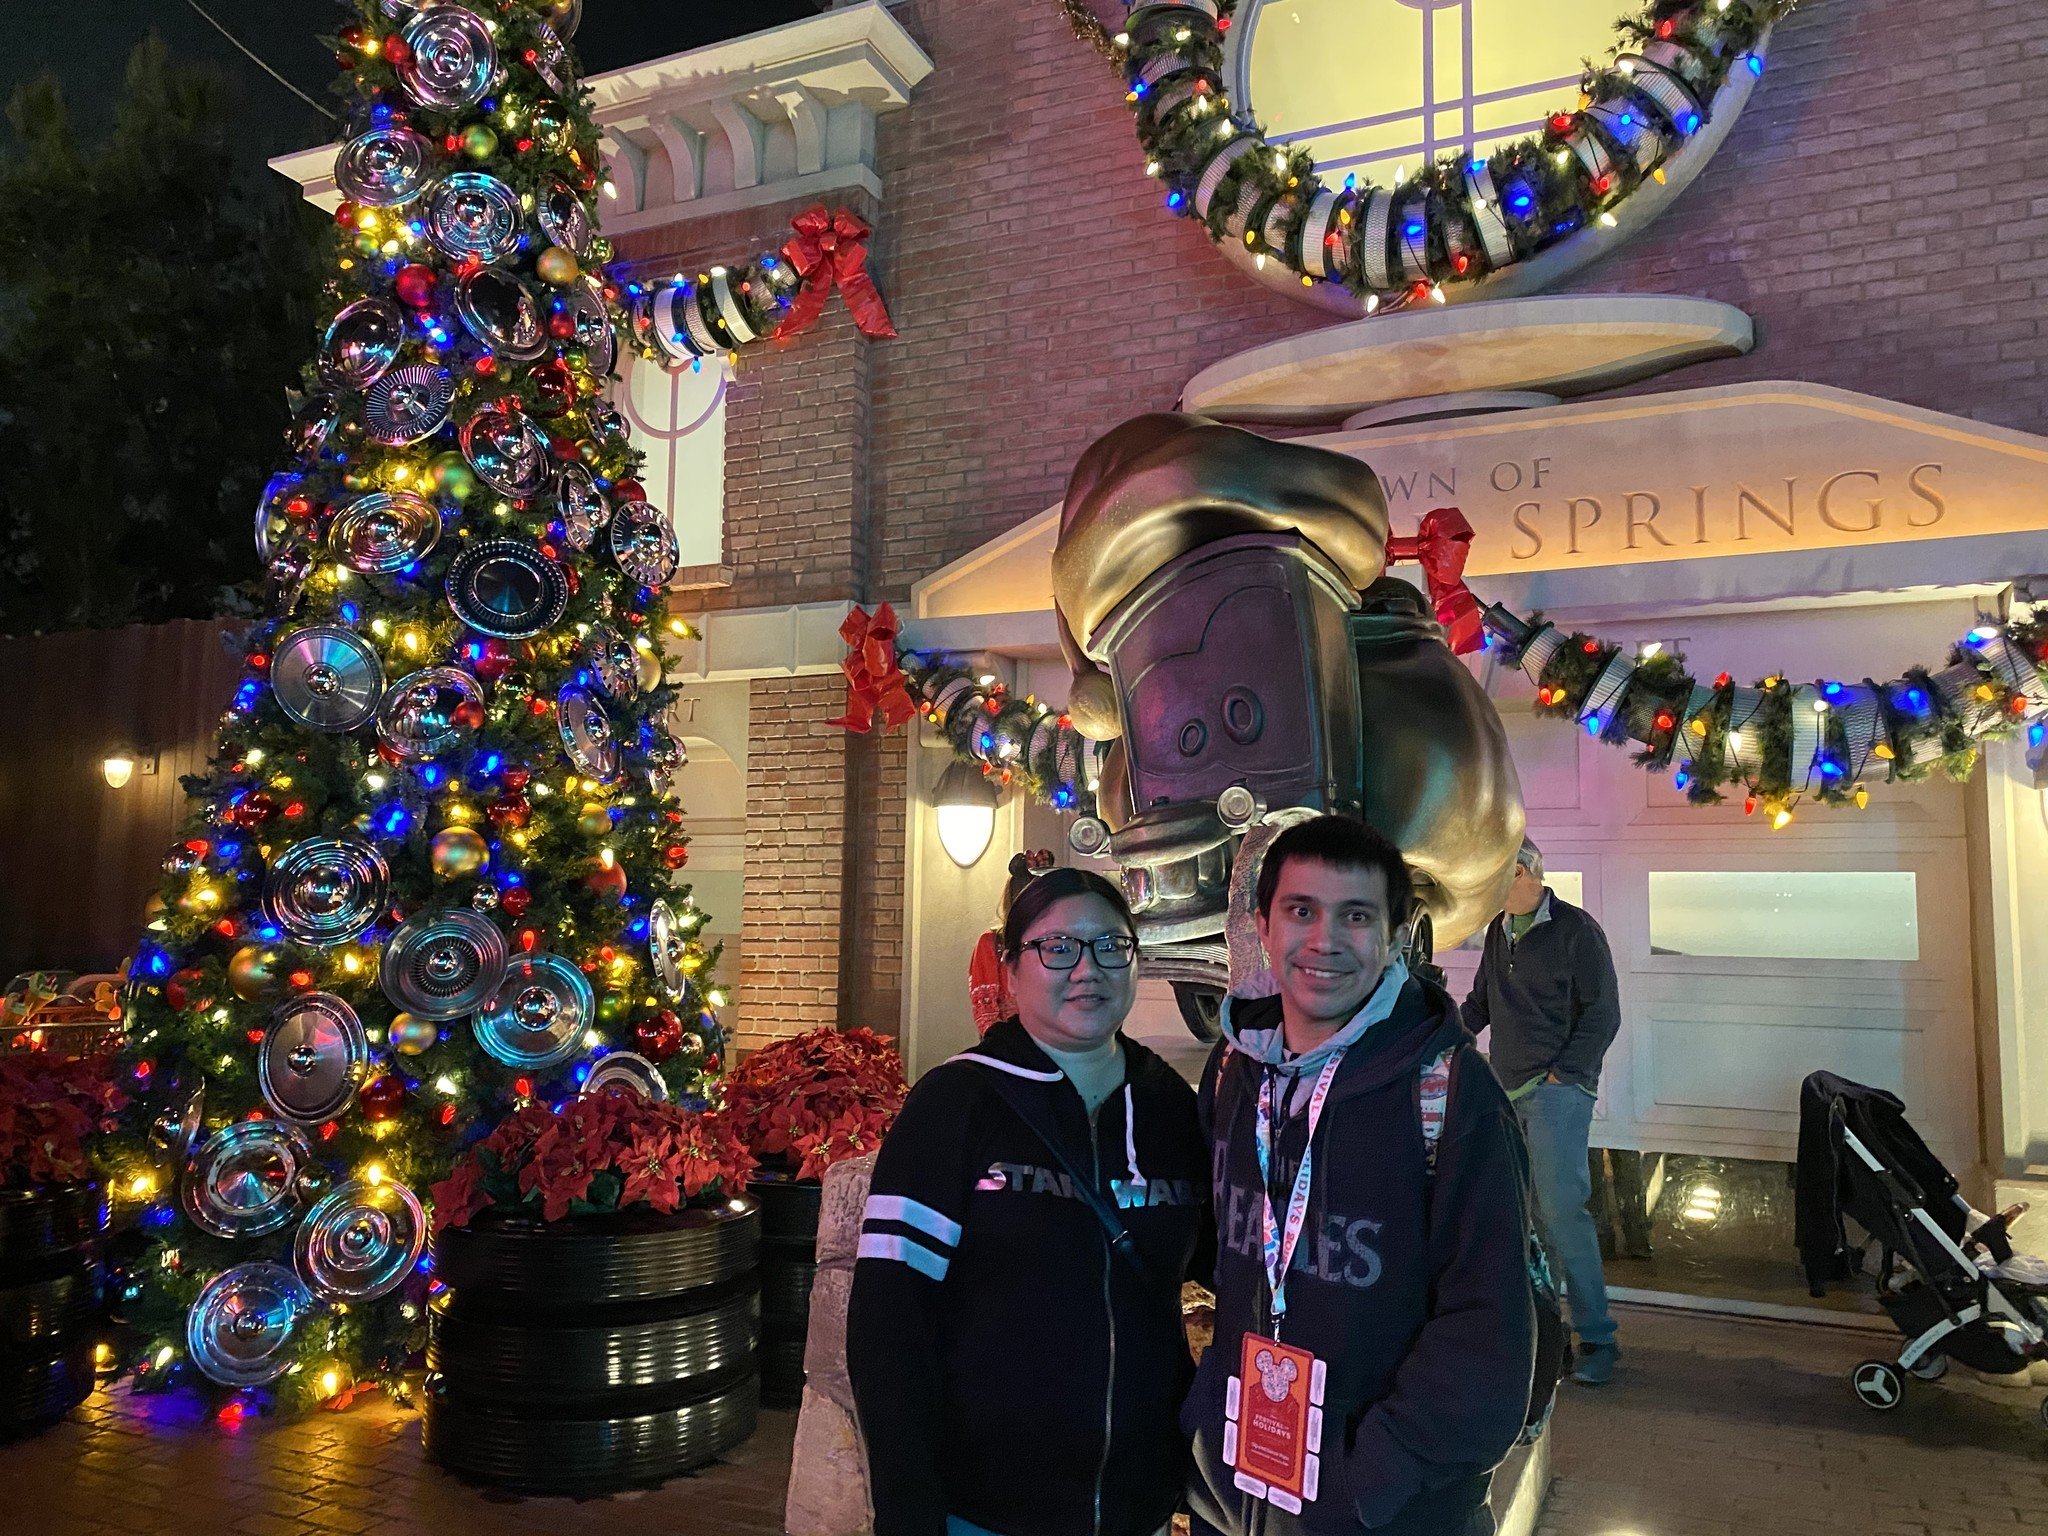
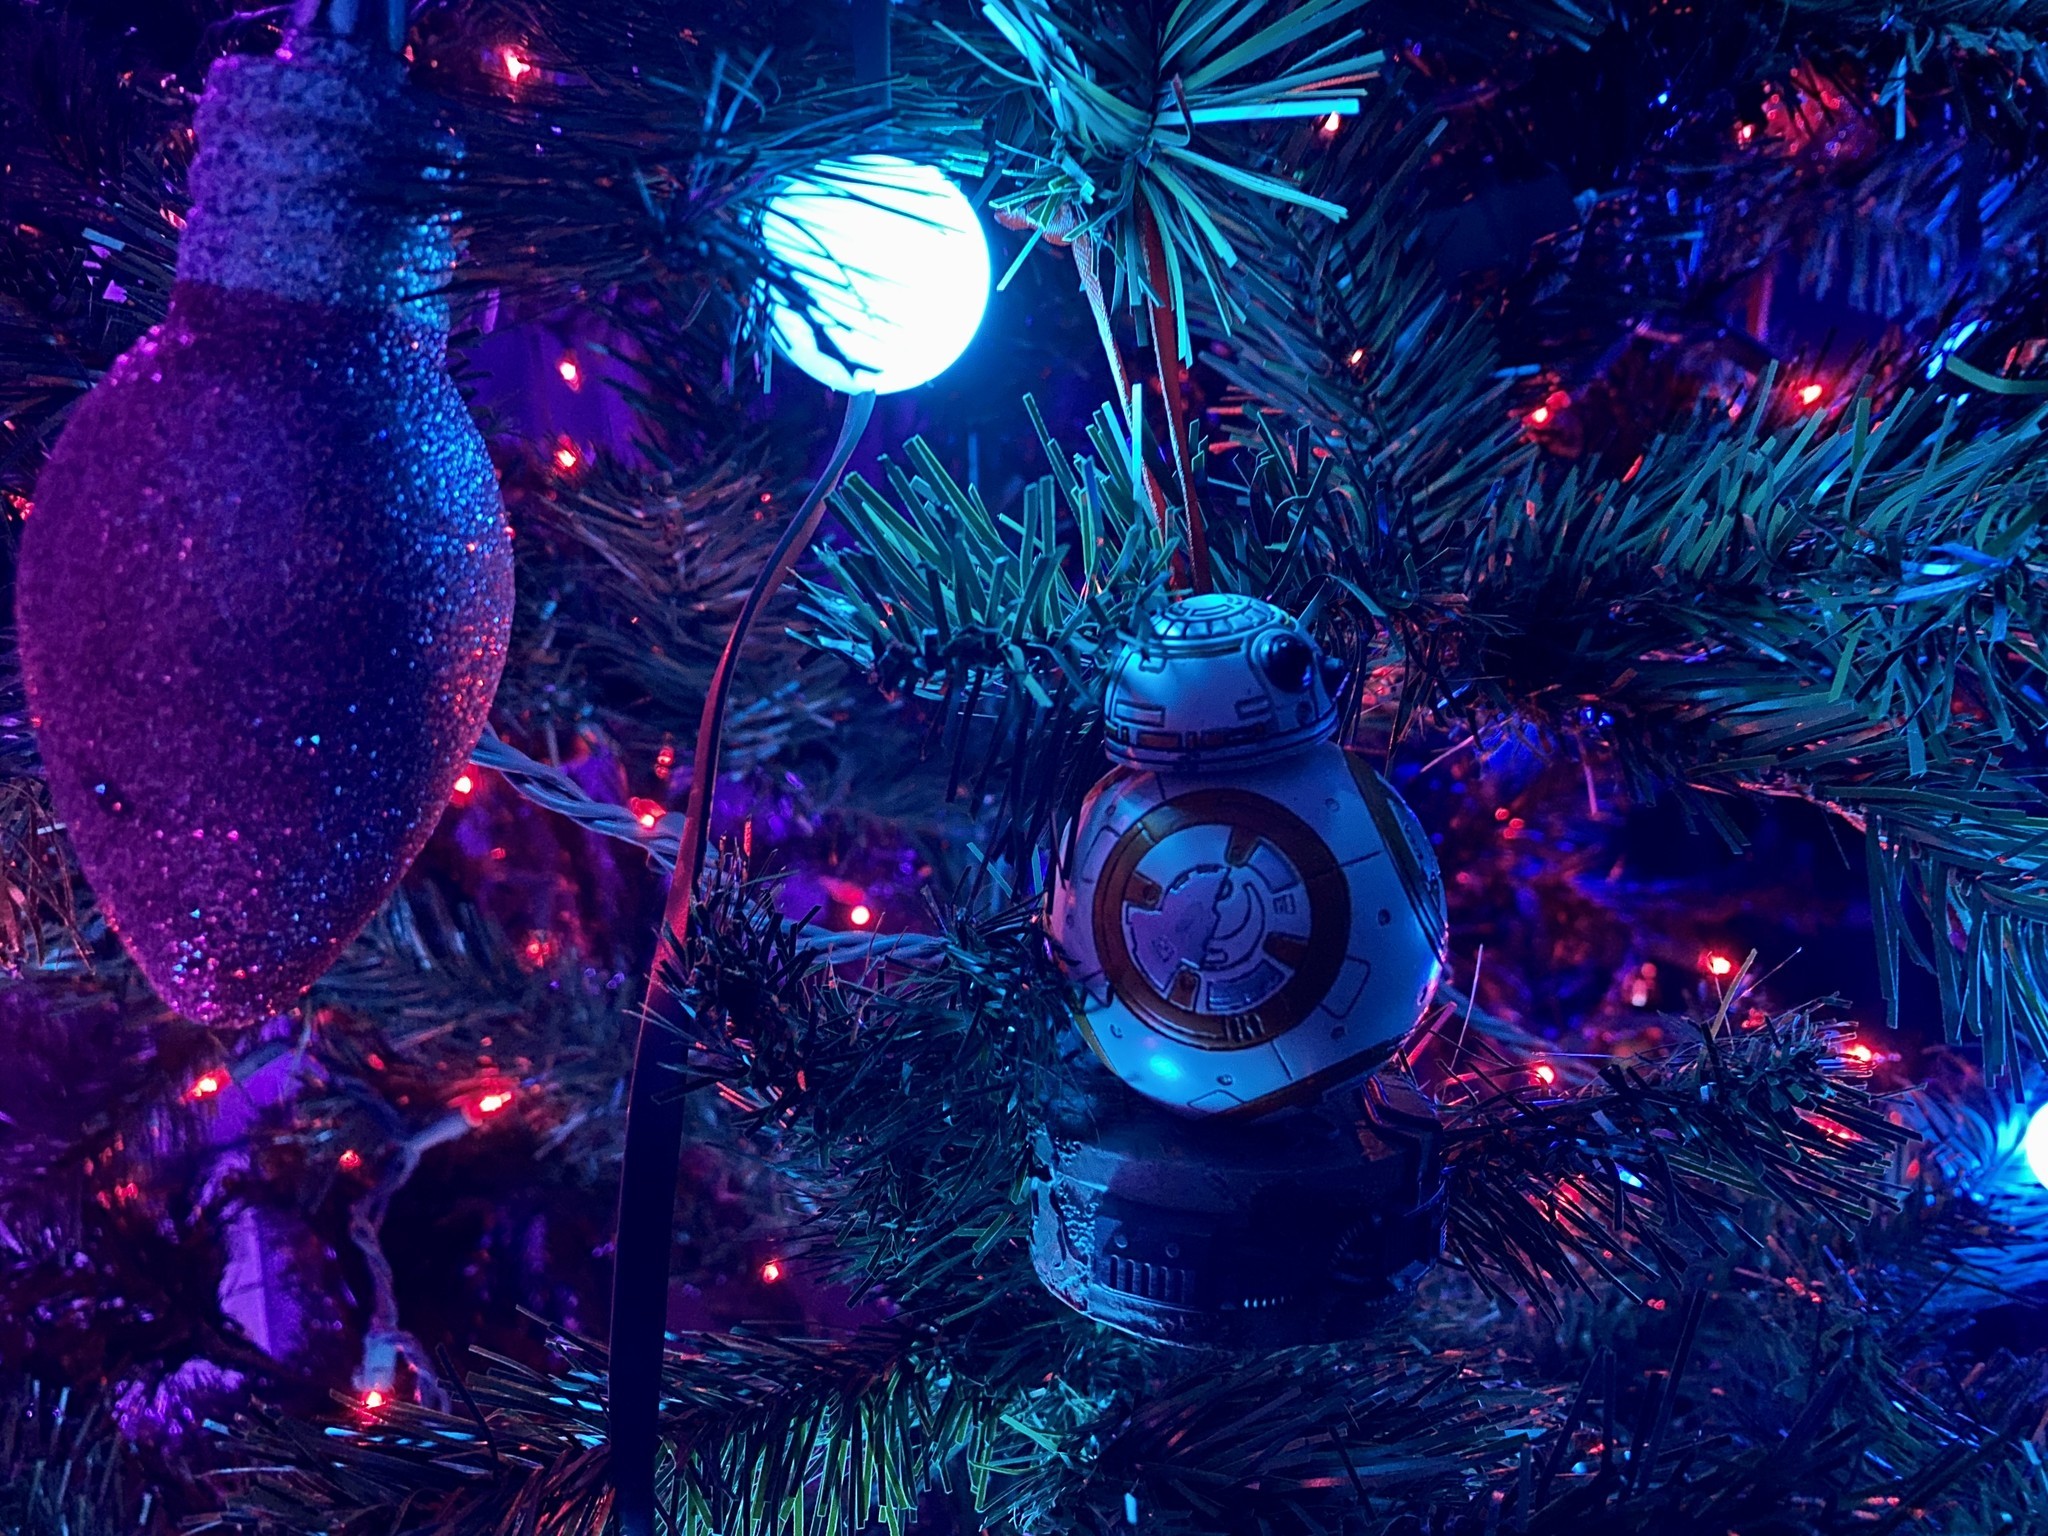
It's that time of year again — the holidays are here! Whether you're celebrating Hanukkah, Chanukah, Christmas, or anything else, one thing is guaranteed: time with friends, family, and other loved ones. There will be plenty of opportunities for photographs too, as these are moments that you want to capture and cherish for years to come.
But how do you take the best holiday photos that you can? Here are some tips to help you out!
Understand your camera
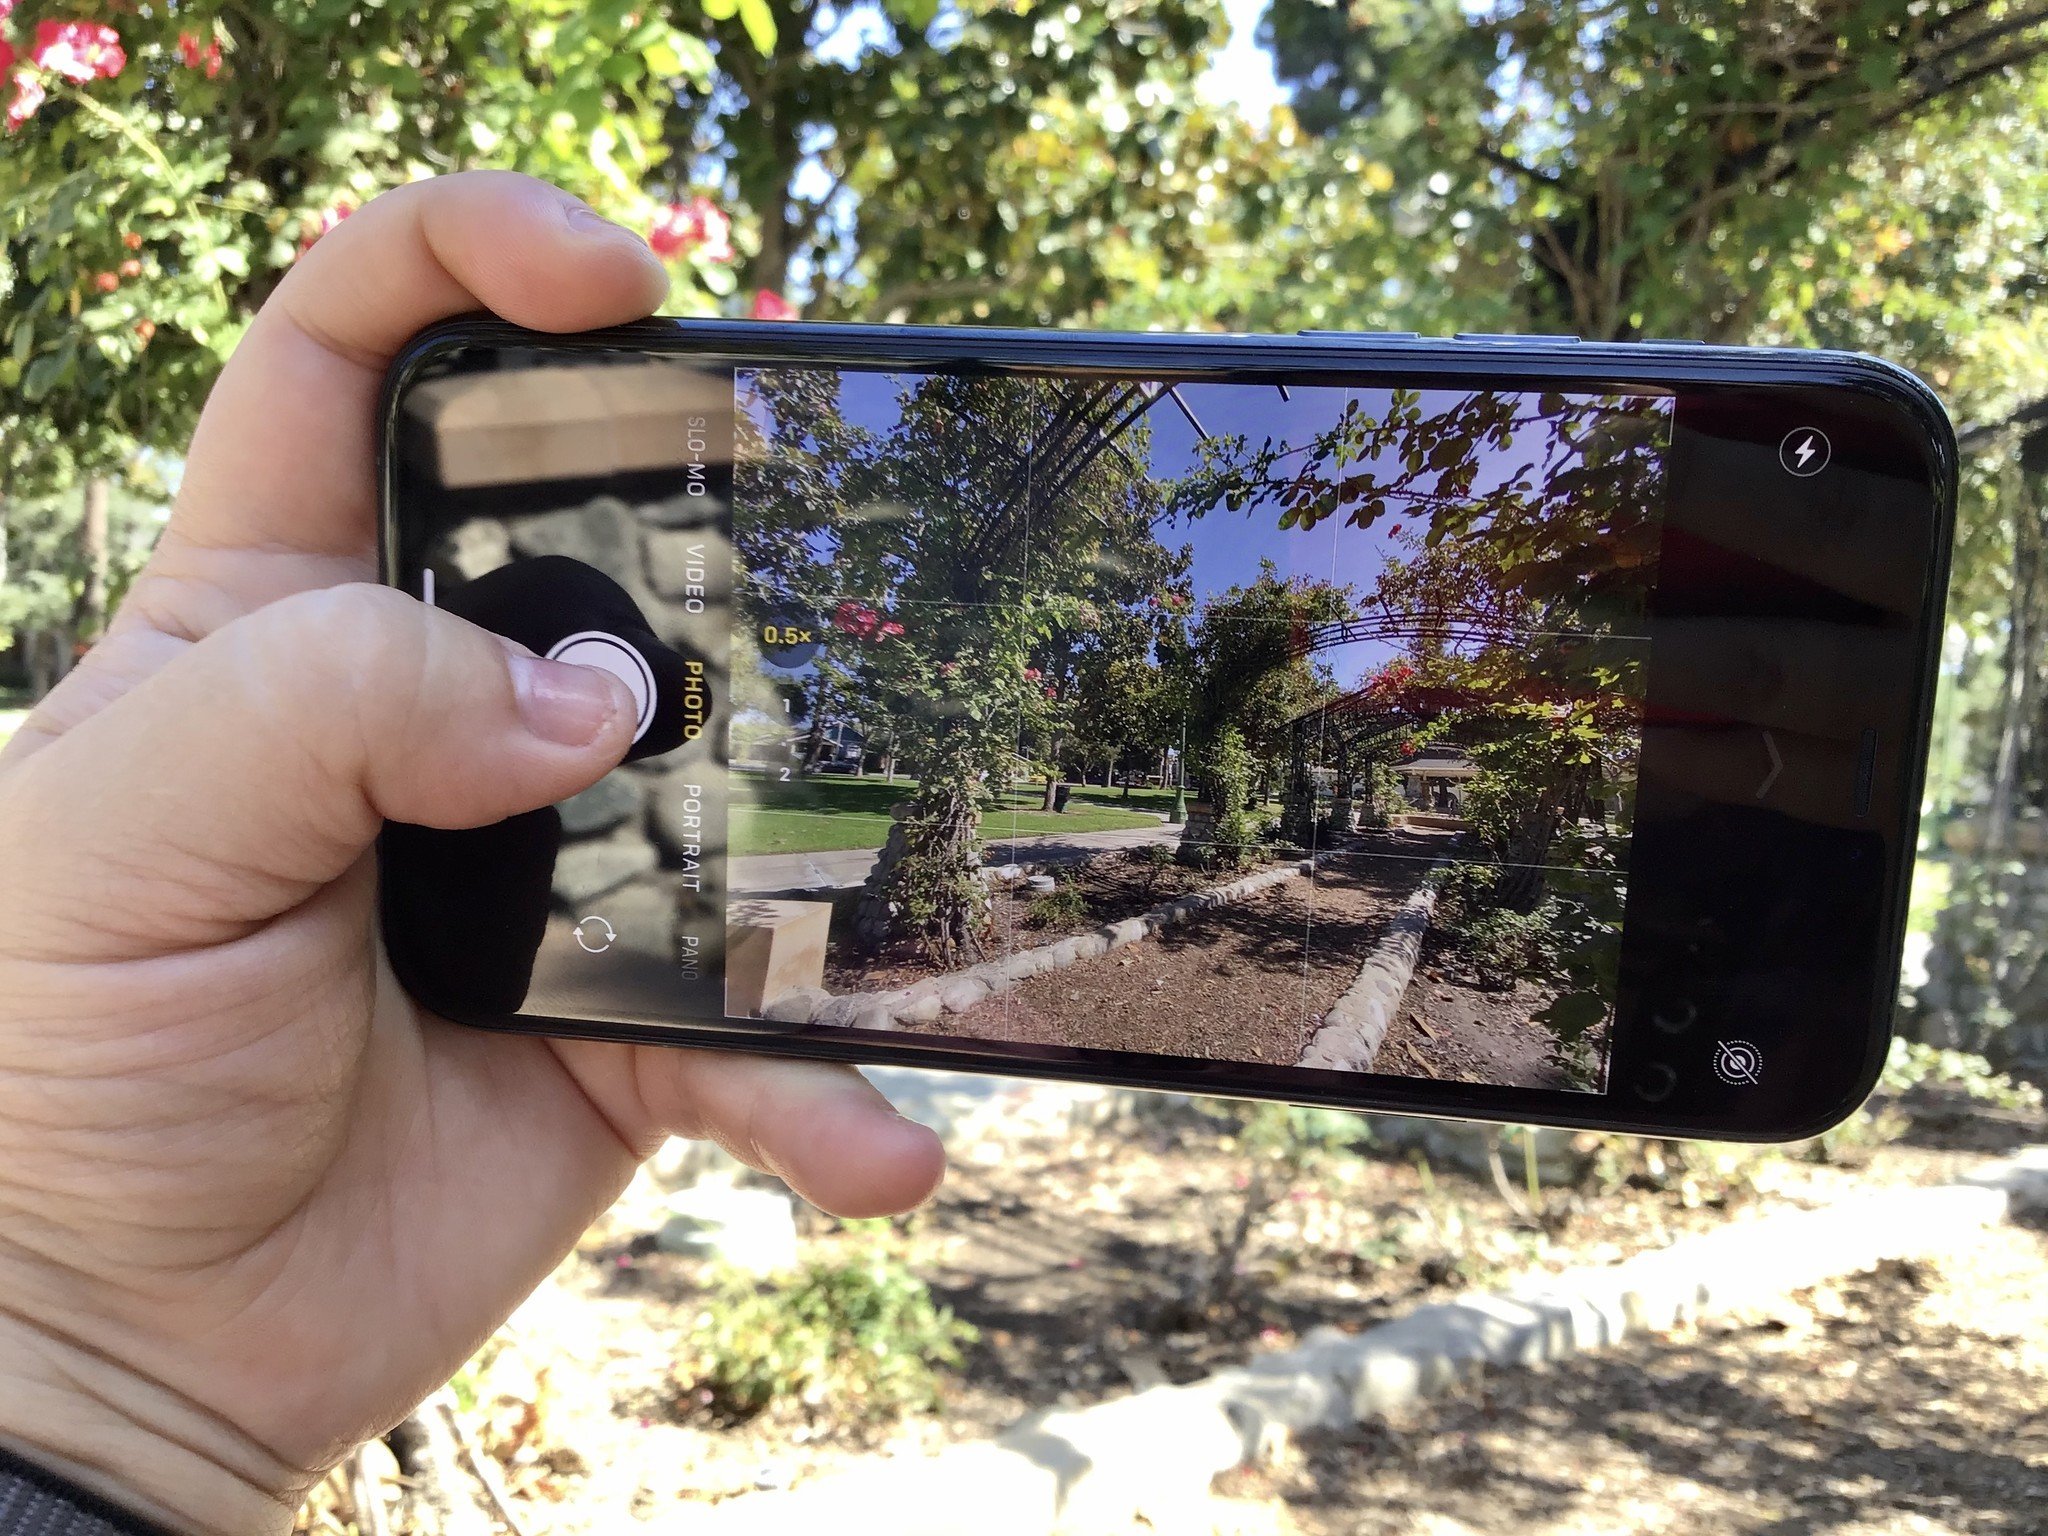
The first tip is the most important: you should take some time to understand your camera. With just a basic understanding of the camera, whether it's a point-and-shoot, DSLR, or even your iPhone camera, you'll be able to get some good shots through trial-and-error. After all, even with an iPhone as your camera, there are a lot of things that you can do with it, and just having a basic understanding will go far in terms of the kinds of photos you'll be producing.
Camera App: The Ultimate Guide
It's all about lighting
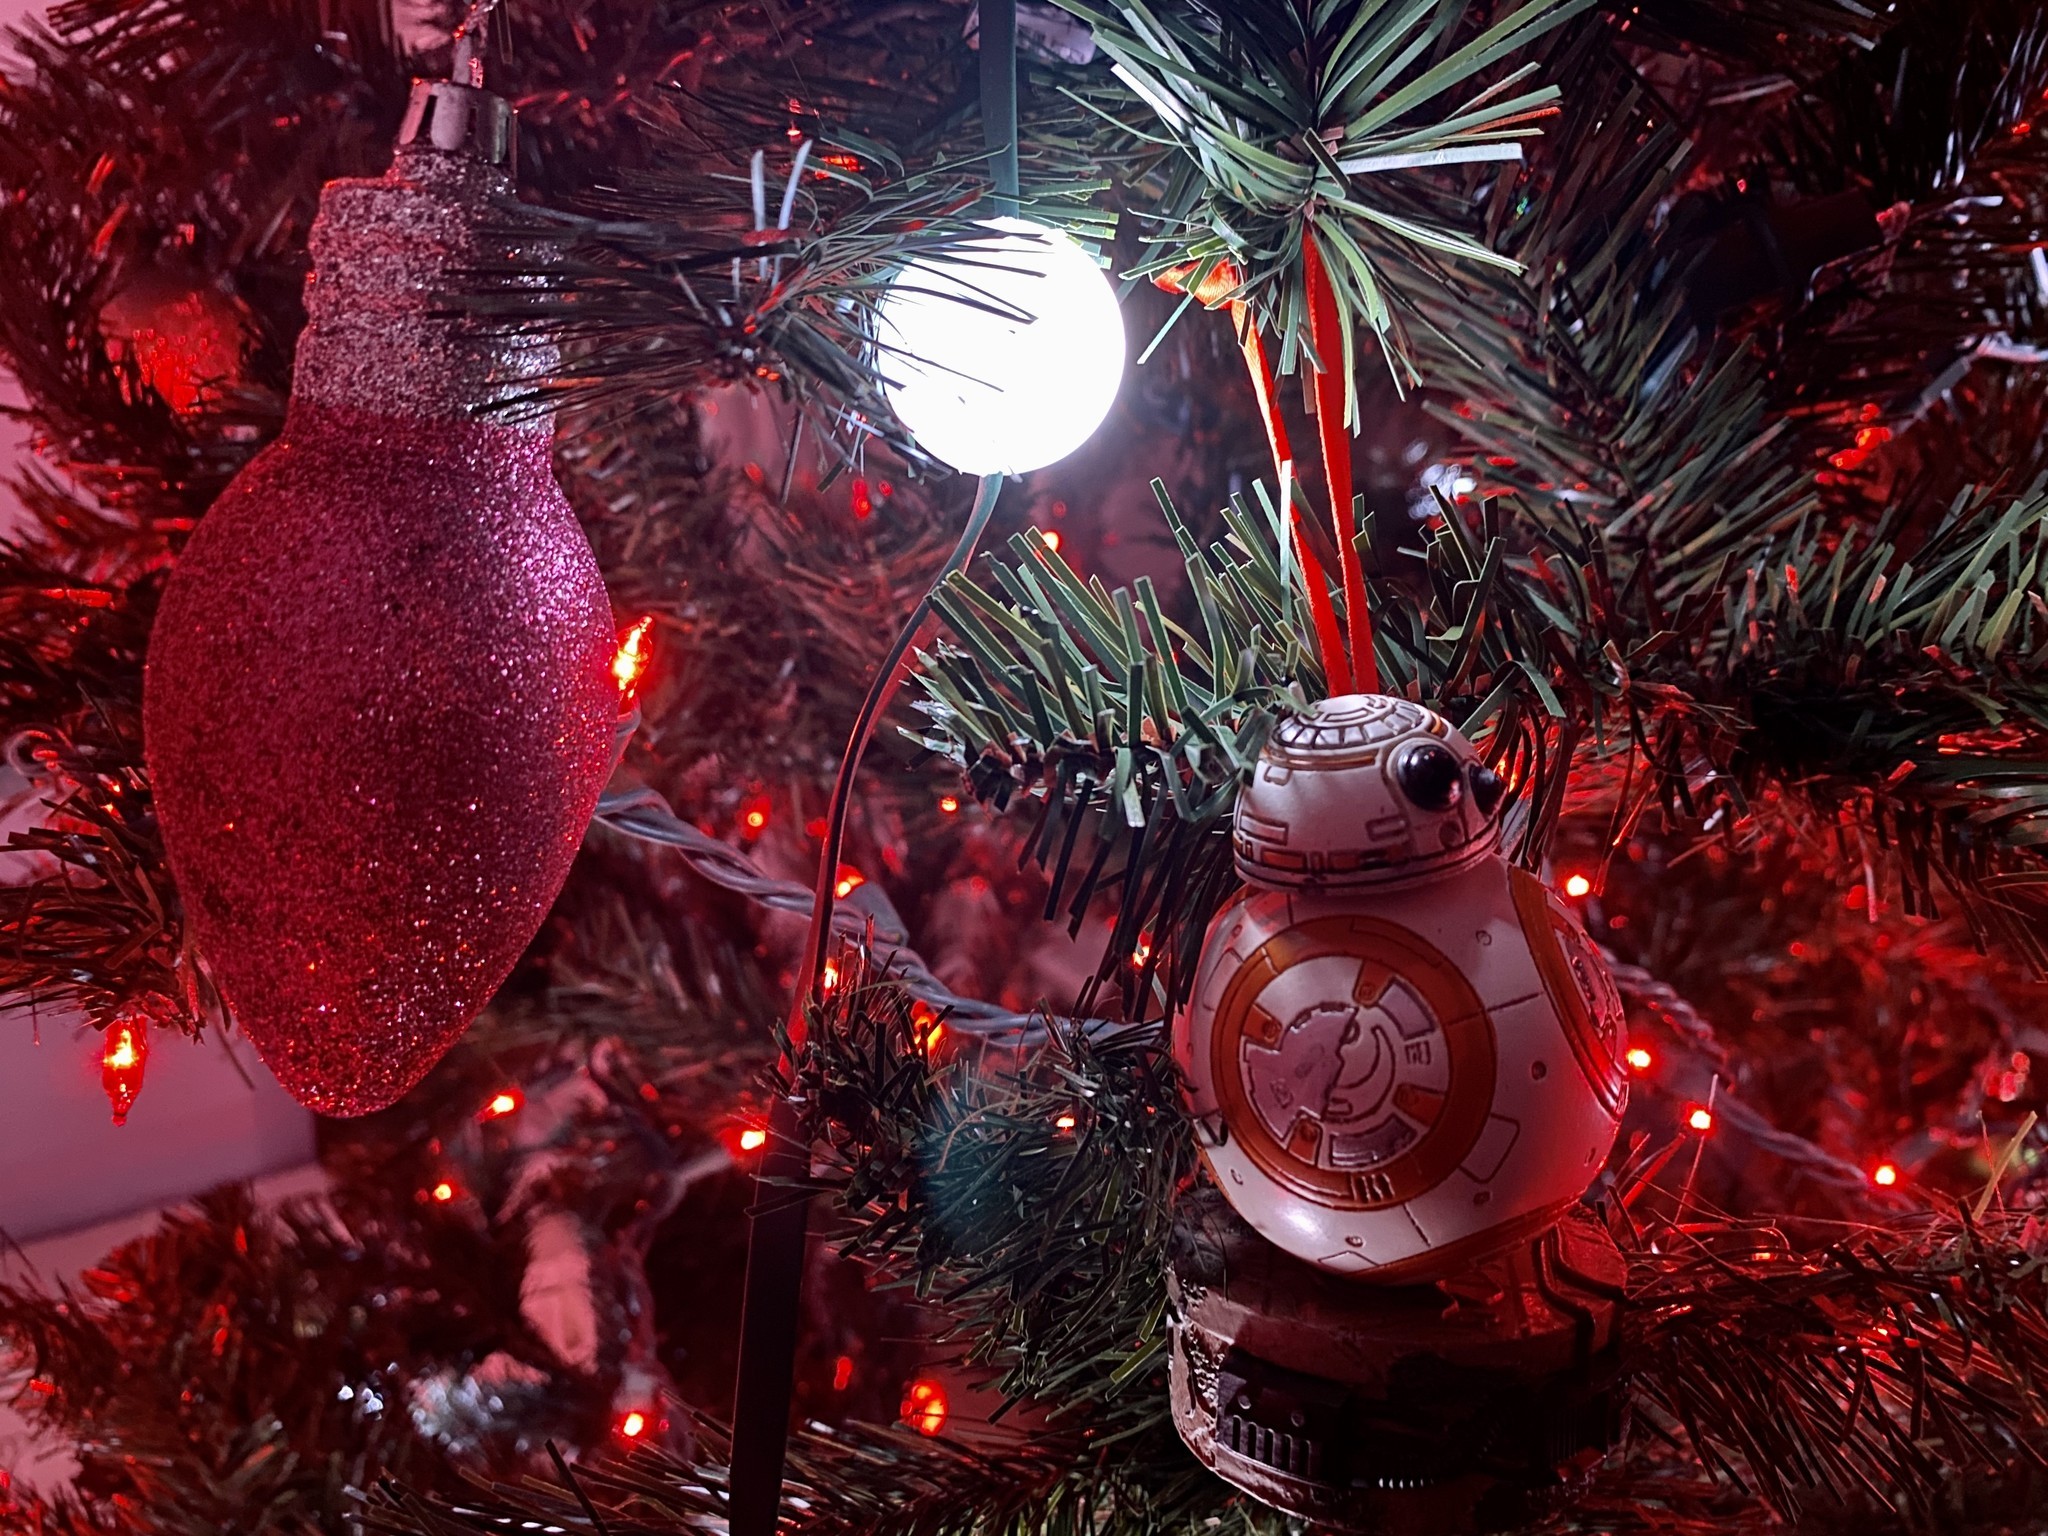
Even though each holiday is different, there is one thing that they all have in common: lights! No matter what you're celebrating this season, each holiday has their own unique decorations and lighting to go with it.
With this in mind, you should definitely take advantage of these distinctive lighting situations for your photographs. Play around with the lights and the light that they produce, because these aren't around all year.
If you want some ideas, try getting a portrait of a candlelit Menorah, wrap a buddy up in a string of Christmas lights for a silly snapshot, use the light from a cozy fireplace, or take some closeups of your own Christmas tree! The possibilities are limitless, and you're bound to get something special.
Master your iPhone in minutes
iMore offers spot-on advice and guidance from our team of experts, with decades of Apple device experience to lean on. Learn more with iMore!
Avoid flash, use Night mode
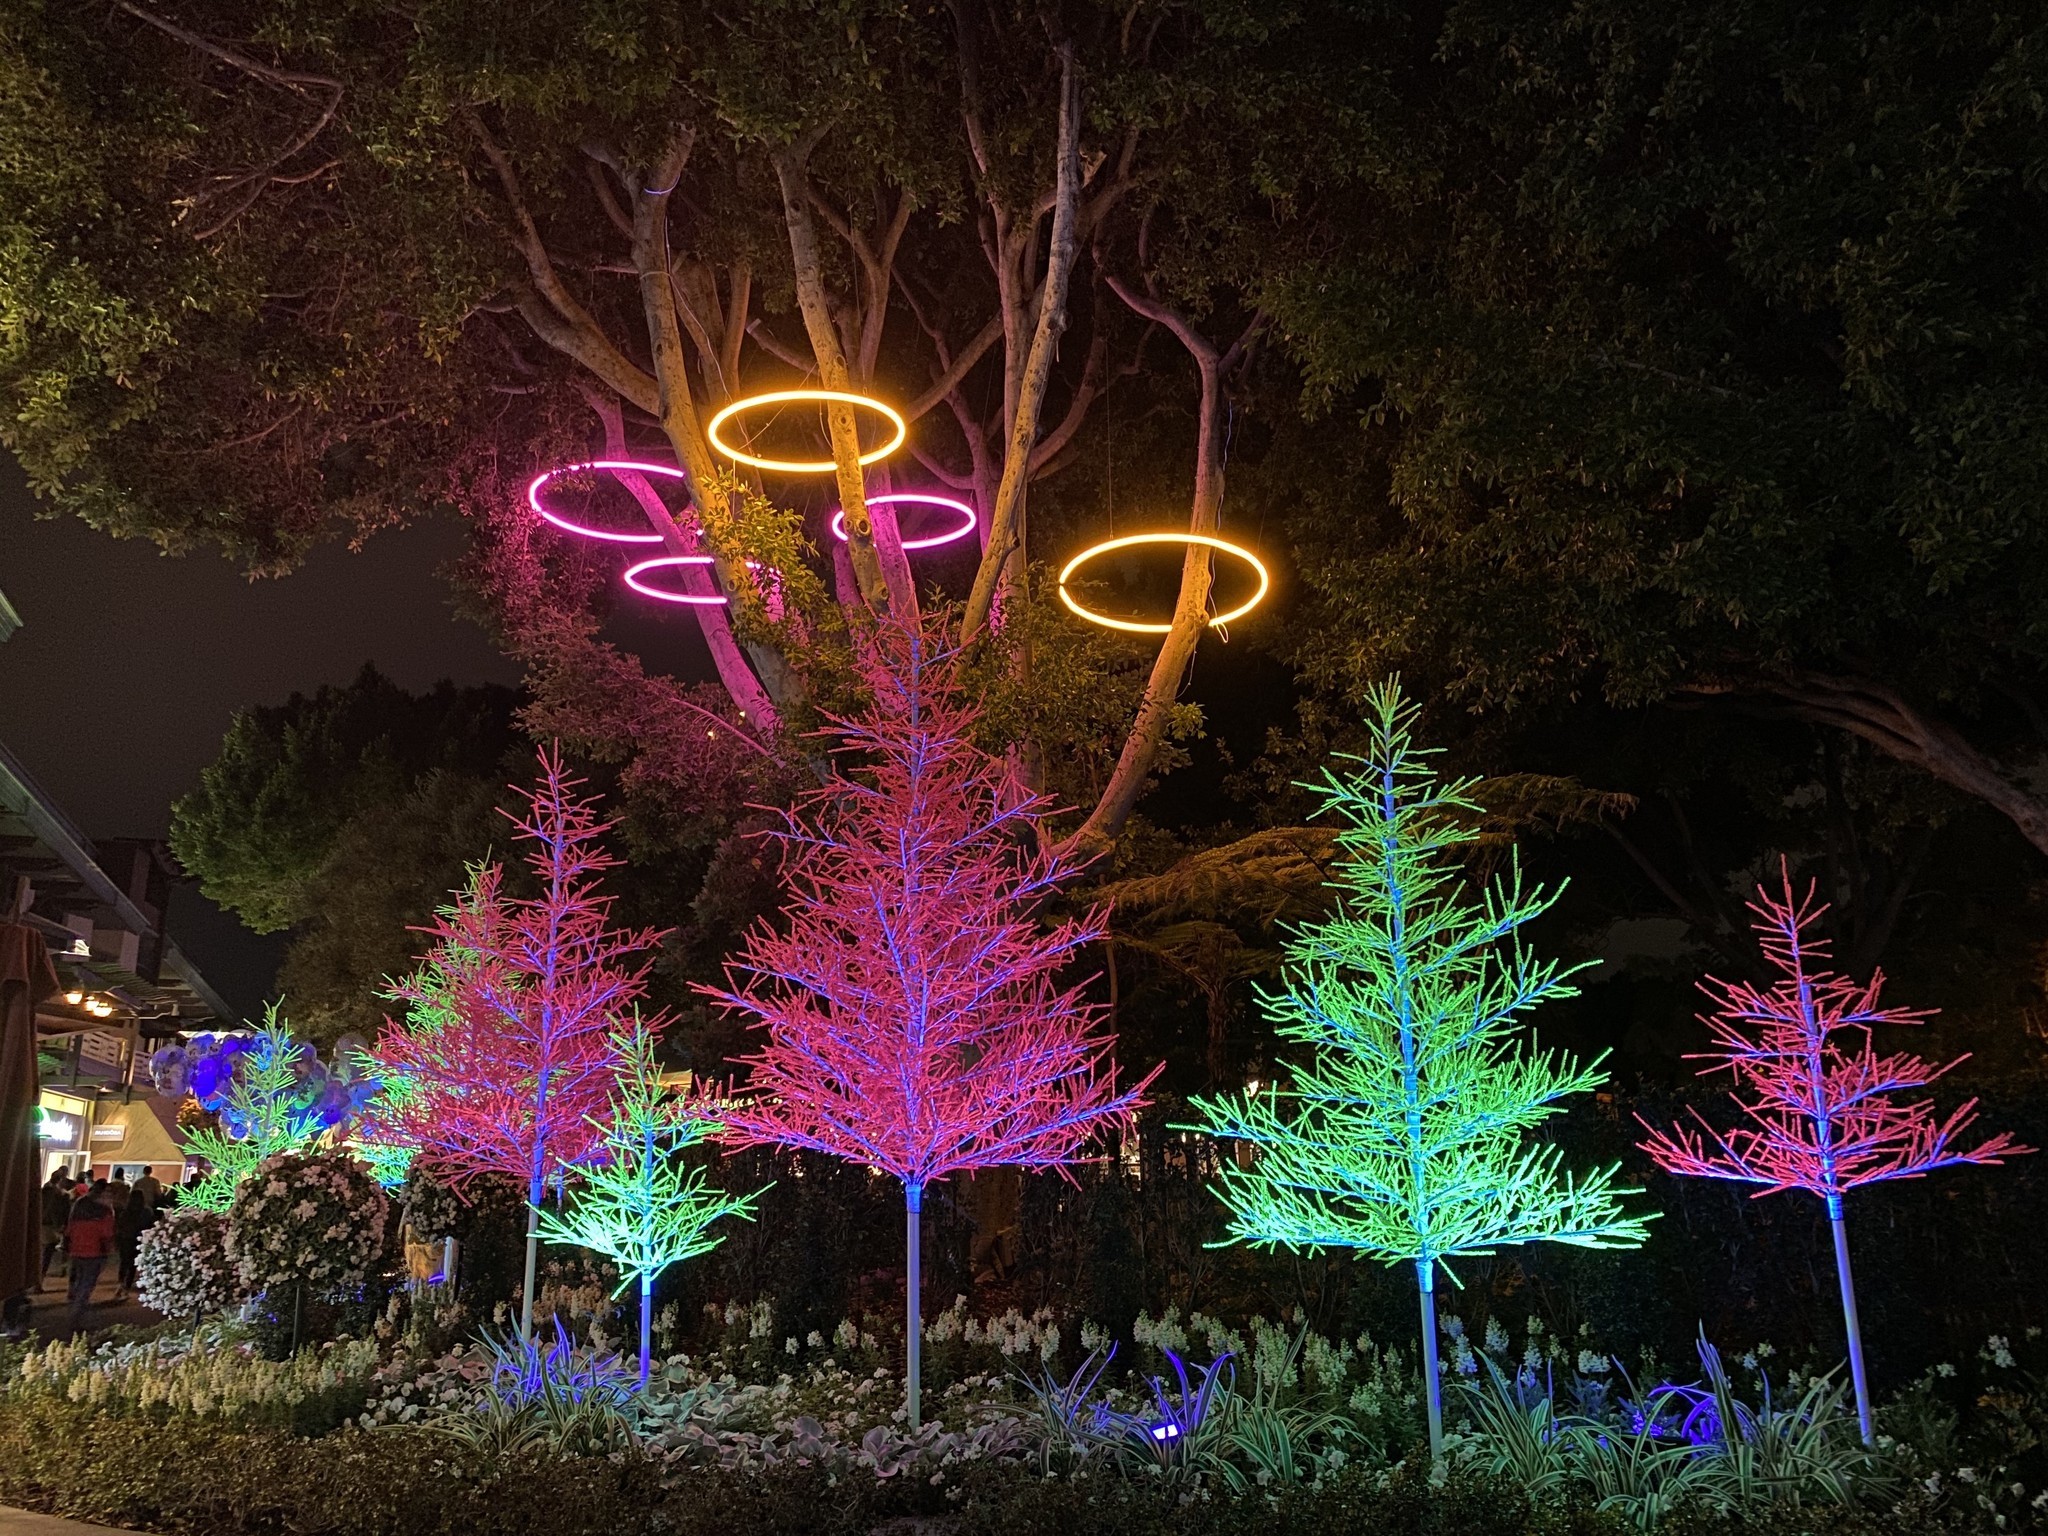
With that said, you should avoid using flash on your camera. The built-in flash on digital cameras or your smartphone can create photos that end up looking flat, unnatural, overexposed, and have harsh and unwanted shadows. Instead, try getting photos in natural daylight if you can, but since it's winter and there's more dark than light, there are some other alternatives.
Circling back to the topic of lighting, holidays have interesting lighting options (lamps, candles, Christmas lights, firelight, etc.), so you should use them to your advantage whenever possible. Plus, these various light sources can create something magical or whimsical, thus adding to the overall tone and mood of your photos.
Other tips include using a tripod to help stabilize your camera, increasing the ISO settings manually, using slower shutter speeds so that more light is captured, and shooting with a wide aperture.
For those of you with an iPhone 11 or iPhone 11 Pro, then this is the perfect time to make use of the Night mode feature. It kicks in automatically if the light threshold is low enough, or you can always toggle it manually by tapping the Night mode button (next to flash). Night mode has proven to take incredible photos in low-light situations, and are sure to impress your friends and family this holiday.
How to get great Night mode photos on your iPhone 11: iPhone Photography Tips & Tricks
It's all about angles and perspective
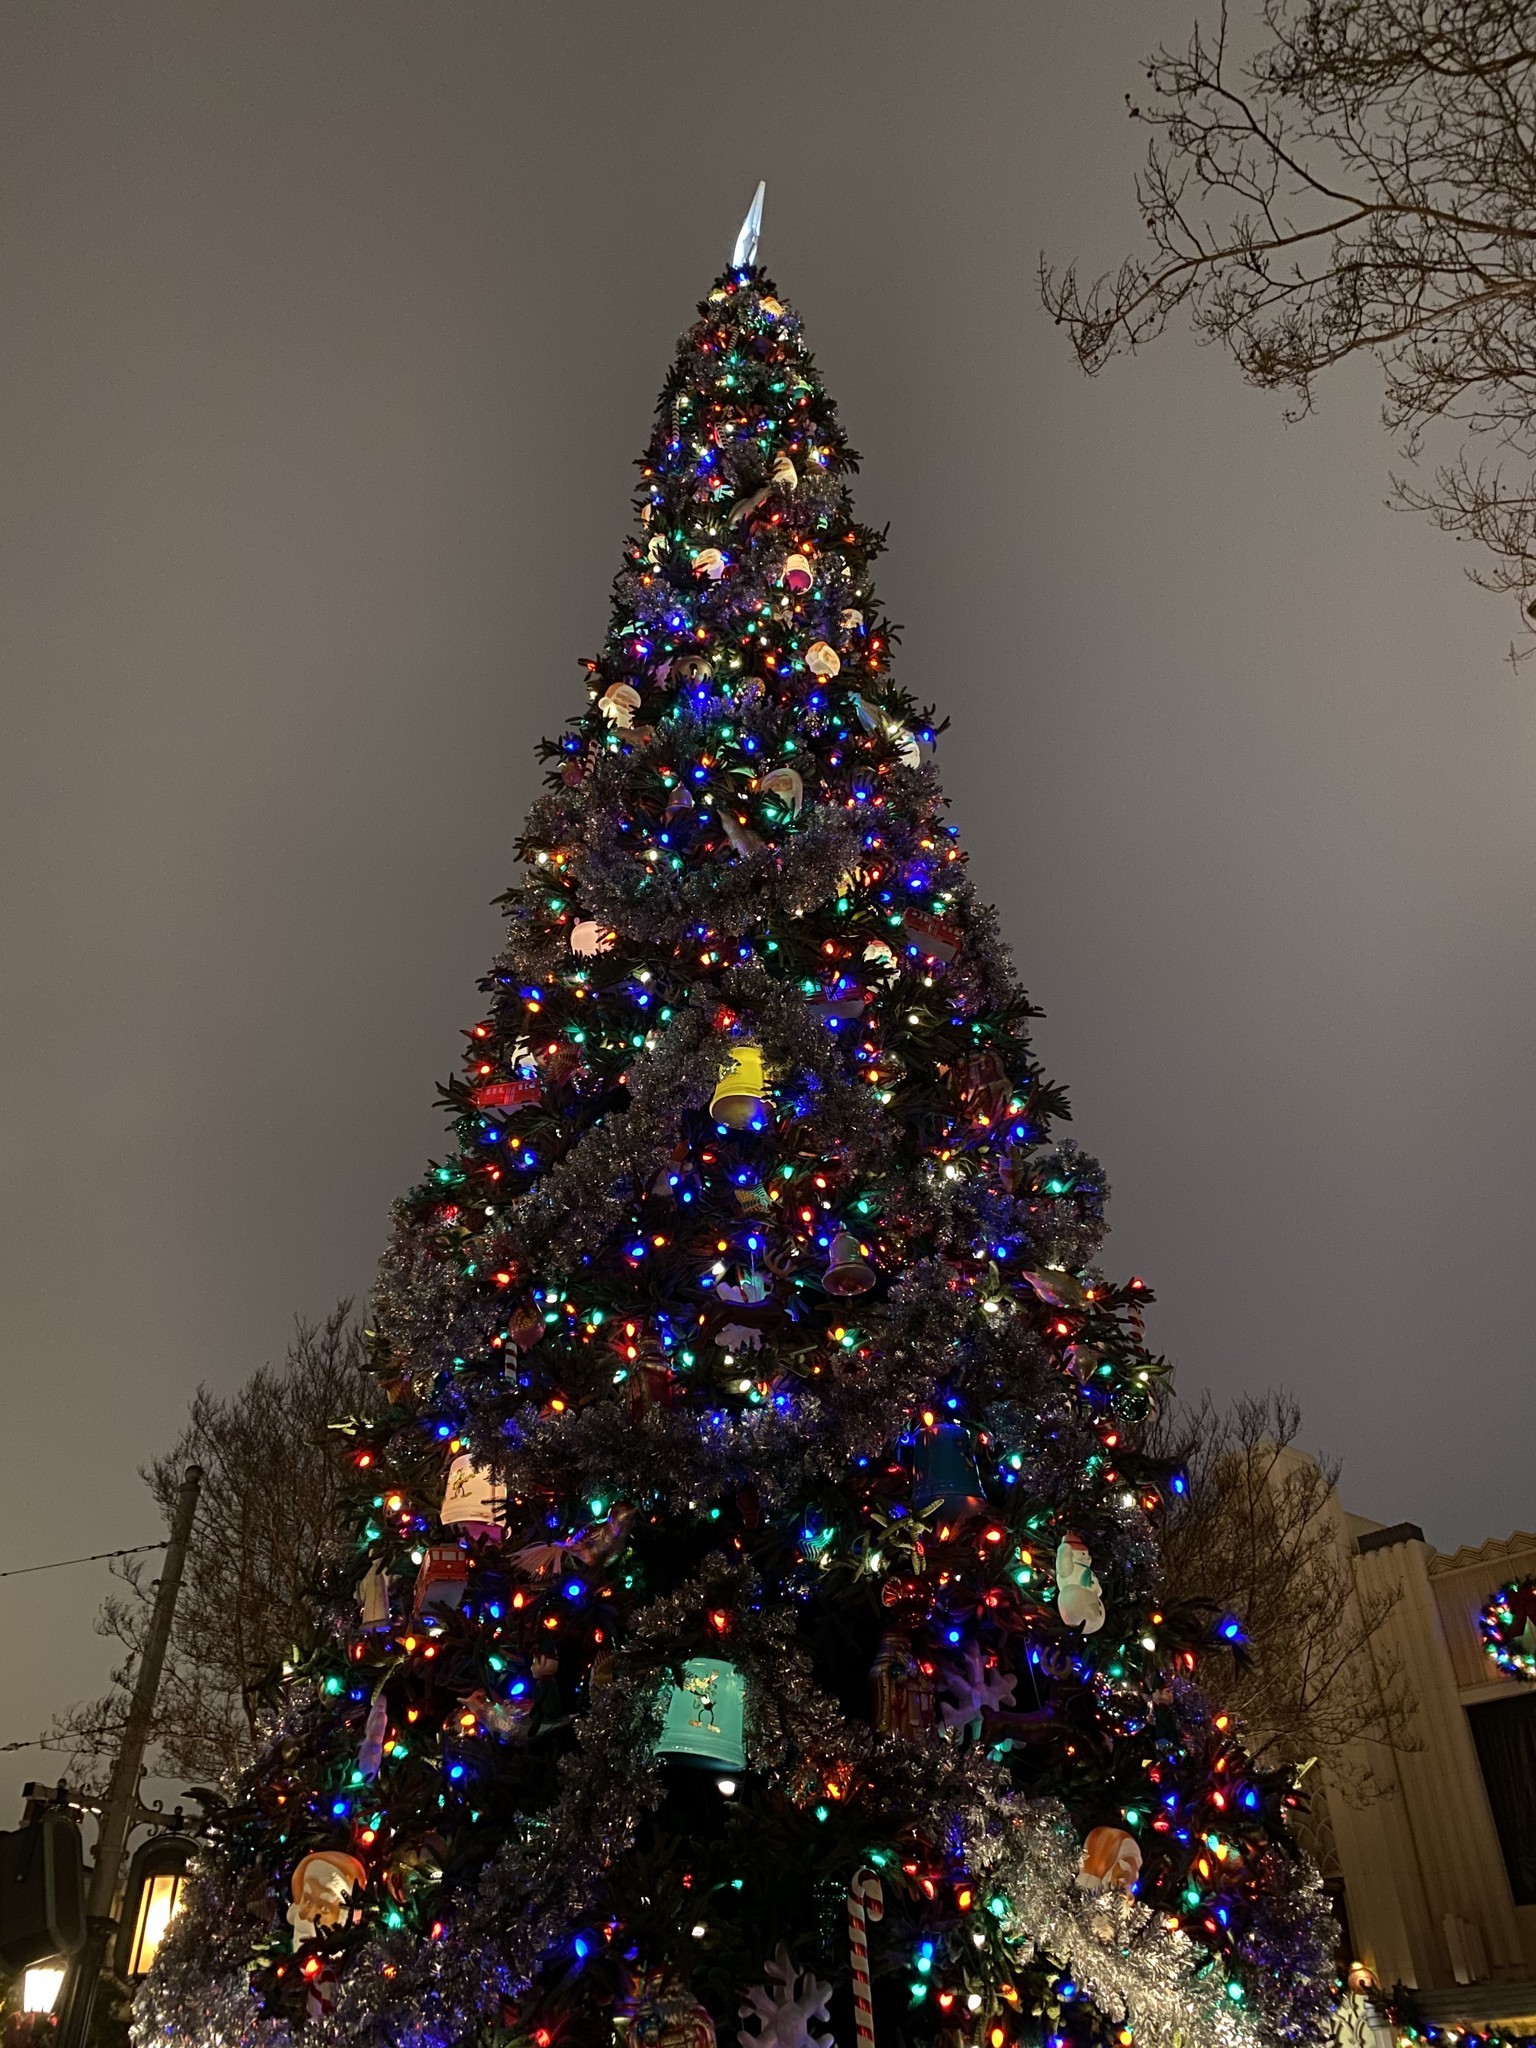
While you can take photos using basic composition, sometimes just taking a photo front-and-center is boring. I mean, anyone can do that, and it isn't offering anything new or interesting. That's why you should look for more interesting perspectives and angles.
I mean, yeah you can take a photo of your decorated Christmas tree up front and center, but you can do so much more. Try going low and getting a view of what the tree looks like from the bottom-up. Or snap a photo of your cool tree topper and the rest of the tree from the top-down.
And if you really want to try something different, get up close and personal with your subject, especially if you have a macro lens accessory. There's a lot of detail in holiday decorations that you could capture in macro or closeups, so don't miss out on those distinctive takes.
Know what your focus point is
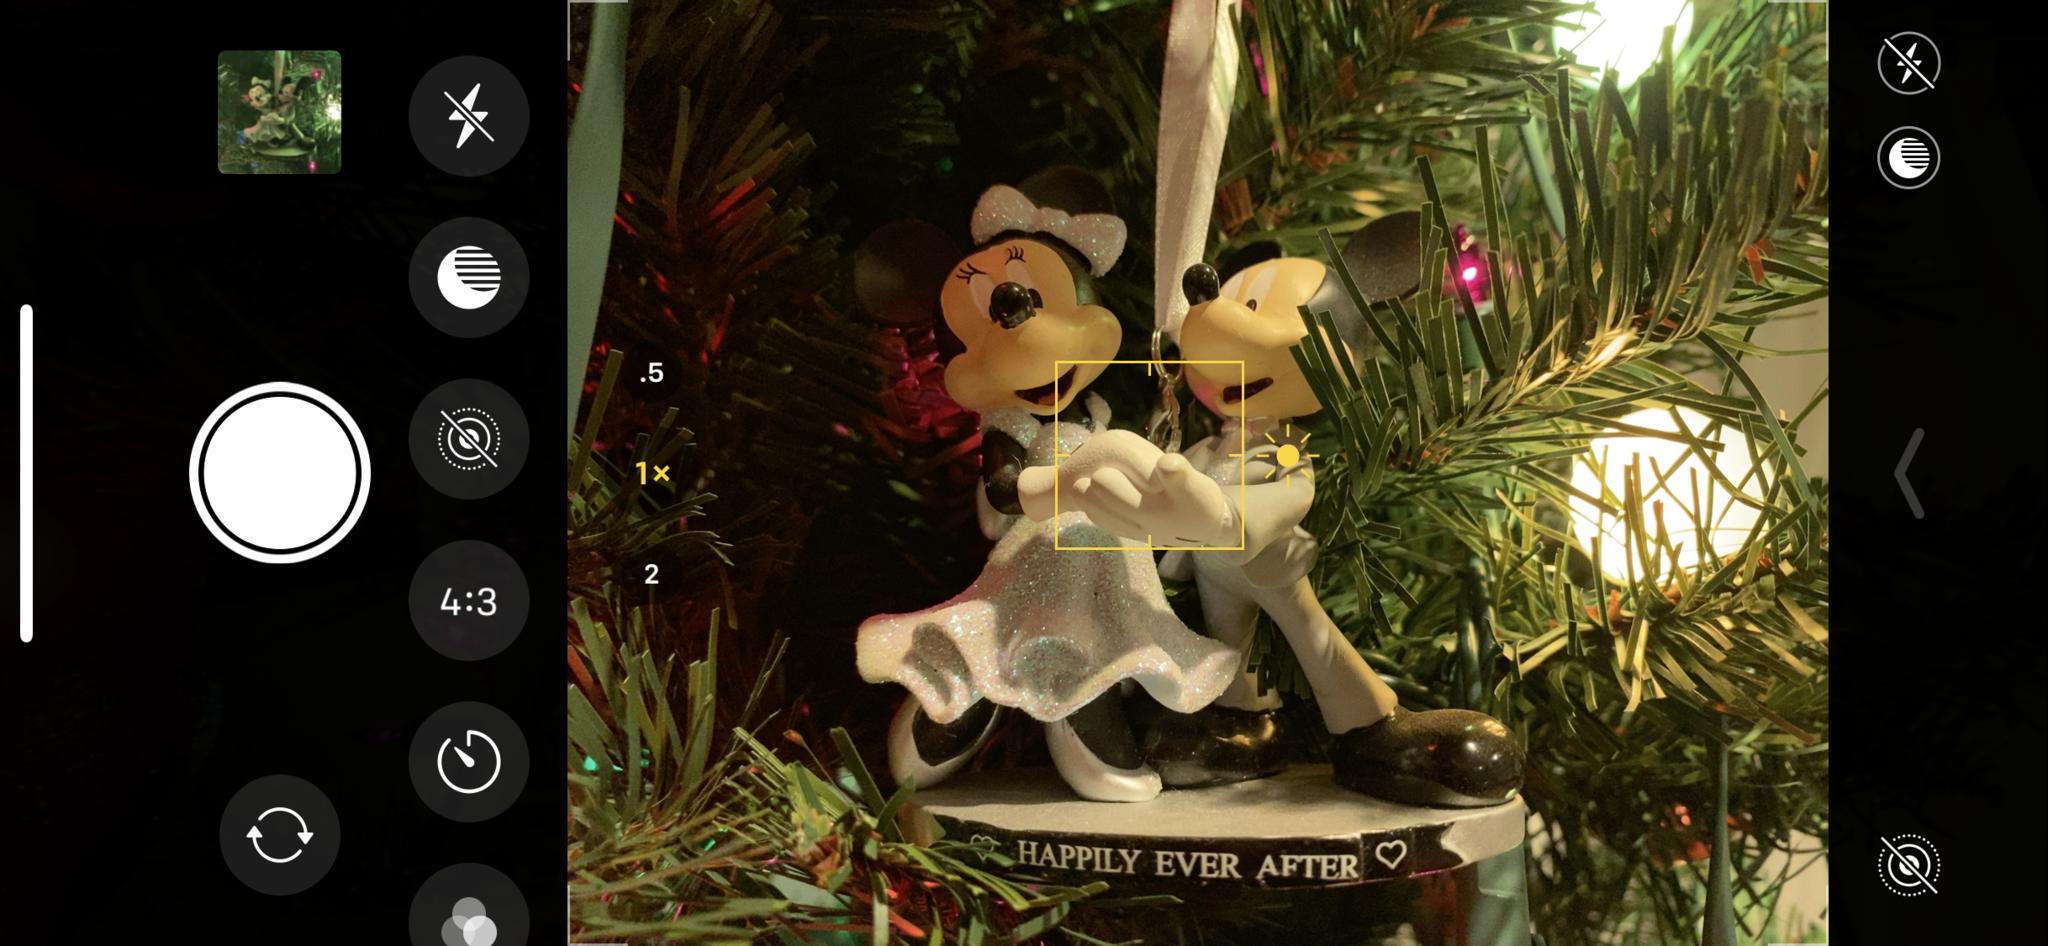
As with any good photo, you'll need to make sure that your subject is in focus. Otherwise, you'll end up with a blurred subject, and well, that's just a bad photo.
Make sure you always tap your focus point on the iPhone camera to set it, and even tap-and-hold to lock it. Try to not move after getting your focus point, and if you do, just make sure to tap to focus again. With all of the holiday lights, it's the perfect chance to use Portrait mode for a focused subject with blurred depth-of-field with bokeh effects.
Regardless of how what you're photographing this holiday, just make sure the picture is focused the way you want it to be.
How to get the most sharp and focused photos: iPhone Photography Tips and Tricks
Take fun, candid group photos

If you don't want your holiday photos to look manufactured, forcing everyone to pose and smile, then you may want to consider just taking some candid photos of everyone. It's pretty hard to get everyone to look at the camera sometimes, and even if they do, someone may end up blinking, or some other mishap. Instead of aiming for the "perfect" posed picture, go for more natural ones of everyone in the holiday setting. It's going to be a better memory than something that is made up for the sake of perfection.
I mean, yeah, you should try to get that big group photo, but make sure to take some casual ones throughout the holidays as well.
Experiment with lenses and accessories
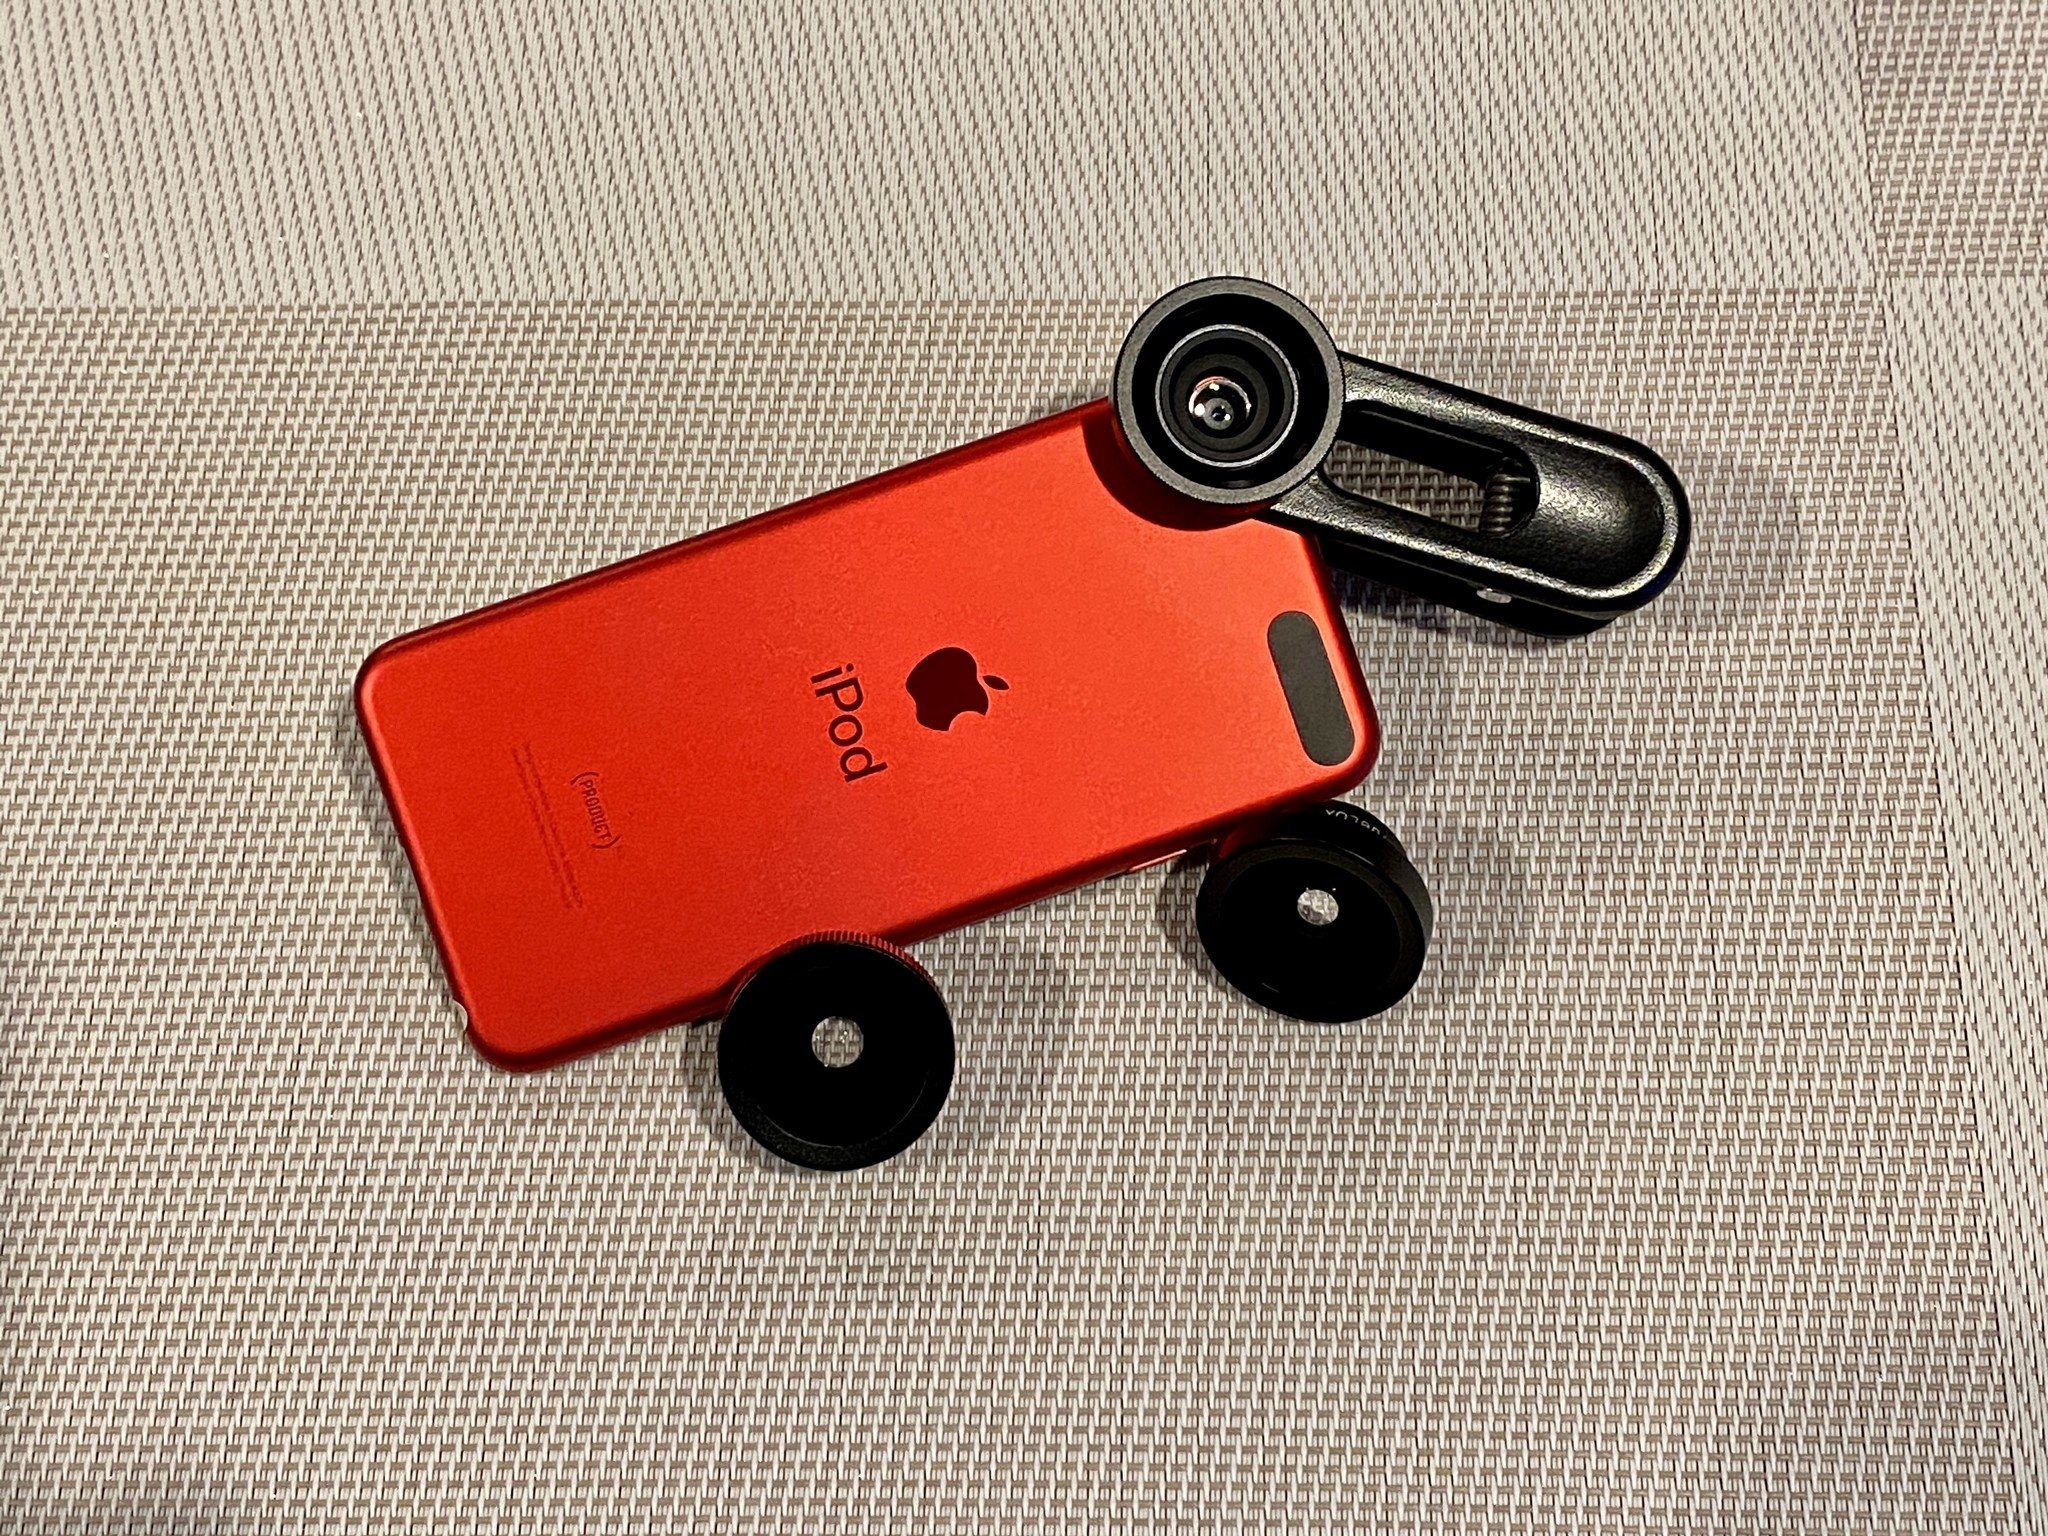
With all of the lights and decor for the holidays, it's the perfect time to do some experimenting with photography accessories, especially lenses.
As mentioned earlier, you can capture some unique closeup images with a macro lens, which will reveal details that you don't notice with the naked eye. There are also fisheye lenses that can provide a warped but interesting field of view, or you can capture more of a scene with a super wide angle lens. It's like experimenting with a DSLR and the different gear, but with your iPhone — the possibilities you can produce are endless.
And if you're still having trouble with lighting, there are iPhone accessories out there that add studio lighting for cheap, or you can grab a tripod to help out with stabilization. Even a selfie stick can come in useful if you want to get some group shots together.
- Best iPhone Lens Kits in 2019
- Best Lighting Accessories for iPhone Photography in 2019
- Best Tripods for Photographing in Night Mode on iPhone 11 in 2019
Play with a third-party camera and photo editing app
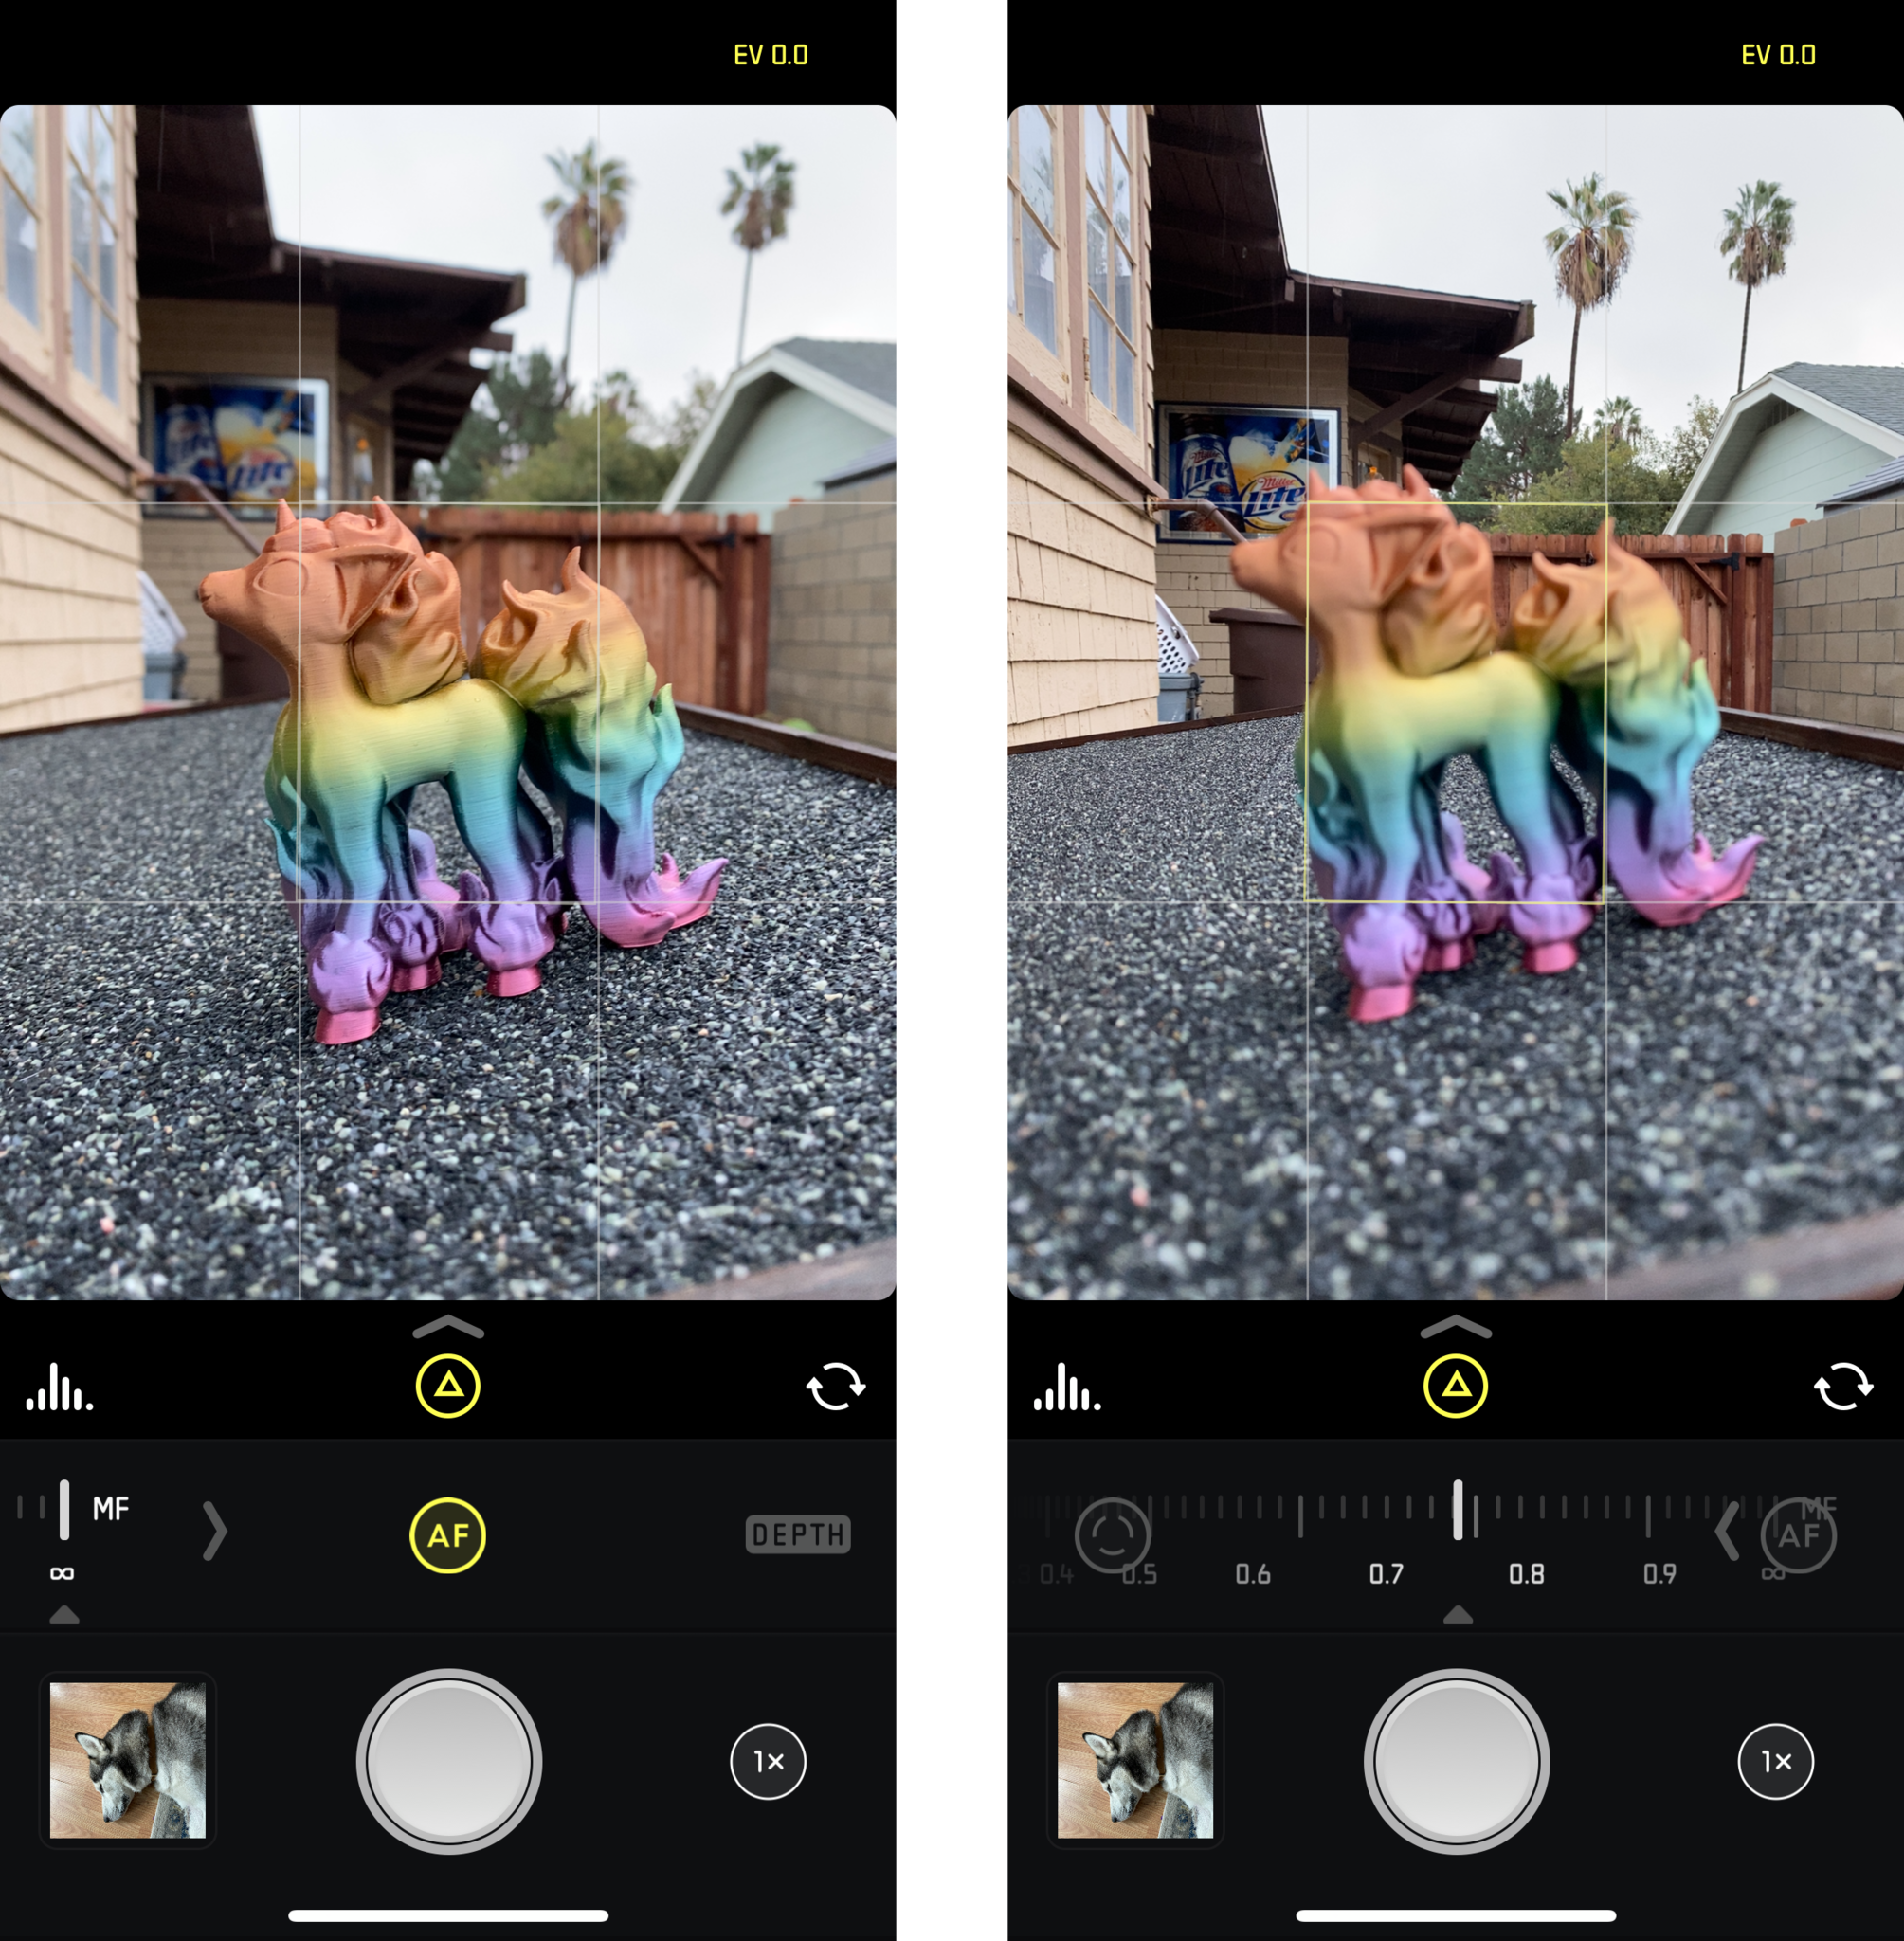
Though Apple's own Camera app is the fastest way to get a picture taken, it can be lacking in other departments. There's no way to manually adjust ISO or shutter speed, and you can't shoot in RAW. Fortunately, there are third-party developers that take care of the shortcomings of Apple's Camera app.
Halide Camera ($6) is one of my personal favorites, and it's packed a ton of great features. It was designed with one-handed use in mind, so you never have to fumble around accessing all of the settings. You get quick manual focus, exposure adjustment, manual ISO, various white balance settings, live histogram, and much more. You can even shoot in RAW with Halide, and Potrait mode images are fast to switch to, no waiting around.
Another good camera app that is handy to have is Moment - Pro Camera ($6). It's similar to Halide with features like full manual control for photos, histograms, RAW support (even for burst photos), slow shutter adjustment, and manual focus. Moment also produces their own lenses and phone cases to go with them, so this app is a perfect complement to Moment fans.
And once you shoot your photos, you may want to edit them to look even better. You can edit photos directly with the Photos app, but you may be limited to what you can do.
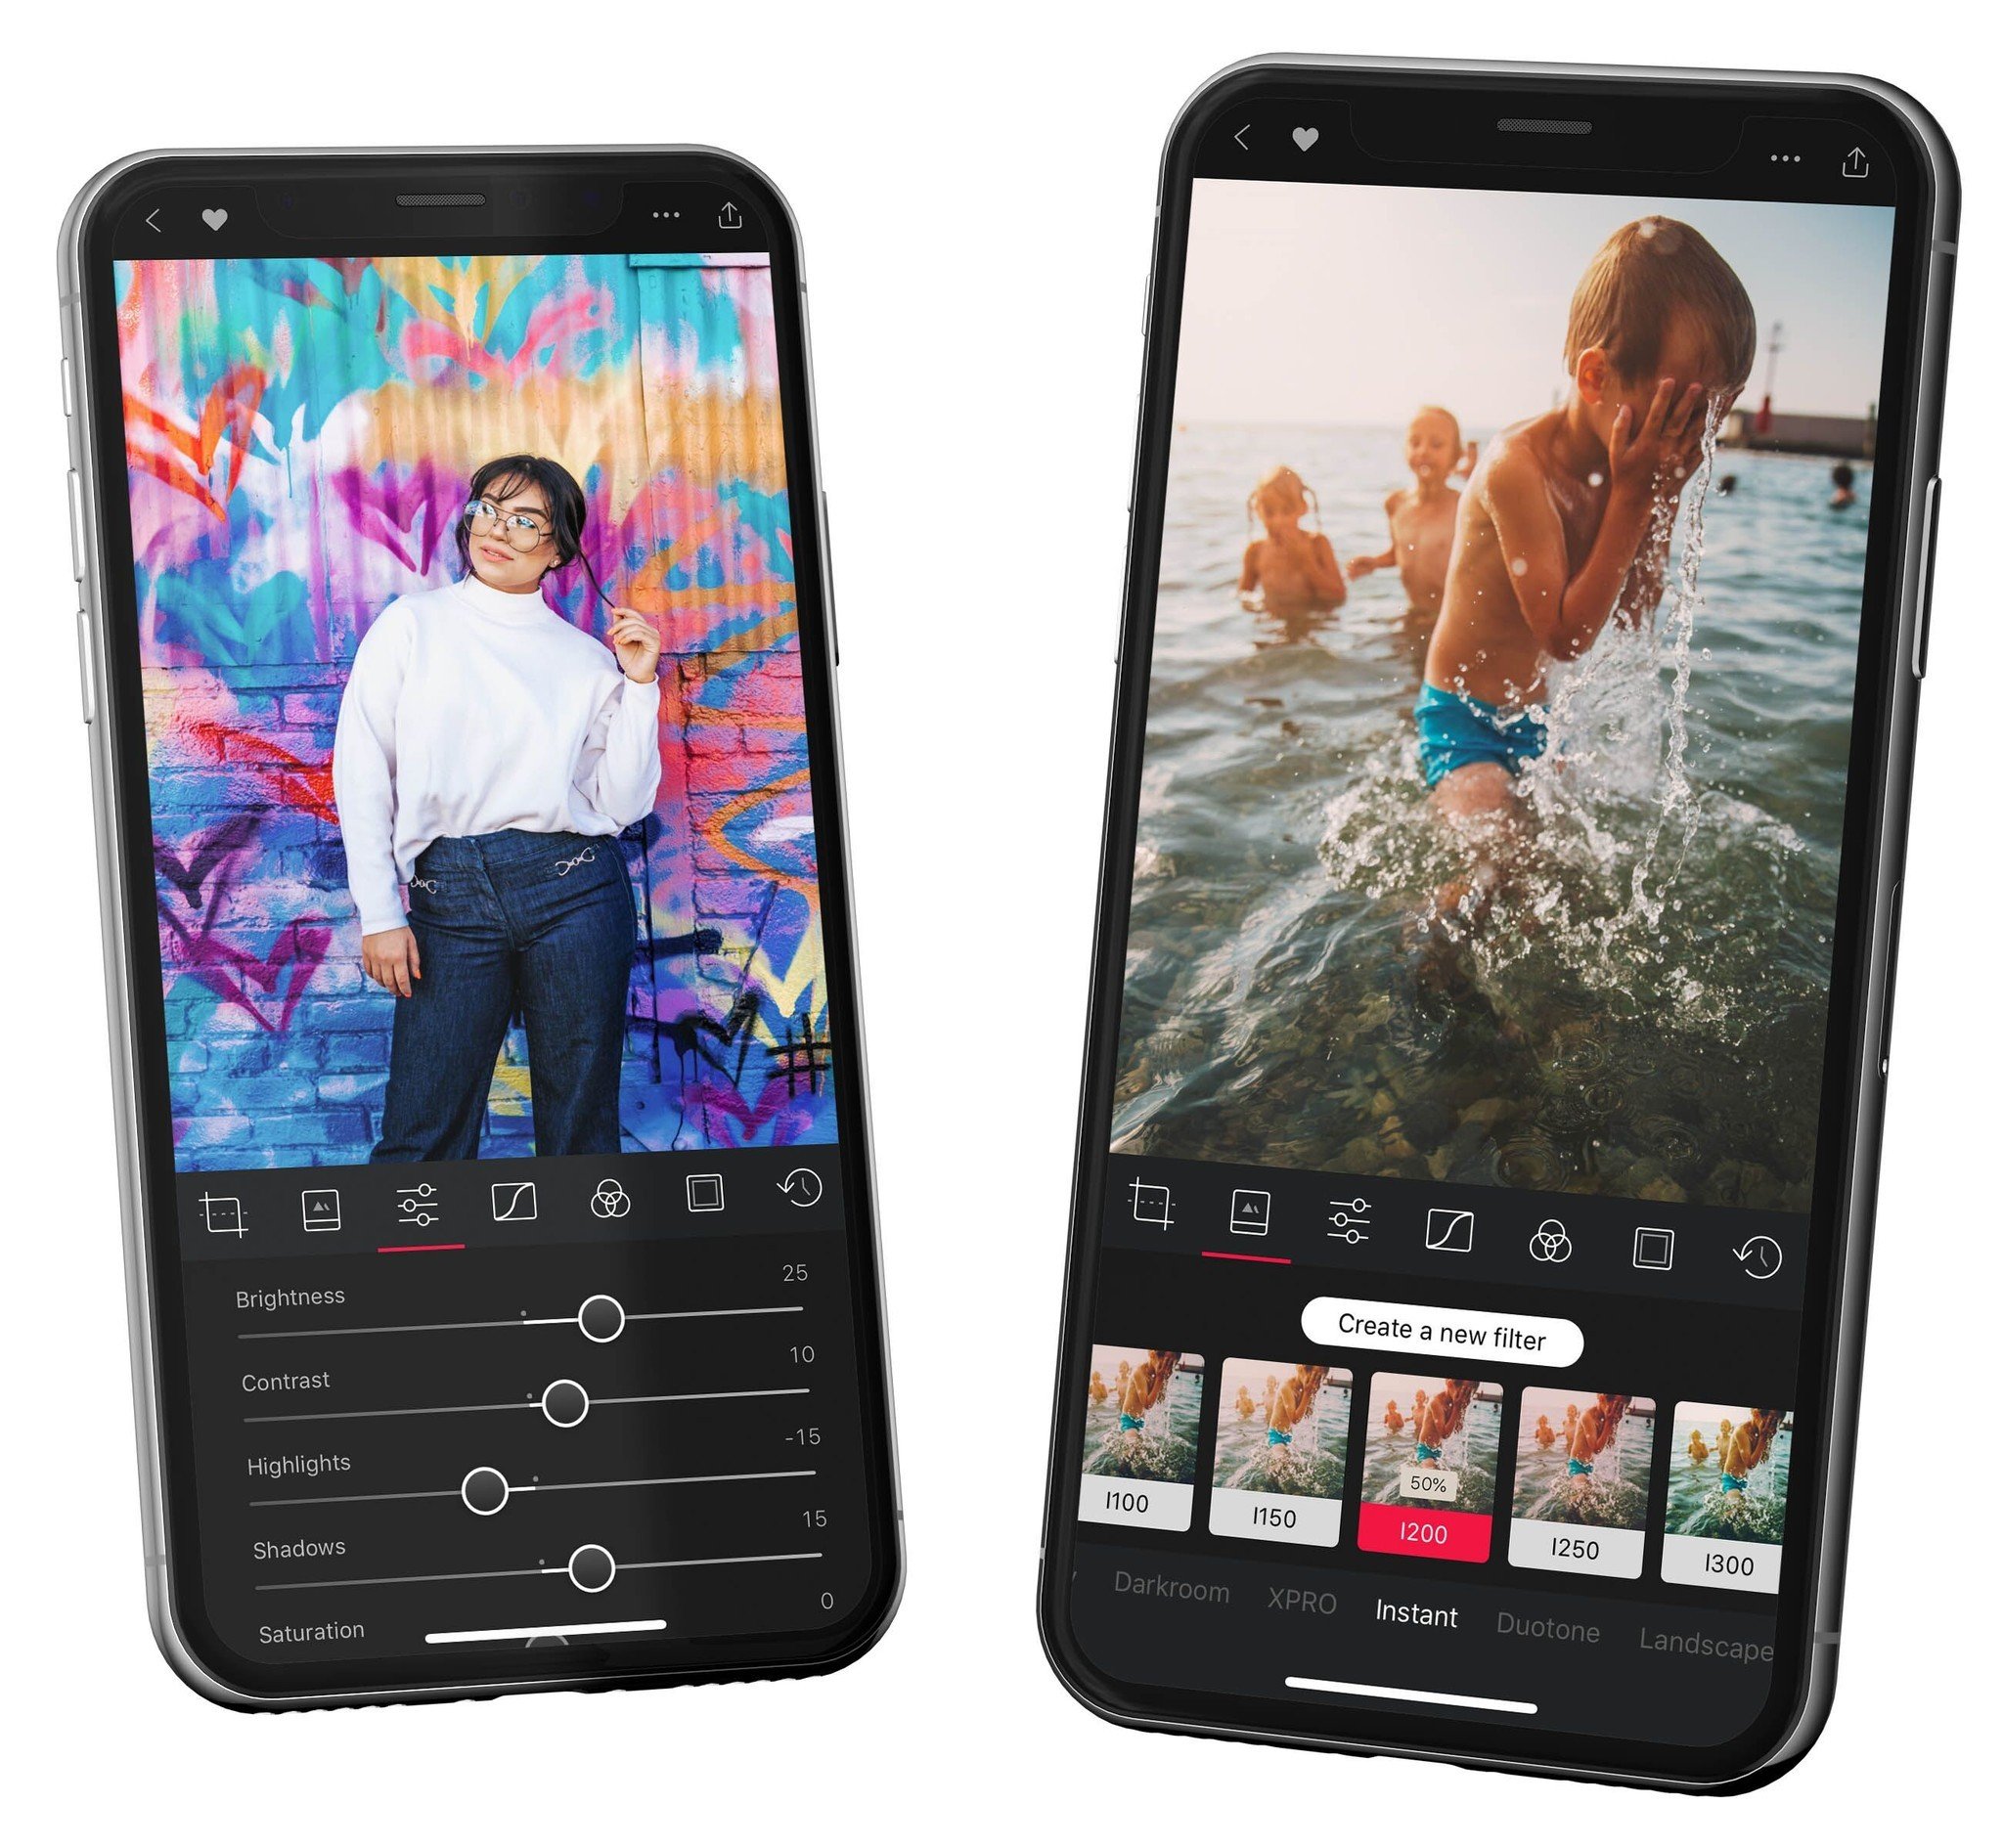
A favorite of mine is Darkroom, because the interface is elegant and streamlined, and the app packs in a ton of powerful photo editing tools at your disposal. You can make Portrait mode adjustments, adjust curve levels, edit RAW files, create custom filter mixes, and so much more. You can download it for free to try out, and if you like it, the in-app purchase to unlock everything is worth a look.
Or you can go with an app like Camera+ 2 ($5), which is both a camera app replacement and has built-in editing tools. You get the convenience factor with this one, but it may lack more powerful features you'll find in other apps.
Best Lenses and Lens Kits for Shooting Video on Your iPhone in 2019
Capture the magic of the holidays
These are just a few tips for getting some great holiday photos this season with your friends and family. Do you have any tips you have for getting great holiday photos? Do share them in the comments!
Christine Romero-Chan was formerly a Senior Editor for iMore. She has been writing about technology, specifically Apple, for over a decade at a variety of websites. She is currently part of the Digital Trends team, and has been using Apple’s smartphone since the original iPhone back in 2007. While her main speciality is the iPhone, she also covers Apple Watch, iPad, and Mac when needed. When she isn’t writing about Apple, Christine can often be found at Disneyland in Anaheim, California, as she is a passholder and obsessed with all things Disney, especially Star Wars. Christine also enjoys coffee, food, photography, mechanical keyboards, and spending as much time with her new daughter as possible.

