How to set up your Synology Diskstation DS1019+
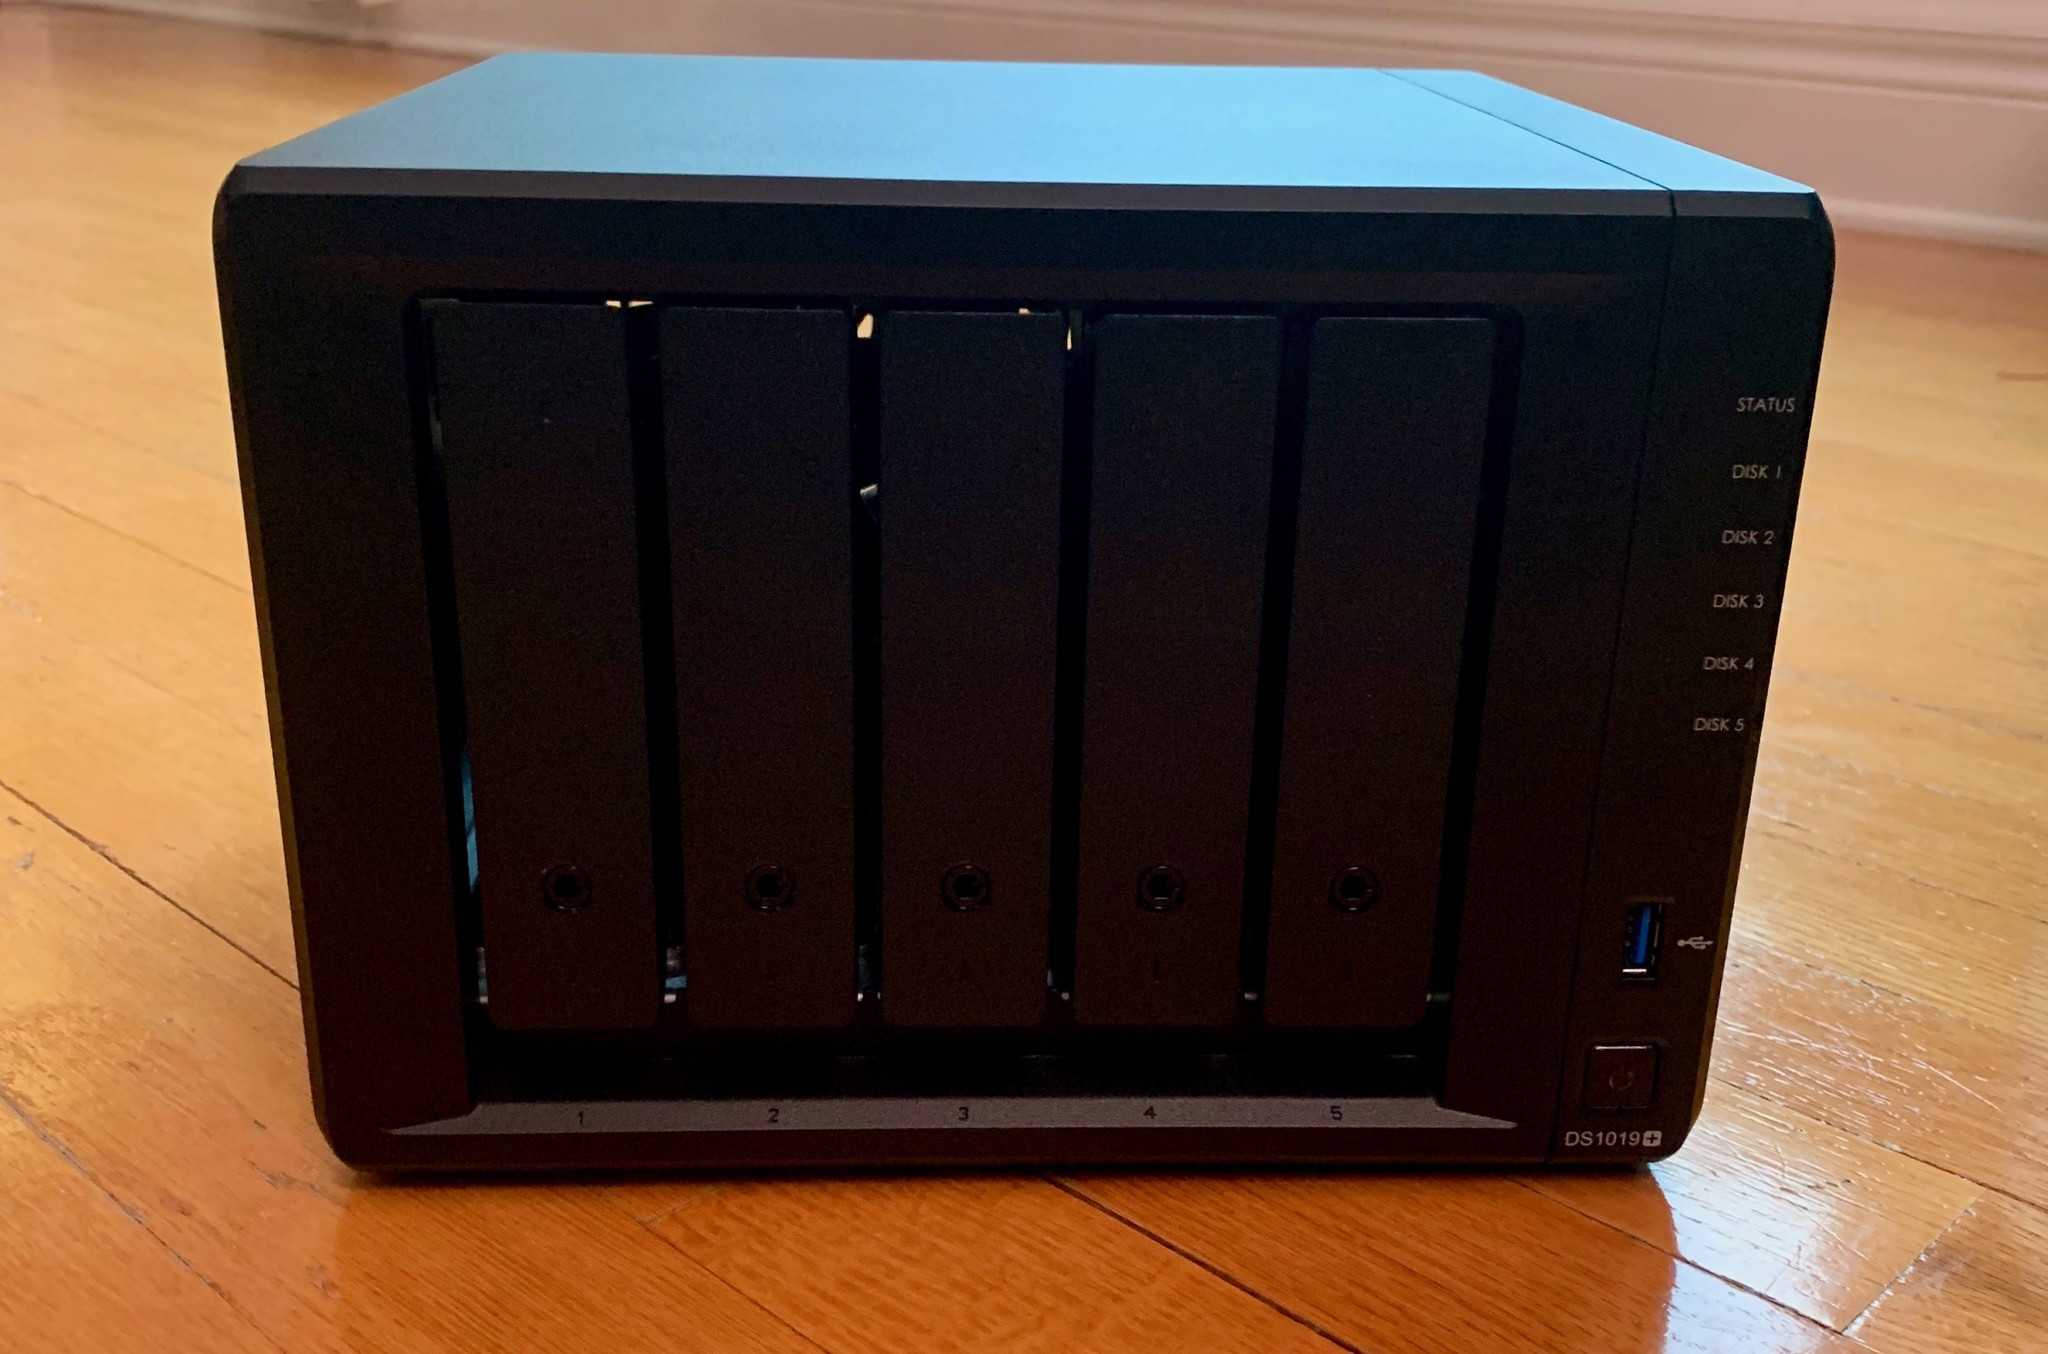
Synology, makers of the Diskstation networked attached storage (NAS) appliances, reached out to me to see if I'd like to take a look at its DS1019+ ($650 on Amazon) for use in your home or small office, or as a home backup solution. We at iMore have already given it a rave review and I have been a user of the DS1513+ since 2014 and since I just love that machine so much I jumped at the offer.
More than just a NAS
I'll be going over a series of articles that detail the hardware setup, the software setup, migration from an older Diskstation, how to enable Time Machine backups on the NAS, setting up a media server, and likely more! I'm actually reticent to limit my description of the Diskstation to nearly a backup repository. I also use it for my VPN (in and out of my network), my mail server, dynamic IP resolution, SSH server, DHCP server, router, Plex server, and torrent client. And since it runs a custom GNU/Linux as the OS, I can log into the device directly and do other more hacky Linux things via an SSH shell.
With all that said, let's see how to set up the hardware!
DS1019+ specifications
The DS1019+ comes with a 64bit Intel Celeron Quad core that boosts up to 2.3 GHz and 8GB of DDR3L of RAM. Without an optional expansion unit, the DS1019+ can house 5x 14TB HDDs for up to 70TB or storage.
2x Gigabit LAN ports, 2x USB 3.0 ports and an eSata port for your externally connected devices.
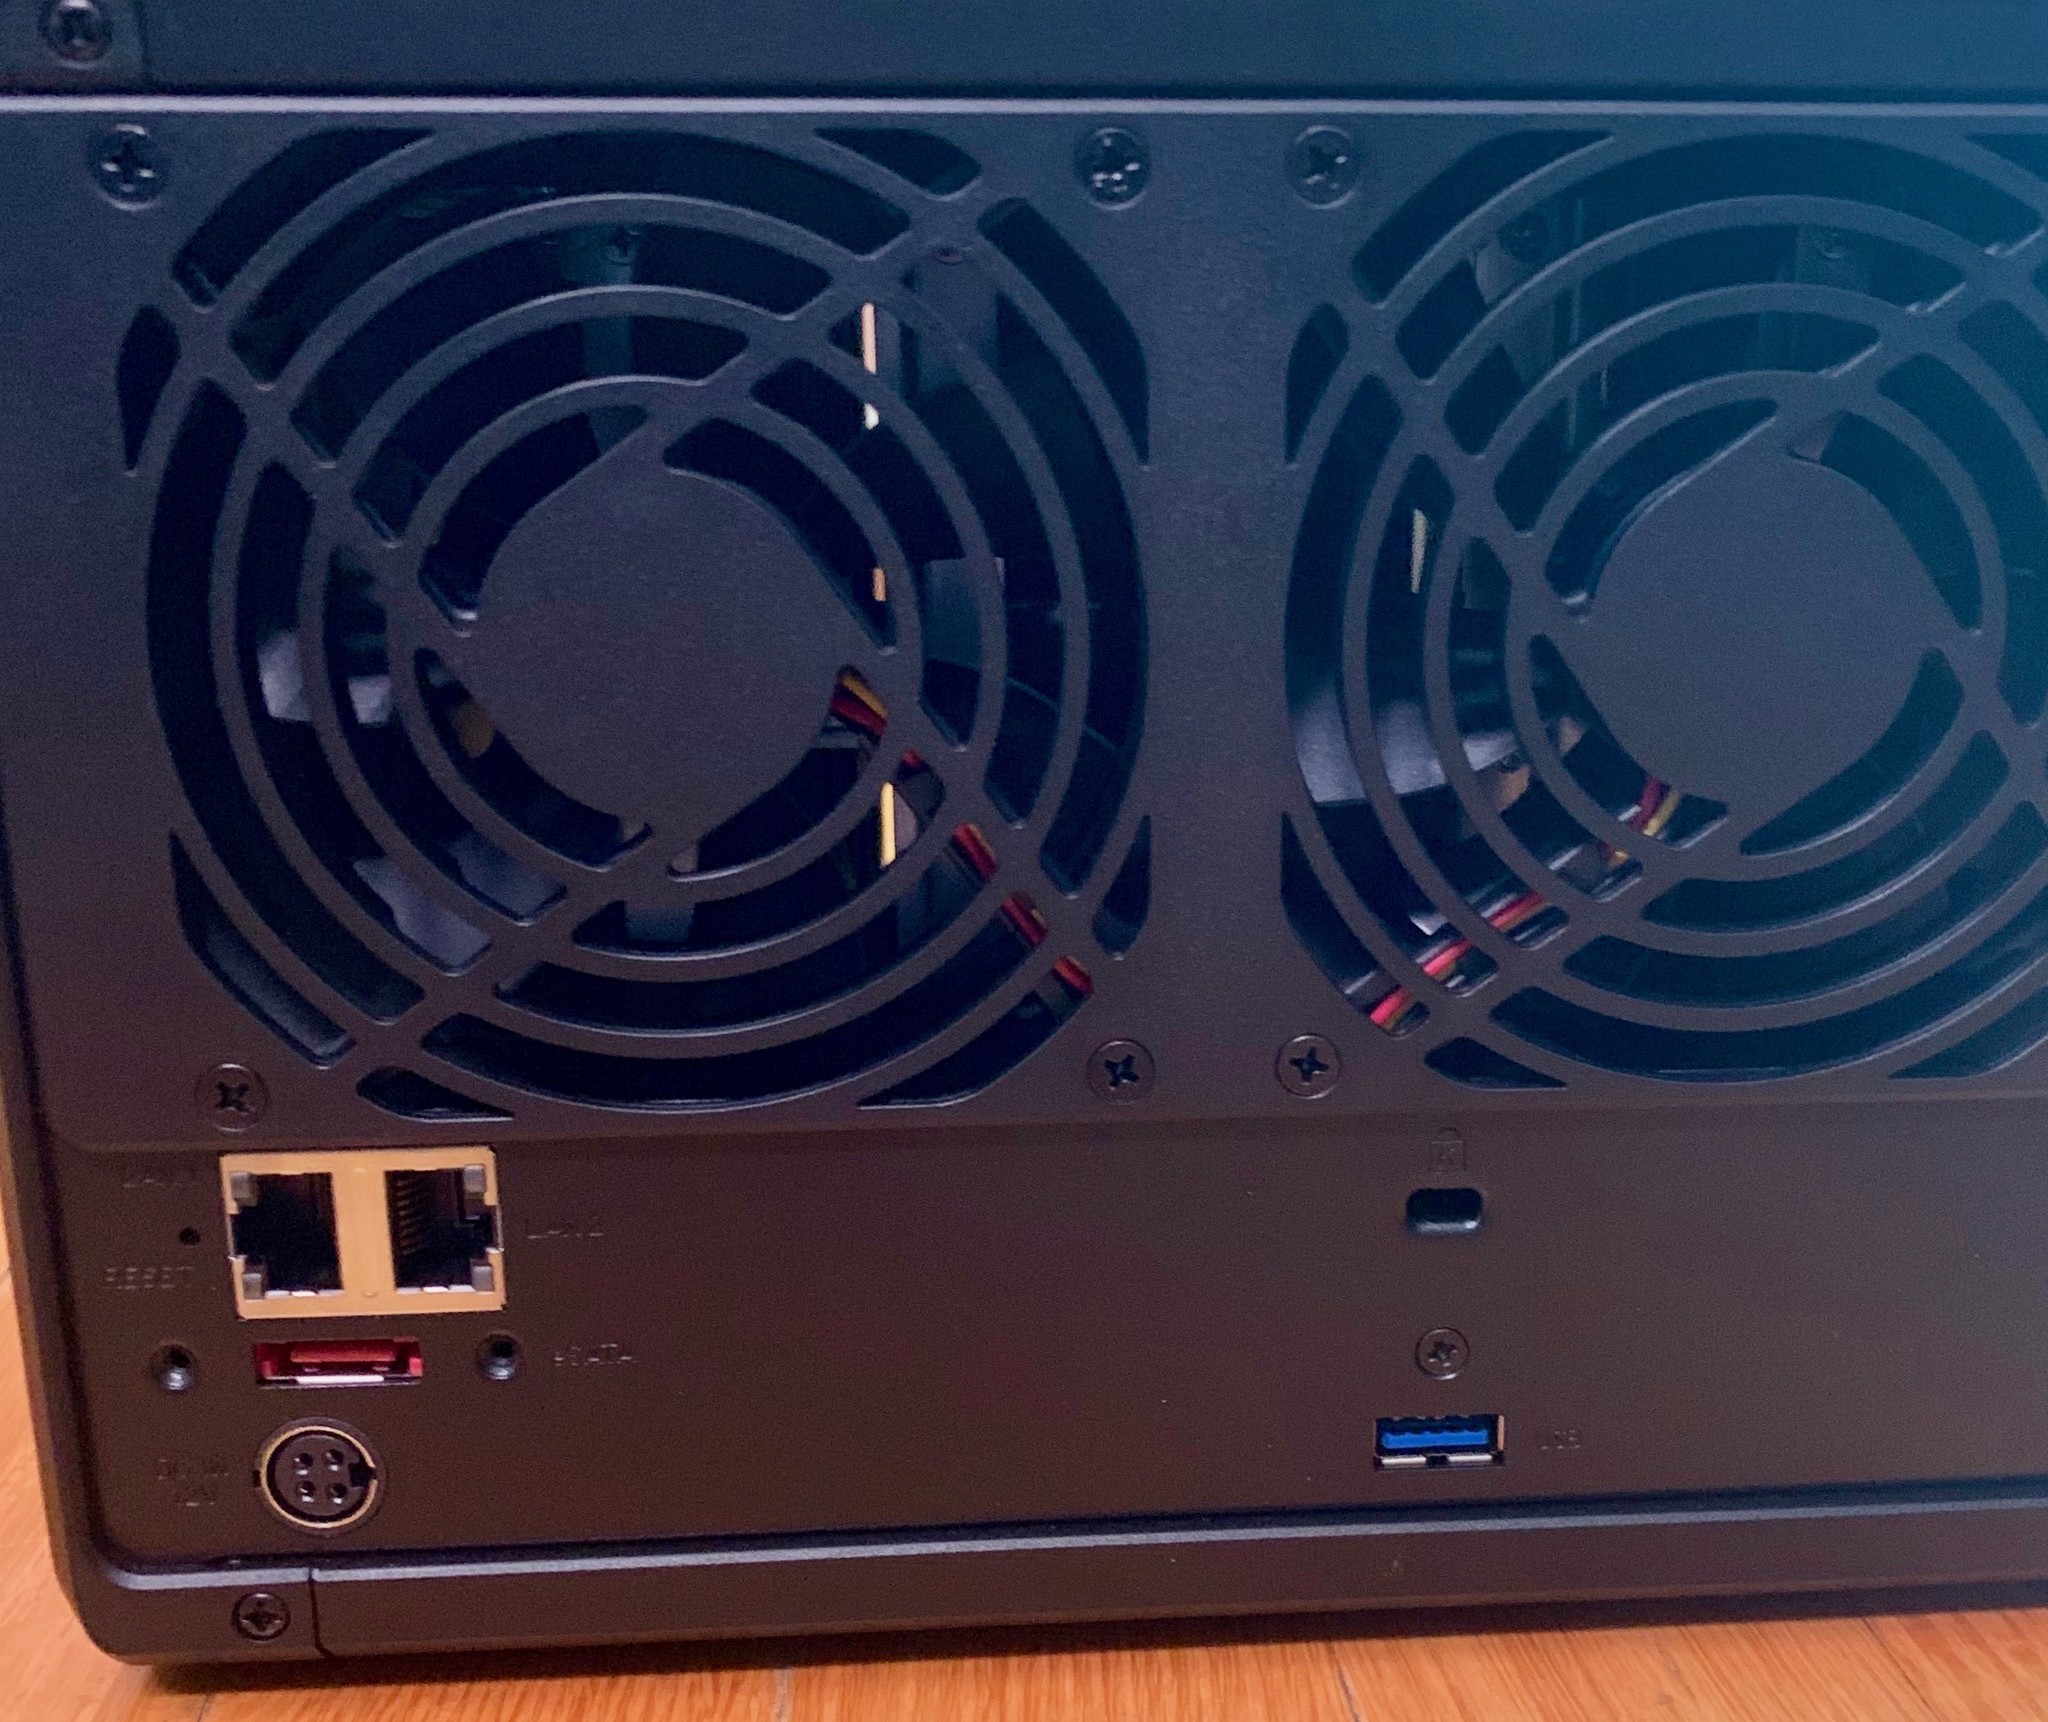
My venerable and reliable DS1513+ came with a two-core four-thread Intel Atom processor. That CPU served my purposes for all of the tasks I threw at it, save one. Where it could not serve me well was in 4K video transcoding. Luckily, the DS1019+ has updated specs that include transcoding specific technologies such as H.264 (AVC), H.265 (HEVC), MPEG-2 and VC-1 for 4K video.
Hardware setup
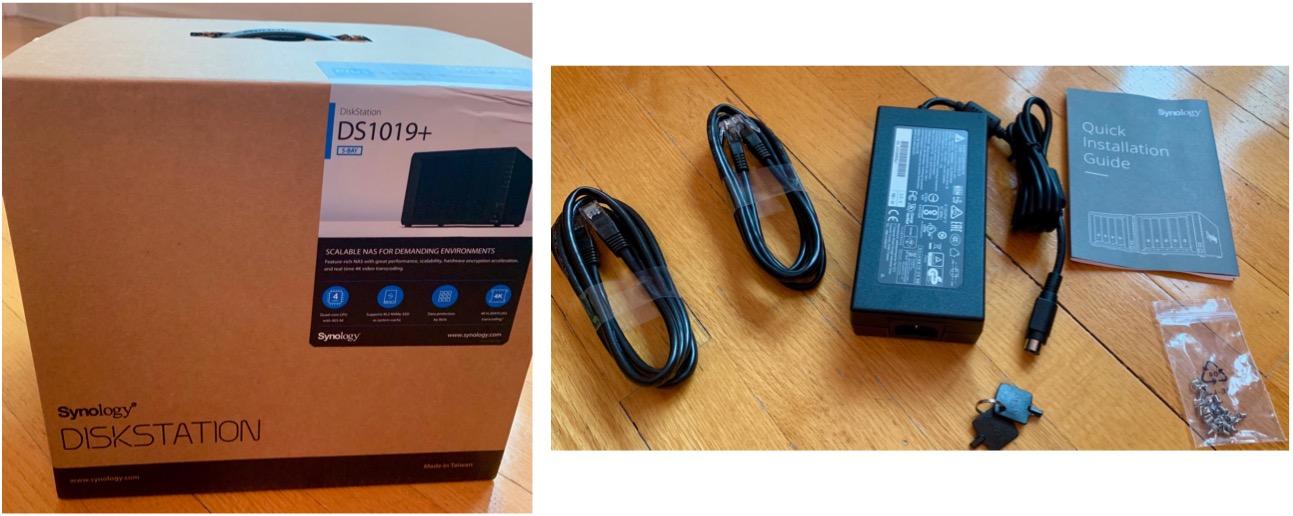
In the box, you get almost everything you need to get up and running. The DS1019+ unit, quick install guide, two ethernet cables, fastening hardware for smaller 2.5-inch drives, the power adapter, and keys to lock your drives once installed.
Master your iPhone in minutes
iMore offers spot-on advice and guidance from our team of experts, with decades of Apple device experience to lean on. Learn more with iMore!
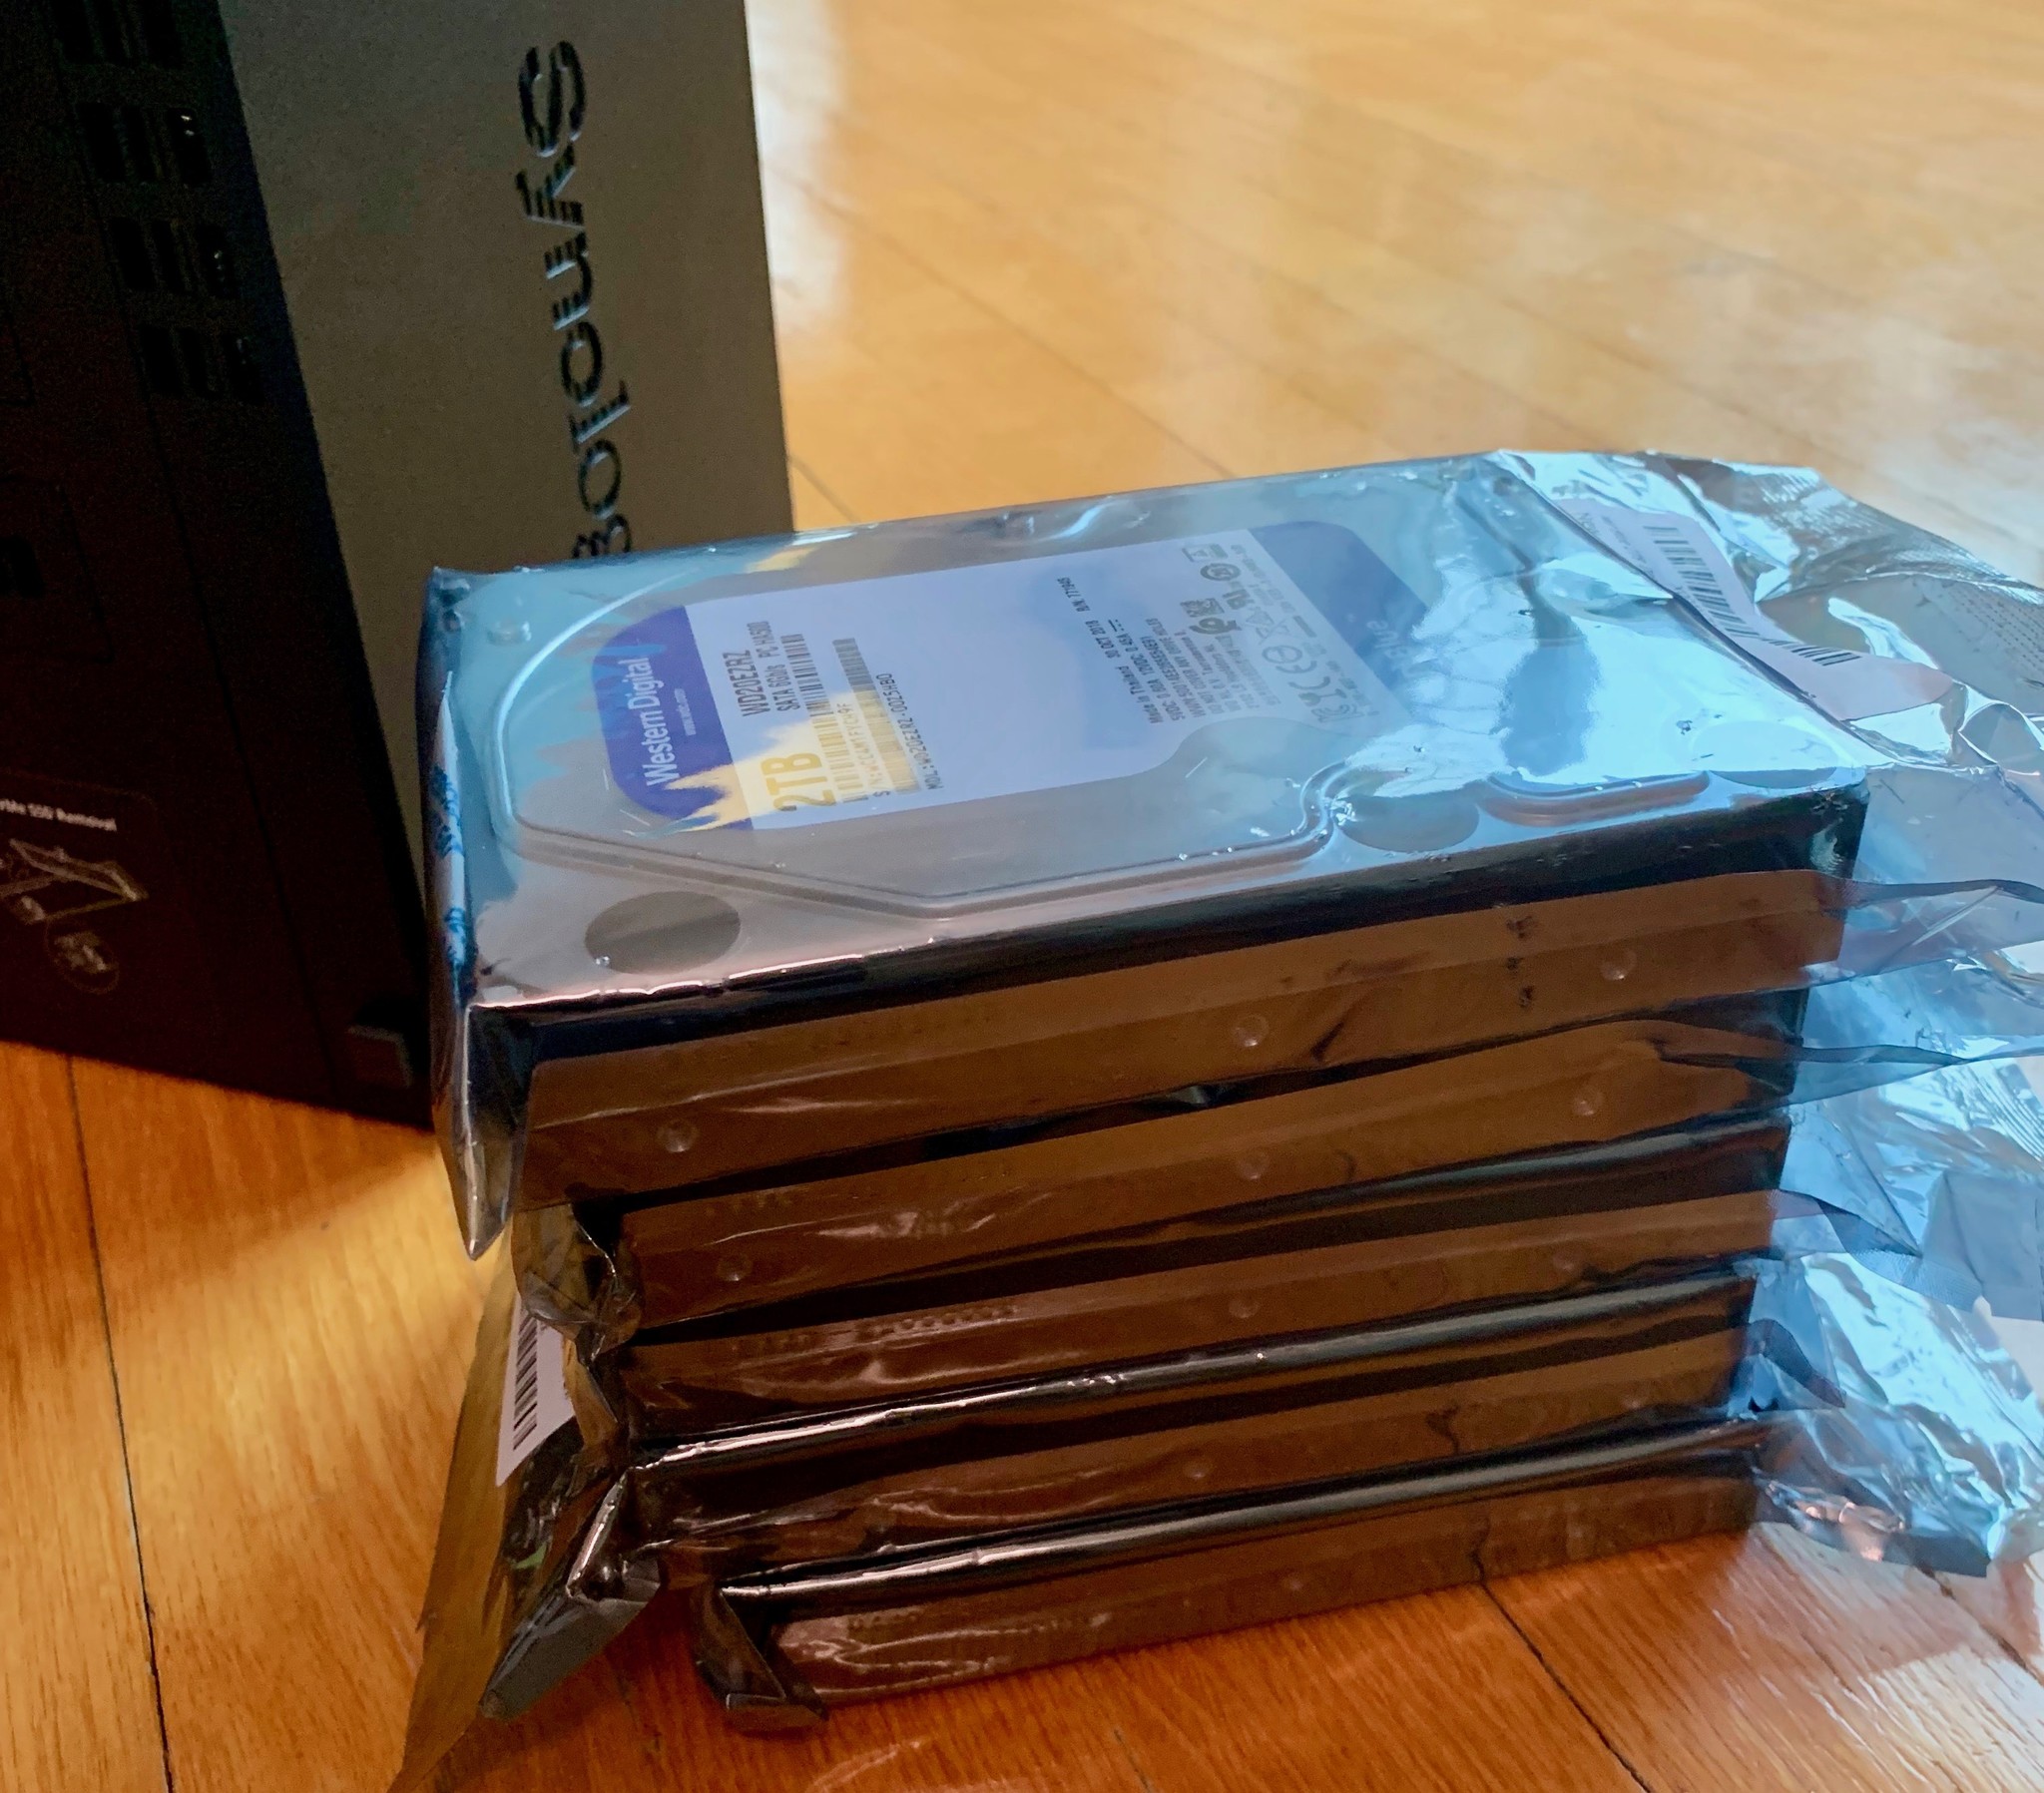
What you don't get are the hard drives. I bought 5x 2TB Western Digital HDDs from Amazon for about $60 each to get me started.
You can optionally install 2 M.2 NVMe drives on board or really fast disk speeds but you'll still be limited by the 2x Gigabit LAN ports (even if aggregated) since that cannot max out the SSD speeds.
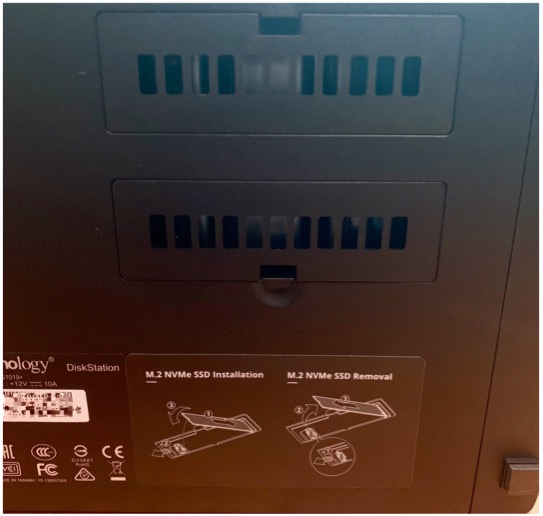
Setup is quick and easy.
- Lift the drive latch on the first drive bay.
- Pull out the drive tray.
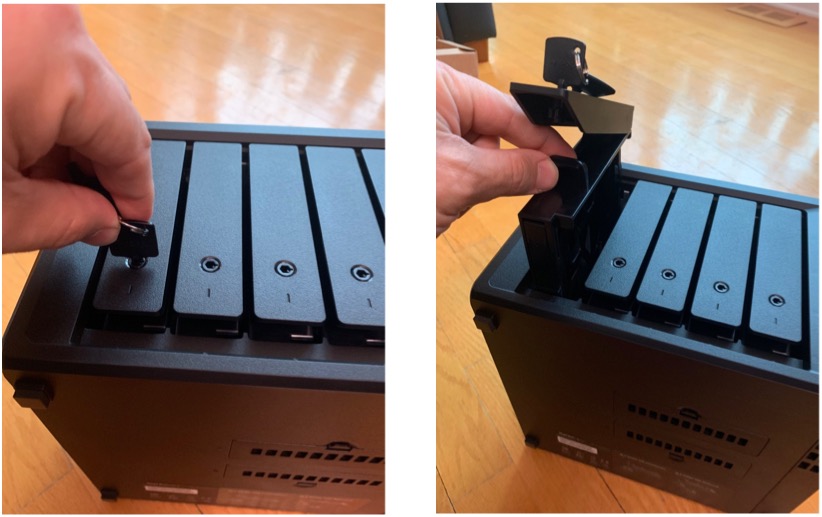
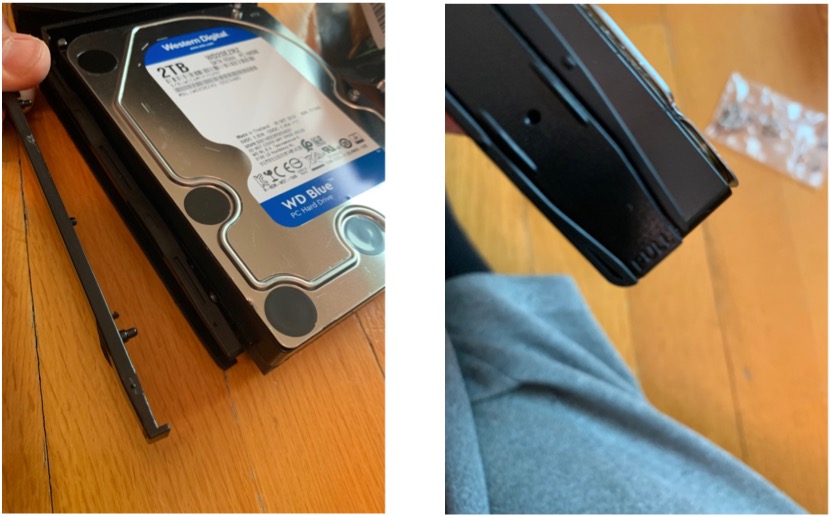
- Pull off the securing tabs on each side of the drive tray. Note that these tabs are for 3.5-inch drives. If you are using smaller 2.5-inch drives, then you must use the provided fastening screws to attach the drive to the drive tray.
- Place the hard drive onto the tray. Be certain that the logic board is facing down on the tray and that the data and power ports are facing away from the latch.
- Place the drive tray back into the DS1019+.
- Close the drive latch.
- Lock the drive into the unit with the provided key.
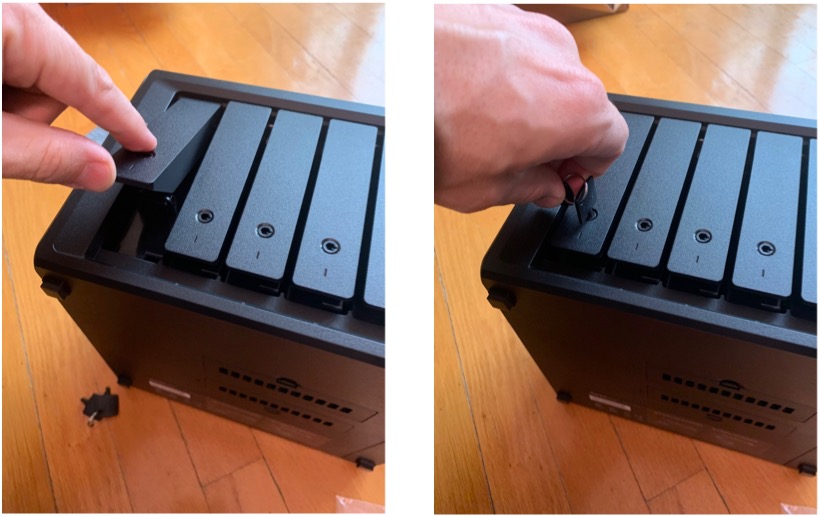
- Repeat for all of the hard drives and disk trays.
Once you have your drives installed. You can place your DS1019+ in a permanent location and attach the ethernet wire; one end on the LAN 1 port and the other end to your computer or your network.
Finally, you attach the power brick to the unit and then the plug to the power brick and plug into your wall socket. You're now ready to power on the device. Note that first time power up may take a bit of time for the DS1019+ to enumerate all of the hardware on board, check drives, etc…
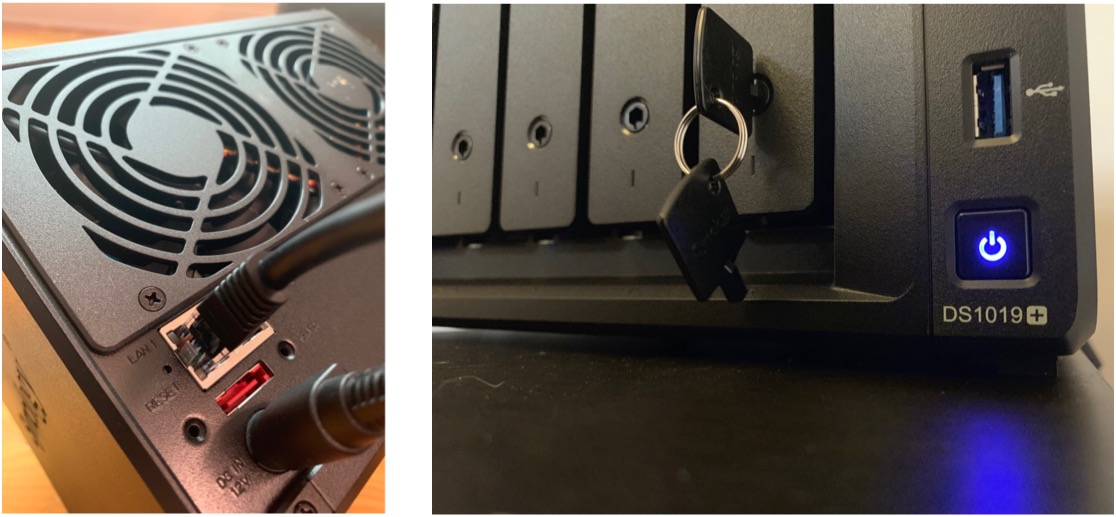
Your DS1019+ is now ready to go!
Final comments
Not only are the Synology Diskstation products highly functional and super reliable, but they also scale to your needs. If you're just an end user that needs reliable easy to set up backups, Synology has you covered. If you're a power user or small business needing more from a network device like mail, VPN, routing, DNS and of course, backups, Synology still has you covered. In case you couldn't tell, I'm a fan.
I'll be following up on how to set up the software portion of the DS1019+ in a subsequent post so stay tuned.

