Tips and tricks for taking outdoor photos with iPhone

Here are a few tips and tricks to take the best outdoor shots with your iPhone. When adventuring outdoors the iPhone is the perfect camera to keep close by. Many modern day backpacks now offer secure and big front pockets at the shoulder or hip straps to store your phone for easy access so you never miss capturing that awesome moment on your weekend adventure trip.
1. First and foremost.
Always treat nature with the utmost care and respect. Stay on the marked trails. Never trample over wildflowers to capture that perfect shot. Stay at least 100 yards from bears or wolves and at least 25 yards from all other wildlife. And don't get yourself into a situation where looking through the lens of your camera distracts you from potential danger. Serious folks, Instagram fame is not worth putting yourself into harm's way.
2. People or not.
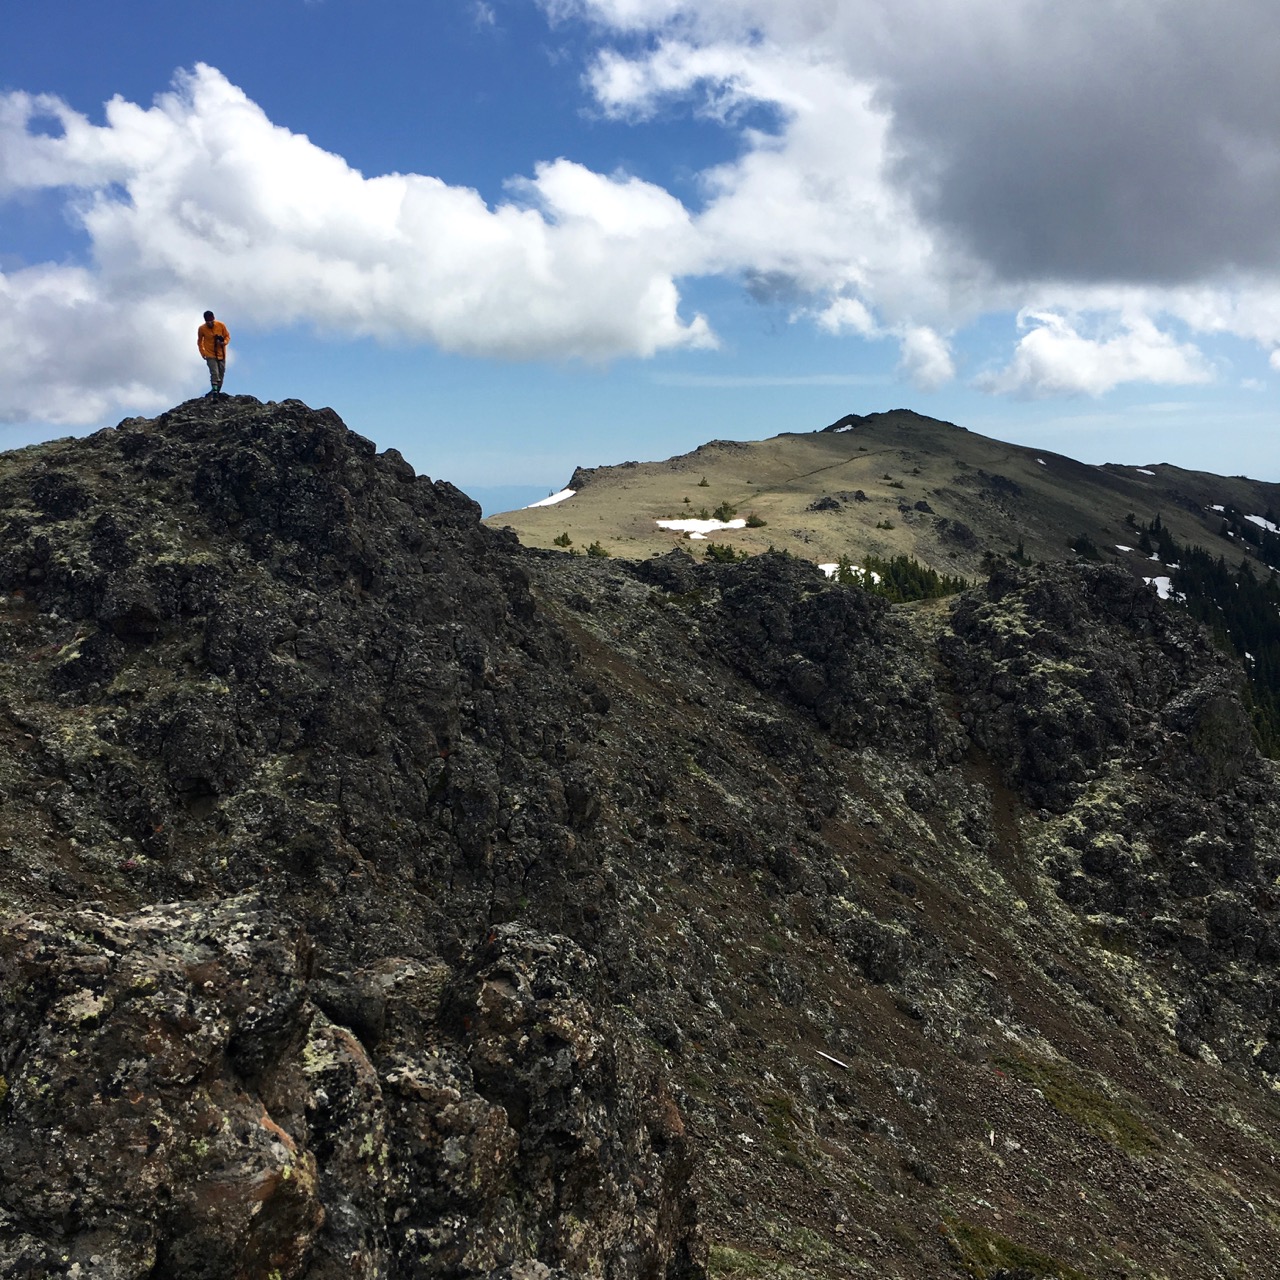
If you take pictures mainly for personal use and posting to social media, including people in the shots not just lets you remember the good times with friends and family but also helps give a sense of scale to the photo. A person next to a tree or a giant sunflower makes the tree look so much grander. If you're taking outdoor photos for professional use leave the out people This keeps the focus on the scenery and mood. And it that gives you the most flexibility of what to do with them afterward.
3. Pano Mode, but not always all the way.

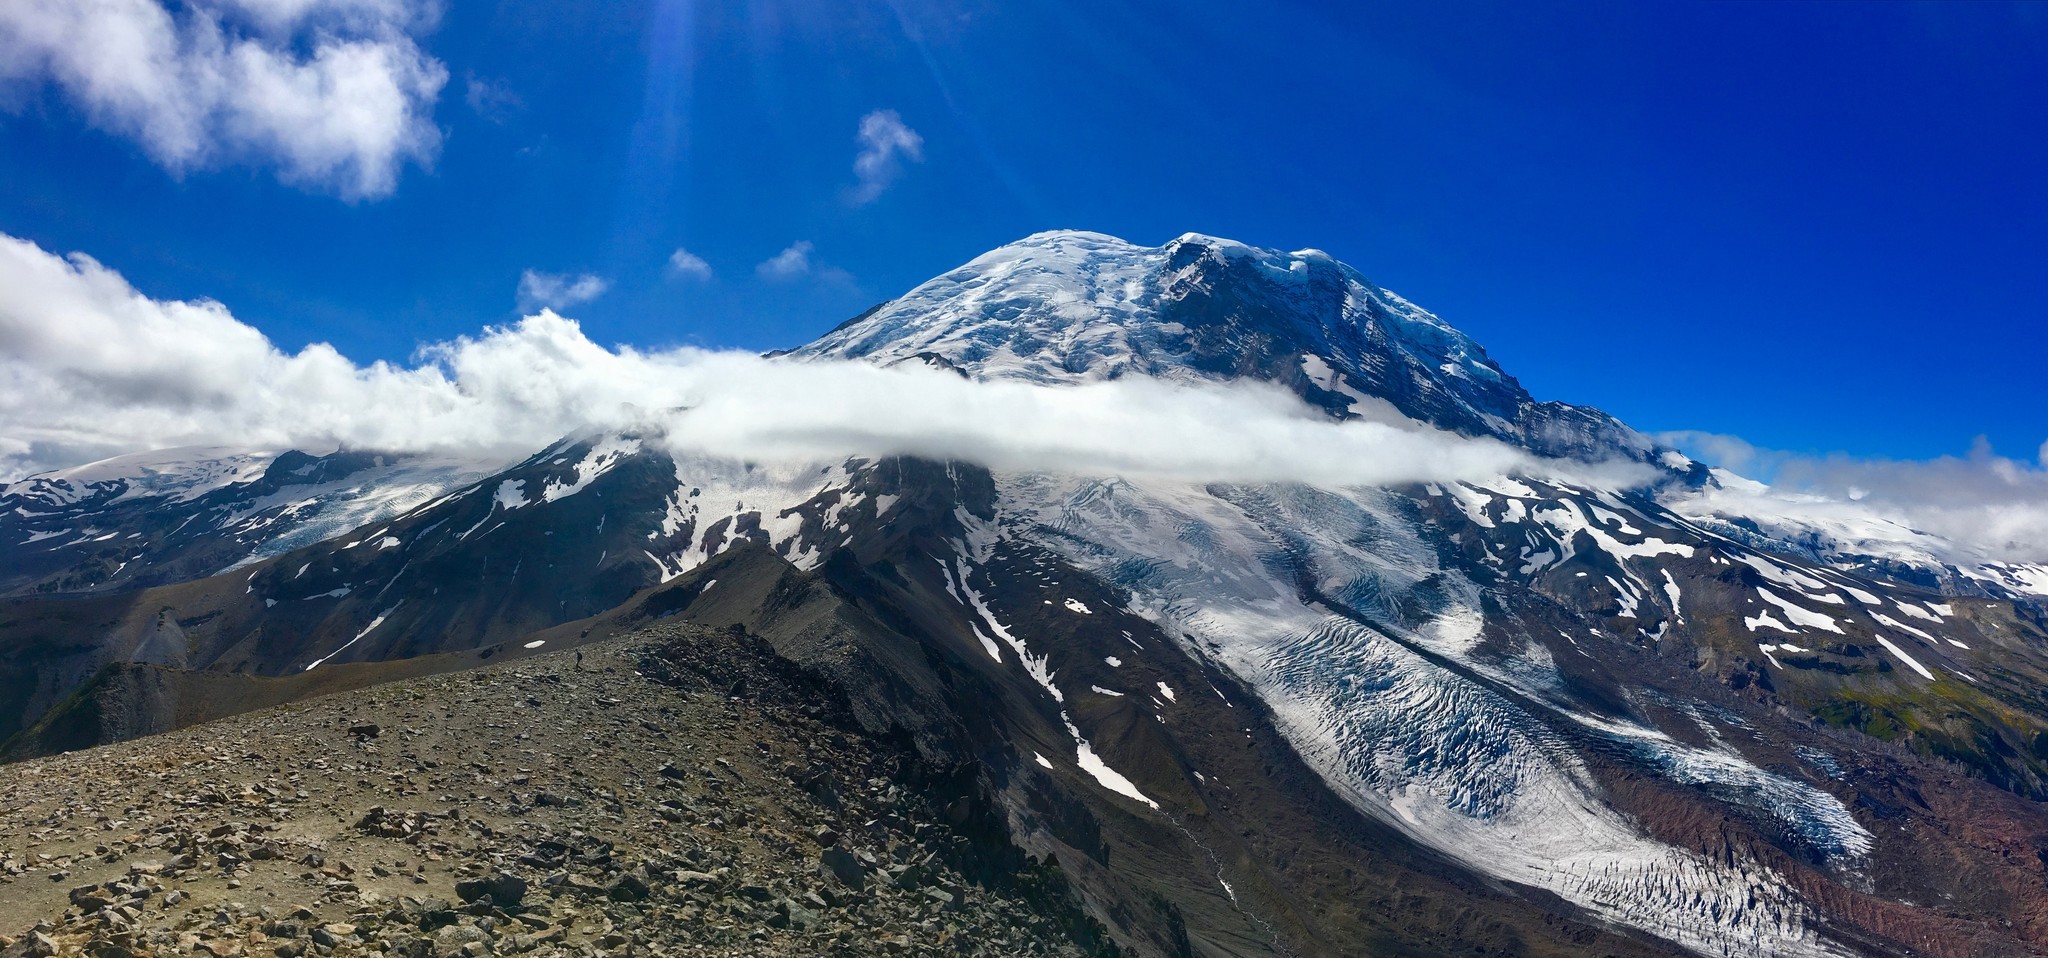
When you find yourself in a vantage point where you do want a bit more width than your regular horizontal view offers use 'pano' to get that extra edge without going all the way. Especially when capturing mountain ranges in the distance and other impressive features on the horizon, pano lends itself perfectly for this. The panorama feature now is almost 360 degrees. That often takes too wide a photo that you can hardly use for anything but a giant panorama photo. You can also use the pano feature upside down, which is great for waterfalls, giant trees, and other tall things. Reverse the direction by clicking on the arrow on the center of the screen, this can come in handy when sunlight shines brightly on one side of the horizon washing out the entire image.
4. Capture the Trail.

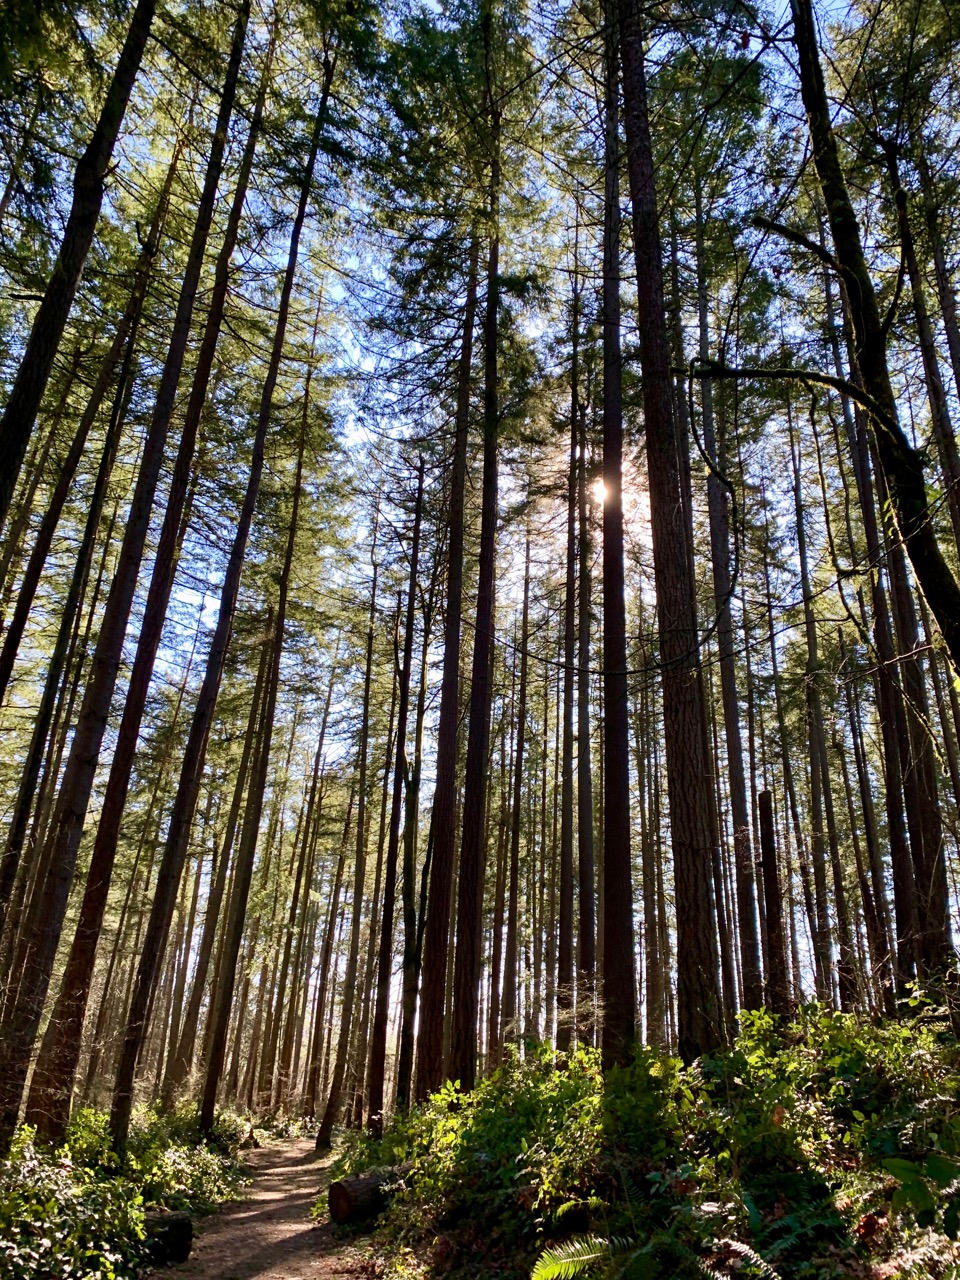
If you want to remember your outdoor adventures there is often no better way than to capture the places you've been. Framing a trail or a bridge you crossed in the center of your image will place you in the outdoors without you being in the photo.
5. Against the sun. (Yes, you too can be J.J. Abrams.)
Those shots can feel washed out, but sometimes perfectly capture the mood. When taking those shots, be sure to lock the focus by tapping on your screen and selecting the subject you're photographing then adjusting using the slider as needed.
6. Work with the sun:
When taking portrait shots make sure the subjects aren't squinting into the sun. Also avoid mid-day sun, if you can. The harsh sunlight can throw unwanted shadows on people's faces. Portrait mode can create some stunning contrast you can adjust if you're not happy with the capture using edit mode. Shooting at dusk and dawn often creates some of the most stunning sceneries. Let the sun illuminate what you're capturing and play with exposure to capture the right feeling.
7. Off-center Shooting
Use the 'Rule of Thirds' to frame your subject not directly in the center but off to the side, letting two-thirds of picture breathe. This creates tension in the final photo which can create stunning results. Panorama mode works well too when trying to create this off-center tension.
8. Find a unique angle:

Sometimes the best photos are the ones that aren't from eye level. Getting low onto the ground can create a dramatic effect, or waiting behind as your hiking party marches on to capture them in the larger panorama. Putting the camera right on a handrail of a bridge creates a stunning angle.
9. Action Shot
Use burst mode to make sure you capture the action and select your favorite via the edit feature.
10. Third Party Apps

There are ton of third-party apps on the market both free and paid apps that offer more than just gimmicks. ISO & shutter speed adjustment, various file formats other pro options that give you the desired look and feel for a specific shoot.
11. Post-production
Take some time to look at your pics on the biggest possible screen. On your Mac, you can easily edit out the duds. And post produce the good ones with the build in tools in Photos. Just making minor adjustment can result in your photos looking more polished.
Final Word: Not every moment needs to be captured with your camera and experienced through your viewfinder. Sometimes it's best to sit back and enjoy the moment. Be with the people around you. Sit still and breathe, open your heart and let your mind go. Yes, even if it didn't make it to Instagram, it still happened, and you were there to experience it.
Master your iPhone in minutes
iMore offers spot-on advice and guidance from our team of experts, with decades of Apple device experience to lean on. Learn more with iMore!
Mathias creates beautiful many things. Co-founder of the Outdoor Society, publisher of outdoor inspiration including guidebooks, calendars and the weekly trail running podcast Singletrack. In his spare time he runs trails and climbs the mountains around his base camp Olympia, WA. Find him at The Outdoor Society or @mathiaseichler.

